How to Install Carpet on Floors and Stairs: Step-by-Step Process
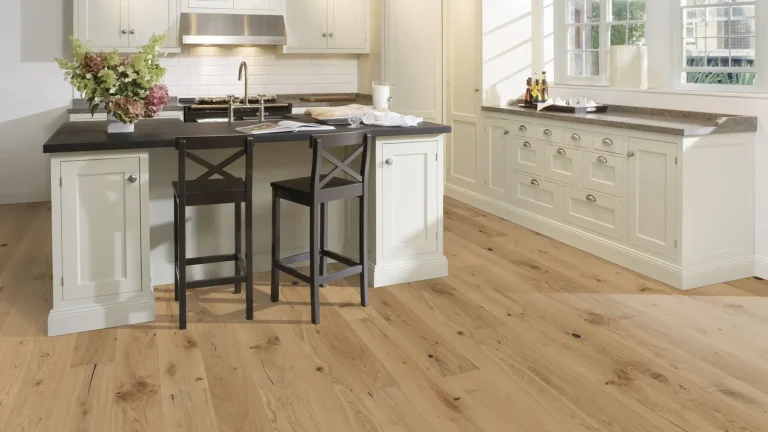
Source: Pexels
Whether it’s for comfort, insulation, or a splash of elegance, carpets are the way to go.
Professional installation for carpets can be quite expensive. However, you don’t need it to have amazing carpeted floors.
We’re here to give a step-by-step guide on how to install carpet onto your floors.
How to Install Carpet on Floors
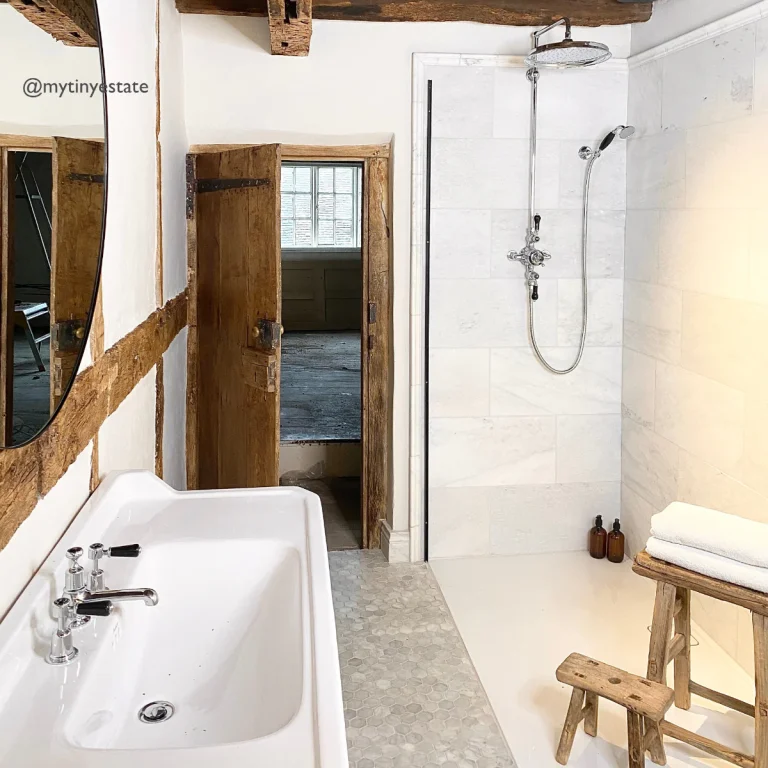
Source: Pexels
You can easily install carpeting on your flat floors. It’s one of the most common DIY projects for home improvement.
Here’s your guide on how to cover your floors with carpet.
Step 1: Measure the Room
Before anything else, you’ll have to measure the room you’re working with.
Measure the length and width of your room. Add 2 to 4 inches to those measurements. Then, multiply the sum to get the square footage of your room.
If your space isn’t rectangular, divide the room into several parts. Try to have them as close to a perfect rectangle as possible. Then, repeat the processes for each area.
Once you have the total square footage, add 10%-20%. Doing this will ensure that you have more than enough excess carpet, padding, and other materials needed for the installation.
If you’re using a patterned carpet, buy an additional 5%. It will help match the seam of your carpeting between different sections.
It’s important to have your measurements before gathering your materials. That way, you’ll know how much you’ll need.
Step 2: Gather Your Materials
Source: PxHere
Besides your carpet tiles, you will need to gather the following tools to help you install a carpet:
- Tack strips or tackless strips
- Utility knife
- Chalk line
- Staple gun (for wood subfloor installation only)
- Stair tool
- Seaming tape
- Measuring tape
- Duct tape
- Knee kicker
- Knee pads
- Power stretcher
- Carpet roller or rolling pin
- Seaming iron
NOTE: Tack strips and tackless strips are the same things. People gave the unlikely nickname because these strips don’t use traditional tacks.
If you’re installing on concrete floors, you would also need the following:
- Cement-based waterproof filler
- Construction adhesive
- Carpet adhesive
- Masonry nails
Make sure that you have the right tools to make your installation easier.
Step 3: Prepare Your Room
You’ll have to prepare the floor to ensure your new carpet is properly installed.
If your carpet spans more than one room, you’d have to prepare both rooms and space between them. Remove your doors and thoroughly clean out any debris.
Remove any existing old carpet if needed.
You’ll have to work with the existing floor. Check if the floor has problems, like sunken spots and squeaking. You may need to replace these boards to ensure that your carpeting will last.
You’ll also need to remove your baseboard. You need to have the edge of your new carpet stick against the wall. Scrape or sand any adhesive from your old carpet.
You’ll need to check for moisture or damage if you work with a concrete floor. You need to fill in all the cracks with waterproof filler.
Then, have it leveled so your carpeting will lay flat and bump-free.
Step 4: Install the Tack Strip
Once your floor is prepared, you’ll need to install your tack strips. Have them on every wall EXCEPT for entryways and doorways.
Leave about half an inch between each tack strip and the wall. It’s also important to ensure no spaces between the tack strips. You will need to secure this with your seams later on.
The correct installation depends on the material of your floor. If it’s made of:
- Wood: nail down your tack strips.
- Concrete: secure each tack strip onto the floor using construction adhesive and nail it in place with masonry nails
Step 5: Install the Carpet Padding
The next step is to attach padding to the floors. It helps make your new carpet more comfortable and prevents it from bunching up.
Your padding should be perpendicular to your carpet’s direction. It should also closely touch each tackless strip but not overlap.
If you’re installing on a concrete floor, it’s best to use synthetic fibre for your padding. It will prevent condensation from soaking up into the carpet.
Use a staple gun to secure it onto the floor. You can also lay out beads of adhesive melts for concrete floors.
Lastly, seal the seams using duct tape or seaming tape.
Step 6: Cut and Lay Carpet
Source: PxHere
When cutting your carpet, make sure to add an extra 6 inches.
It will allow you to have plenty of room, and you can trim any extra later on. It’s better than wasting a shorter strip.
Start by laying the new carpet against one wall. Then, pull it to the opposite wall. Snap a chalk line where your carpet meets your walls and cut any excess seam using a utility knife.
Proceed with laying carpet on the floor beside the last, following the pile direction of the previous pieces. Your pieces should line up perfectly, even with imperfections in your cuts.
Then, seal the seams between the two strips with a special type of tape. Line up seam tape under the carpet. Ensure that your seam tape has the adhesive side up to connect the gap between sections.
You can use a steaming iron to activate your seam tape and secure the strips and seams together.
Complete your seams by pressing the pieces of the carpet together. You can fix the seam using a carpet roller or a rolling pin.
PRO-TIP: There’s less waste on the seams if your carpet’s patterns are less specific.
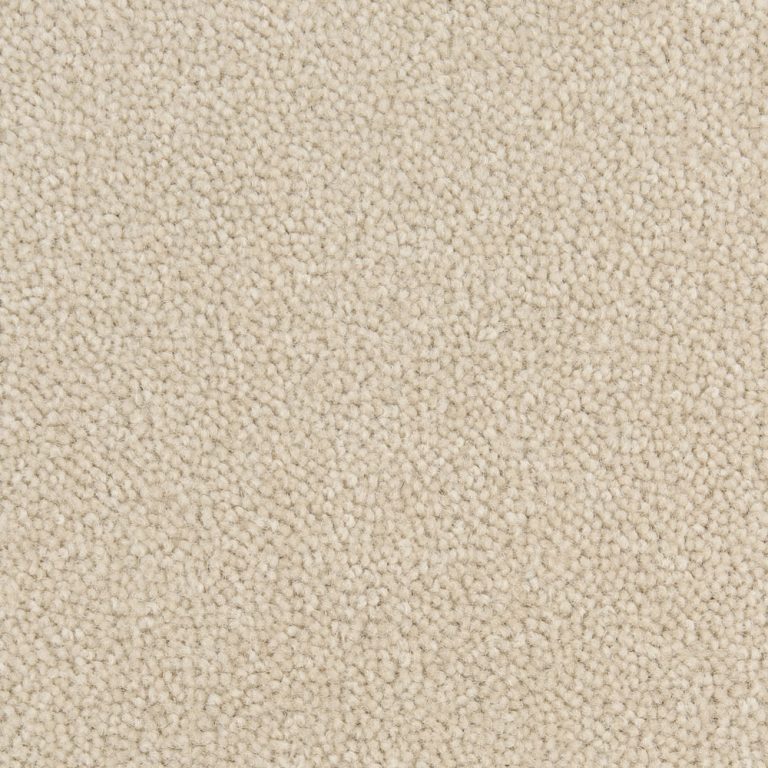
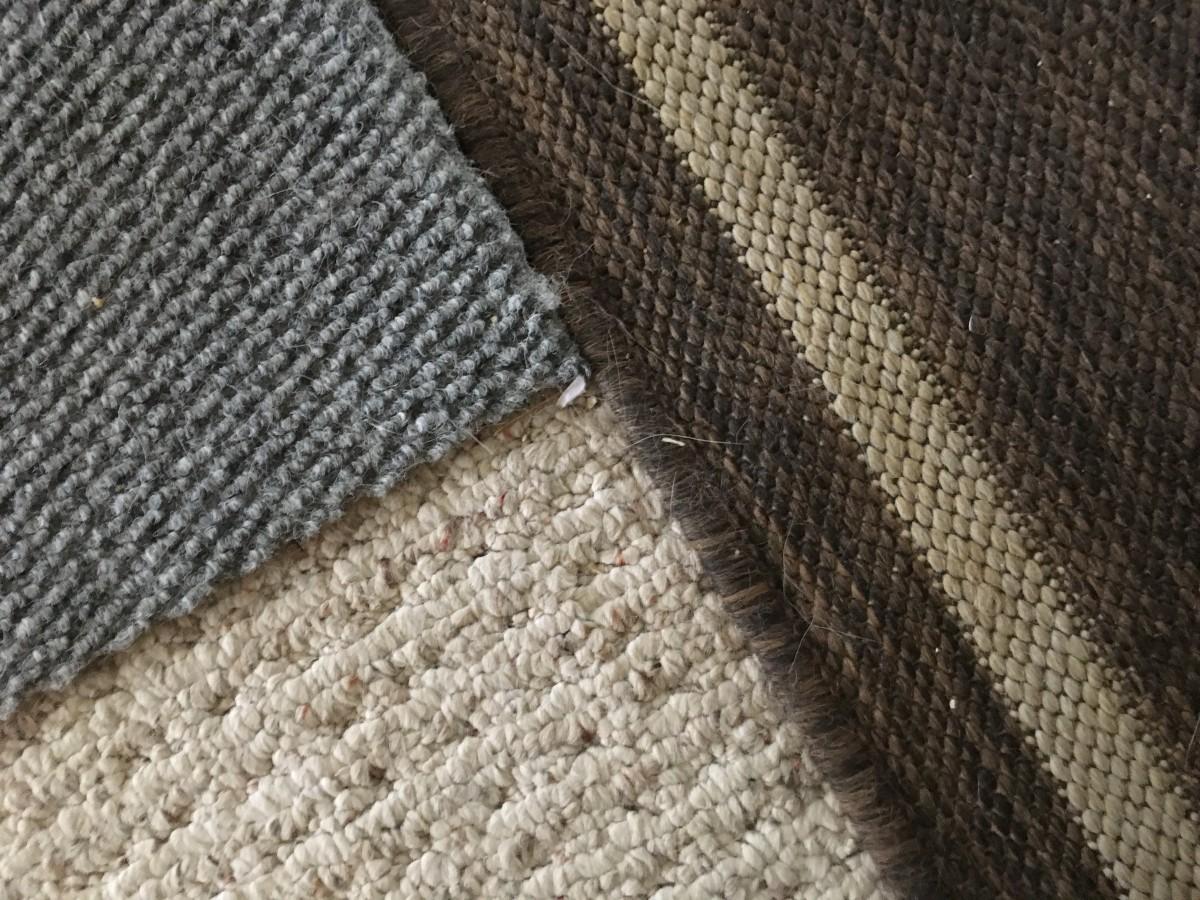
What Is a Pile Direction?
Source: Lance McCord
You may have noticed we mention this term in the previous step. It refers to where carpet fibres go based on how they were made.
Depending on the lighting and angle, it may make your carpet look different in colour.
You can determine this by laying a piece of paper and a pencil on your carpet. With an open hand, roll the pencil back and forth over the paper.
The direction of the paper’s movement is the pile direction.
Step 7: Stretch the Carpet
You can stretch your carpeting taut using a knee kicker or carpet stretcher. Start with the centre of any of your walls and kick your knee.
It will help force the carpet into the wall. For larger rooms, you can use a power stretcher.
SAFETY TIP: Wear knee pads to prevent yourself from getting hurt.
Using a stair tool, tuck the extra carpet edges underneath the baseboard. Once every square foot is stretched out, cut the edges with a utility knife.
You also need to cut the areas around doorways and floor vents before placing your door and vents back in place.
How to Install Carpet on Stairs

Source: PxHere
Installing carpet onto your stairs can be different from the usual wall-to-wall carpet.
Here are the steps to help you install carpet and upgrade your stairs’ appearance.
Step 1: Prepare and Measure Your Steps
Remove any old carpet, padding, tacks, tape, staples, tacks, and other things which may stick out of the carpet.
Measure each step from the back edge to the bottom of the riser. Then, add at least an inch to this measurement.
Multiply it by the number of steps to get the total measurement of the carpet you’ll need.
You can also add the measurement of the landing if you’re planning to add a carpet.
Step 2: Gather Your Tools
The tools for installing a carpet on your stairs are similar to the ones for flat floors.
However, here are the important tools to take note of, especially if you’re working with concrete floors:
- Knee kicker
- Tackless strips or gripper
- Carpet padding
- Utility knife
- Staple gun
- Hammer and blunt bolster (optional)
Step 3: Laying the Stair Carpet

Source: Gregory Nemec
To lay carpet onto the stairs, fix the gripper to the tread of each stair. Make sure that the angled edges are facing away.
Leave a gap between your gripper and the riser. It should be around 3/4 of the thickness of your carpet.
Fix another piece of the gripper to the riser with the angled edge facing down. Continue doing this EXCEPT for the bottom step.
Then, cut the padding to fit accordingly to the steps. Using staples or tape, secure the padding onto the steps.
Then, roll out your carpet with the underside facing down. Make sure you lay it this way to avoid getting rubbed when stepped on.
Step 4: Tack the Carpet
Begin with the bottom of your first riser and tack the carpet onto the first step. Pull the carpet up using a knee kicker and stretch it.
Doing this is important, so it doesn’t fold from the furniture or when you walk on it.
Using a bolster, push the carpet firmly into the gap between the grippers of your stair corner.
Repeat this process until you cover the rest of the steps with carpet.
Step 5: Fix the Carpet Onto the Landing
Once you get to the final raiser, you can use a tackless strip to put the carpet in place. Then, trim the edge of the extra carpeting.
If your step has a nose, fix the landing carpet to its underside to keep the edges secure and neat.
Frequently Asked Questions
You may have more questions about carpet installation. We’ve gathered the commonly asked questions to help you with your home improvement project.
Is Installing Carpet Hard?
Installing carpet onto your floor can be fairly simple. It depends on your handiness skill and the difficulty of the floor area.
To help you gauge if your carpet installation is easy, you can ask the following questions:
- Are you only fitting one room?
- Is the floor you’re working on undamaged and even?
- Do you know how to use specialty tools and equipment?
- Is the room straightforward, meaning no odd angles or stairs, etc.?
If the answers to these questions are all yes, then carpet installation should be easy.
If you don’t have prior experience with this installation, we recommend hiring a professional to work on it instead.
How Do I Know if I Installed the Carpet Correctly?
You’ll know if you’ve installed the carpet correctly when you’re finalising the finished levels of your wall-to-wall carpet.
The finished height should be the total carpet thickness of your carpet gripper.
You should also properly level your carpet, ensuring no bumps or extra carpeting are sticking out.
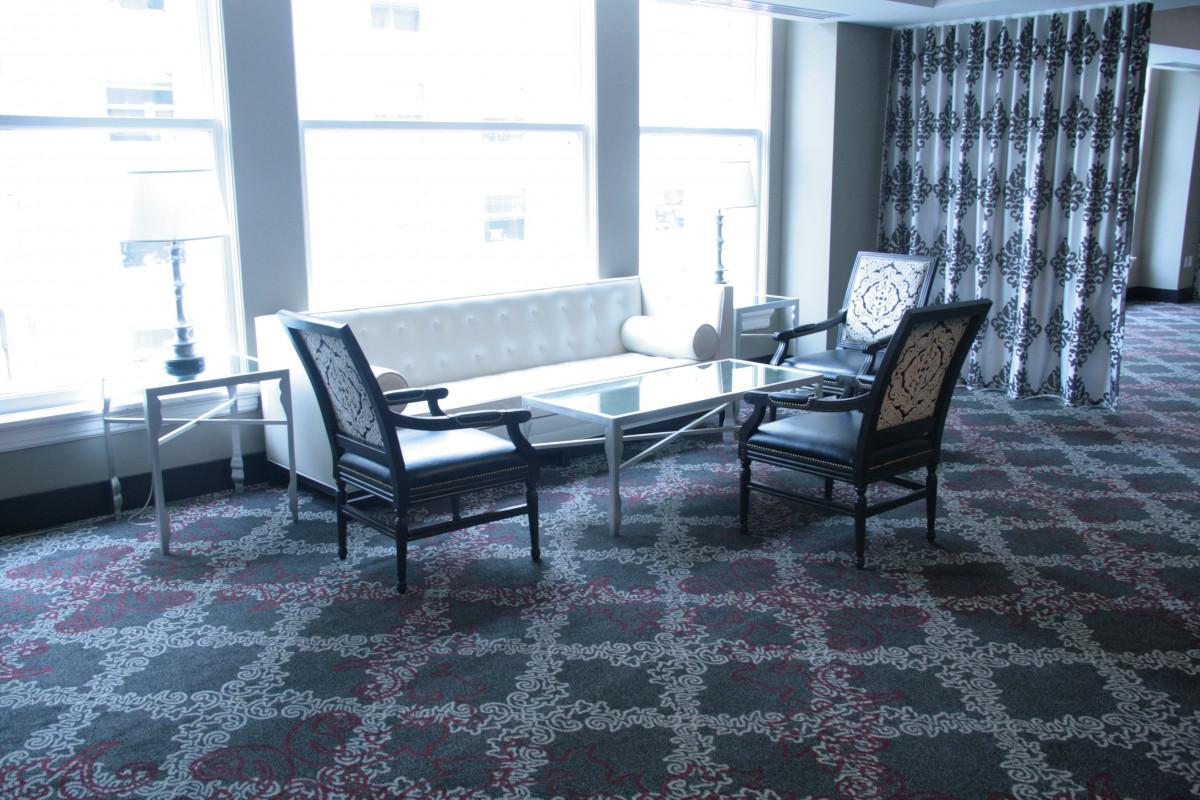
What’s the Most Popular Method of DIY Carpet Installation?

Source: Pexels
The most popular method is the Ashlar one way. This method is also used for arranging laminate, wood, and PVC strips.
For this method, you’ll have the stretcher installed vertically. The direction of the carpet is planked onto the same side, going one direction.
Its variation is the Ashlar multi-way, which has the carpet plank arranged alternately. The variation is typically used for patterned carpets to show the differences.
Conclusion
Home improvement doesn’t have to be expensive. With these simple additions and projects, anyone can easily upgrade their home’s comfort and appearance.
You can always go back to this article for help on carpet installation for your home.