Engineered wood flooring offers a practical and attractive way to enhance any room. It combines the natural beauty of real wood with greater stability than solid hardwood, making it suitable for various home environments. If you are planning a flooring project, understanding the installation process helps ensure a professional-looking result that lasts for years. This guide walks you through the key steps in a clear and straightforward manner.
Preparation
Proper preparation prevents issues later on. Start by allowing the engineered wood planks to acclimate in the room for at least 48 hours. Keep the room at normal living temperature and humidity levels during this time.
Next, prepare the subfloor carefully. It must be clean, dry, level, and structurally sound. Remove any old flooring, sweep or vacuum thoroughly, and repair uneven spots or cracks. For concrete subfloors, test for moisture content using an appropriate meter, as excessive dampness can damage the wood over time. On wooden subfloors, ensure the plywood or OSB is at least ¾ inch thick and securely fixed.
Gather the right tools before you begin:
- Tape measure and chalk line
- Saw (mitre or table saw for cuts)
- Rubber mallet and tapping block (for floating installs)
- Spacers for expansion gaps
- Adhesive and trowel (for glue-down)
- Pneumatic nailer or stapler (for nail-down methods)
- Knee pads and safety glasses for comfort and protection
Measure the room and plan your layout. Lay the planks parallel to the longest wall or the main light source for the best visual effect. Stagger the end joints by at least 6-8 inches between rows to create a natural, random pattern.
Step-by-Step Installation Guide
The exact method depends on your product and subfloor, but here are the most common approaches.
Floating (Click-Lock) Installation
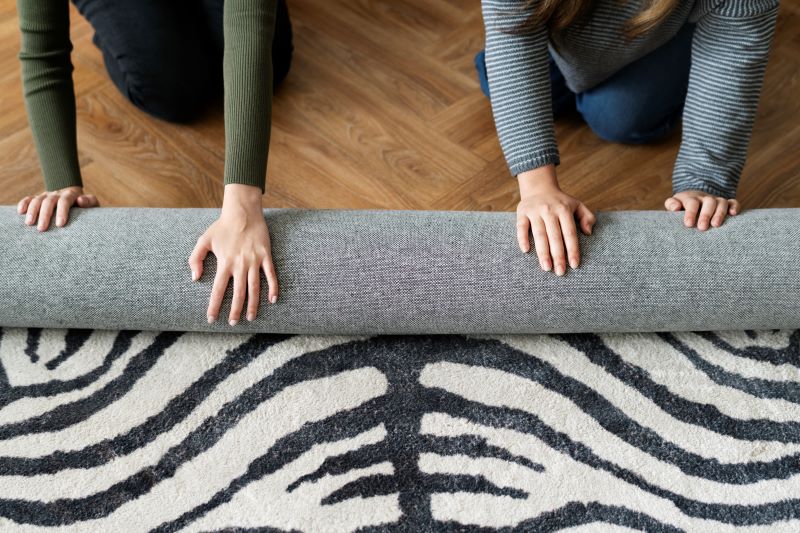
- Roll out the recommended underlayment across the subfloor, overlapping seams according to the instructions and taping them securely. This provides cushioning, sound reduction, and a moisture barrier.
- Place spacers along the walls to maintain a 10-15 mm expansion gap (check manufacturer specs).
- Start in a corner with the groove side facing the wall. Click the first row together, ensuring it stays straight.
- For subsequent rows, angle the plank and click it into the previous row. Use a rubber mallet and tapping block to gently lock the joints without damaging the edges.
- Cut the final plank in each row to fit, using the offcut to start the next row where possible.
Glue-Down Installation
- Apply a suitable urethane or acrylic adhesive to the subfloor in small workable sections using the notched trowel.
- Lay the planks into the adhesive, pressing firmly and tapping to ensure full contact. Maintain the expansion gap around the perimeter.
- Clean any excess adhesive immediately with the recommended remover.
Nail-Down or Staple-Down Installation
- Lay a layer of 15 lb felt paper or recommended moisture barrier if specified.
- Align the first row and secure it with nails or staples at the recommended spacing, usually through the tongue.
- Continue row by row, using a flooring nailer for speed and precision.
Work across the room methodically, checking alignment frequently. Undercut door casings and trim to allow the flooring to slide underneath for a seamless finish. For pipes or other obstacles, measure carefully and cut precise notches.
Finishing Touches
Once all planks are in place, remove the spacers and install skirting boards or beading to cover the expansion gap. Reinstall any door thresholds or transition strips where the new floor meets other surfaces. Give the floor a gentle clean with a recommended wood floor cleaner to remove any dust from the installation.
Allow the adhesive (if used) to cure fully before moving furniture back into the room, typically 24-48 hours.
Top 5 Engineered Wood Flooring
When selecting your material, both quality and variety play a crucial role. Engineered wood flooring offers durability, aesthetic appeal, and suitability for modern living. Below are five popular options currently available from TEKA Flooring:
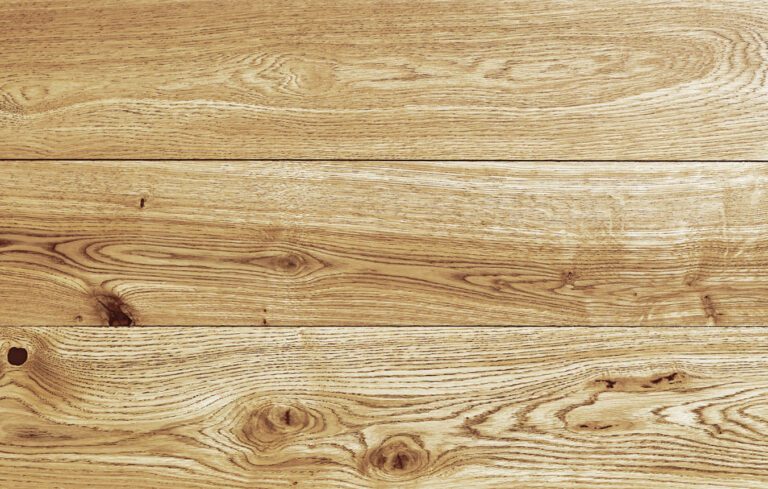
1. Elka Reel Wood Fawn Oak Flooring
This flooring features a soft, natural oak tone that brightens interior spaces effortlessly. Its subtle grain pattern makes it an excellent choice for contemporary and minimalist homes, while the 12.5mm thickness ensures durability for everyday use.
2. Elka Real Wood Harbour Oak Flooring
Harbour Oak offers a balanced mid-tone finish that suits a wide range of interior styles. Its versatile look works well in both traditional and modern settings, making it ideal for living rooms and open-plan areas.
3. Elka Real Wood Nightingale Oak Flooring
With its deeper, richer colour, Nightingale Oak adds warmth and a refined feel to any space. It is particularly well suited for interiors aiming for a more elegant or classic atmosphere.
4. Elka Real Wood Woodland Oak Flooring
Inspired by natural woodland shades, this flooring brings a cosy and organic feel into the home. Its visible grain adds character and depth, making it a great choice for relaxed, welcoming spaces.
5. Elka Real Wood Caramel Oak Flooring
Caramel Oak stands out with its warm golden tones and thicker 14mm construction. This added thickness provides enhanced stability and durability, making it a strong option for high-traffic areas.
Maintenance Tips for Longevity
Sweep or vacuum regularly to prevent grit from scratching the surface. Use a damp mop with a pH-neutral cleaner designed for engineered wood. Avoid excessive water and never use steam cleaners, as moisture can affect the layers. Place felt pads under furniture legs to minimise scratches.
Ready to transform your space with beautiful, stable flooring? For premium engineered wood and expert fitting across the UK, choose TEKA Flooring. Our team supplies high-quality products and provides professional floor fitting services, ensuring a flawless finish every time. Visit our website today to browse the range, request free samples, or get a quote for your project.
FAQ
- How long does it take to install engineered wood flooring?
Installation time varies with room size and method, but a typical medium-sized room can take one to three days. - Can I install engineered wood flooring myself?
Yes, especially with click-lock systems, many homeowners successfully complete the project. However, glue-down or nail-down methods may benefit from professional help if you lack experience with power tools or adhesives. - Do I need underlayment for engineered wood floors?
Underlayment is usually required for floating installations to provide cushioning and moisture protection. Some glue-down or nail-down products may not need it, always check the manufacturer’s instructions. - Is engineered wood suitable for bathrooms or kitchens?
It performs better than solid hardwood in humid areas due to its stability, but it is not fully waterproof. Use it with caution and ensure good ventilation and quick spill cleanup. Some specially sealed products offer improved moisture resistance. - How much expansion gap do I need around the edges?
Most manufacturers recommend 10-15 mm (about ½ inch) around the perimeter, including doorways and fixed objects, to allow for natural expansion and contraction. - Can engineered hardwood be installed over concrete?
Yes, using the glue-down or floating method. Always test the concrete for moisture first and follow the specific adhesive or underlayment guidelines. - How do I clean and maintain engineered wood flooring?
Regular sweeping and occasional damp mopping with a suitable cleaner is sufficient. Avoid abrasive pads or harsh chemicals that could damage the finish.