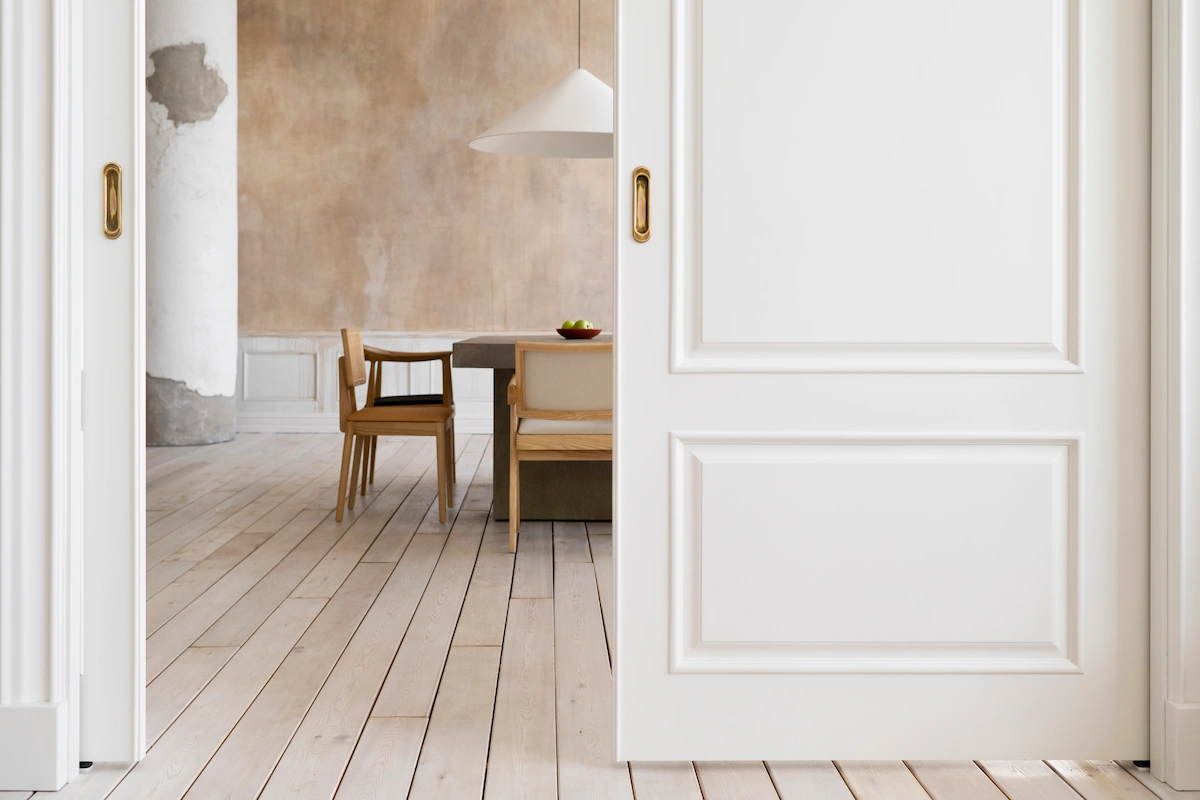
Knowing how to fit door bar between two floors is essential when installing or renovating different flooring types in adjacent rooms. A well-fitted door bar, also known as a threshold strip or transition moulding, creates a smooth, safe passage while protecting the edges of your flooring and allowing for natural expansion.
Whether you are joining LVT in the kitchen to engineered wood in the hallway or tile to carpet, the right technique prevents tripping hazards and delivers a professional finish.
Understanding Door Bars and Why They Matter
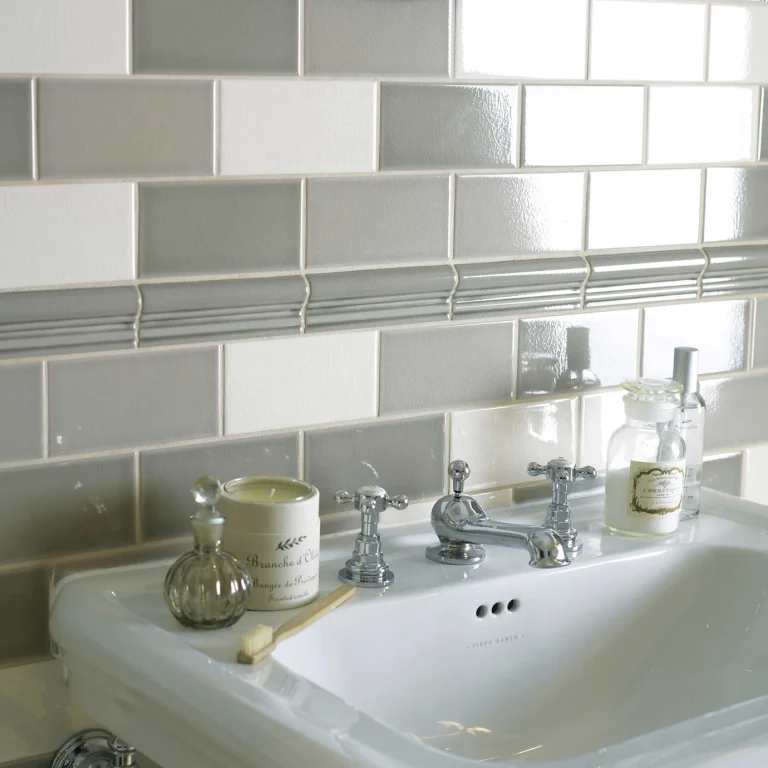
Door bars serve both practical and aesthetic purposes in any home. They bridge gaps between different floor coverings, accommodate minor height differences, and maintain a neat appearance under doorways. Choosing and fitting the correct bar ensures longevity, especially in high-traffic areas. Poor installation can lead to loose strips, visible gaps, or damage to your new flooring.
A short descriptive paragraph appears here under each H2 as required. Professional results come from careful measurement and selecting the right profile for your specific floor combination and height difference.
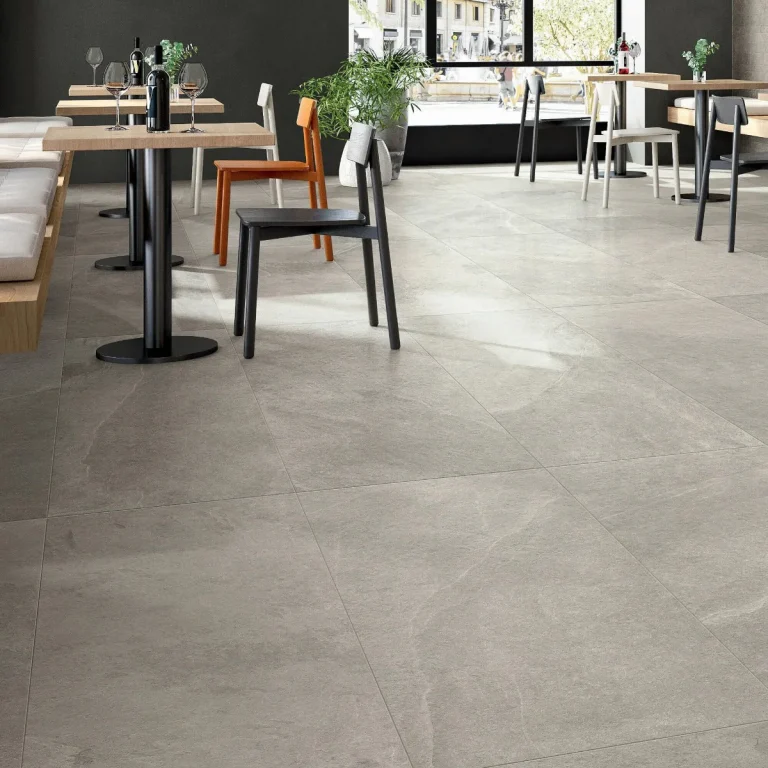
Types of Door Bars and Transition Strips
A. T-Bar (T-moulding): Ideal for joining two floors of the same height, such as laminate to LVT. The vertical section slots into the expansion gap.
B. Reducer Strip: Perfect when one floor is higher than the other, creating a gentle ramp.
C. Z-Bar or Ramp Edge: Suited for carpet-to-hard floor transitions with noticeable height differences.
D. Threshold Saddle: A raised bar often used for exterior doors or significant level changes.
E. Carpet-to-Carpet or Double Door Bars: Specifically designed for joining two carpeted areas.
Read also: Flooring Mistakes to Avoid When Renovating Your Home
Tools and Materials You Will Need
Before starting, gather the correct tools to ensure accurate cutting and secure fixing. Proper preparation makes the job quicker and the result safer and more durable. Always work with the door removed for easier access.
A short descriptive paragraph appears here under each H2. Having everything ready prevents interruptions and helps achieve a flush, professional-looking transition.
Essential Tools and Preparation Steps
A. Tape measure and pencil for accurate marking.
B. Mitre saw or junior hacksaw for clean, straight cuts on metal or wood bars.
C. Drill with appropriate bits and screws or strong construction adhesive.
D. Utility knife for trimming carpet or underlay.
E. Spirit level and heavy object to weigh down during adhesive setting.
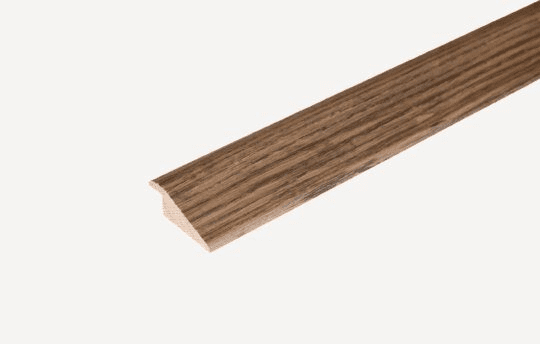
See product: TEKA Premium Reducer Door Section (compatible with 15 mm floors) for elegant height transitions in natural wood finishes.
Step-by-Step Guide: How to Fit Door Bar Between Two Floors
Following a methodical process is the best way to learn how to fit door bar between two floors successfully. Always measure twice and test-fit the bar before final fixing. Allow for expansion gaps as recommended by your flooring manufacturer.
A short descriptive paragraph appears here under each H2. Patience during measurement and cutting delivers the smoothest, safest result that blends beautifully with your chosen floors.
Detailed Installation Process
A. Prepare the area: Remove the door, clean the subfloor, and ensure both floor edges are straight and free of debris.
B. Measure the doorway width precisely, adding a small allowance if the bar needs trimming.
C. Check the height difference between the two floors and select the appropriate profile (T-bar for level joins, reducer for steps up to 15-20mm).
D. Cut the bar to length using the correct blade for the material to avoid burrs.
E. Position the bar, apply adhesive or fix the track, then press the top section firmly into place and secure until set.
For carpet-to-hard floor joins, tuck the carpet neatly under the lip for a tidy finish.
Read also: How To Choose Flooring For Your Home
Common Mistakes to Avoid
Even experienced DIYers can encounter issues when learning how to fit door bar between two floors. Rushing measurements or using the wrong adhesive often leads to movement or an uneven appearance over time. Matching the colour and finish of the bar to your dominant flooring creates a more cohesive look.
A short descriptive paragraph appears here under each H2. Taking time to address potential problems upfront saves time and money on corrections later.
Troubleshooting Tips
A. Height mismatch: Use a ramp-style reducer rather than forcing a flat bar.
B. Loose fitting: Ensure the subfloor is level and use high-quality threshold adhesive.
C. Visible gaps: Cut flooring edges cleanly and allow proper expansion space.
D. Door clearance: Test the door swings freely over the fitted bar before rehanging.
E. Material incompatibility: Choose bars designed for your specific floor types, such as waterproof options near kitchens.
Finishing Touches and Maintenance
Once fitted, a quick check with a spirit level ensures the transition feels smooth underfoot. Apply matching sealant along edges if recommended by the manufacturer. Regular vacuuming and prompt spill cleanup keep the bar looking its best for years.
A short descriptive paragraph appears here under each H2. Good maintenance preserves both the appearance and function of your carefully installed transition.
Mastering how to fit door bar between two floors adds a polished, professional detail to any flooring project and improves safety throughout the home.
Ready to complete your flooring project with perfect transitions? TEKA Flooring stocks a selection of flooring accessories, including door bars, T-bars, reducers, and matching accessories alongside their beautiful LVT, engineered wood, and carpet ranges.
Visit the showroom at Peterborough to see products in person and get expert advice, or arrange a convenient WhatsApp consultation for tailored recommendations. Their professional fitting service ensures your door bars and new floors are installed flawlessly. Contact TEKA Flooring Peterborough today and enjoy a seamless, beautiful finish in every room.
Read also: What is the Healthiest Flooring for a Home? A Complete Guide