LVT (Luxury Vinyl Tile) is known for its durability and stylish finish, but even the best installations can sometimes develop issues. If you’ve noticed edges curling or tiles lifting, it’s important to act quickly. Understanding how to fix lifting LVT flooring can save you time, money, and prevent further damage. In this guide, we’ll walk you through the causes, solutions, and prevention tips to keep your flooring looking flawless.
Why LVT Flooring Starts Lifting
Before diving into repairs, it’s helpful to understand what’s causing the issue. Knowing the root problem makes it easier to apply the right fix and avoid repeat issues.
- Poor Adhesive Application – If the adhesive wasn’t applied evenly or allowed to cure properly, tiles may not bond securely. Over time, this can lead to edges lifting, especially in high-traffic areas.
- Moisture Problems – Excess moisture from the subfloor can weaken adhesive and cause tiles to lift. This is particularly common in kitchens, bathrooms, or poorly ventilated spaces.
- Temperature Fluctuations – LVT expands and contracts with temperature changes. Without proper expansion gaps, this movement can cause tiles to lift or shift.
- Subfloor Imperfections – An uneven or dirty subfloor can prevent proper adhesion. Even small debris can create weak spots where tiles eventually lift.
Read also: Carpet vs. LVT Flooring, Which Is Best for Your Home?
Tools and Materials You’ll Need
Having the right tools ready will make the repair process smoother and more effective. Most items are easy to source and affordable.
- Adhesive or Glue = A high-quality LVT adhesive is essential for re-bonding tiles securely. Choose one designed specifically for vinyl flooring.
- Roller or Heavy Object = A floor roller helps press the tile firmly into place, ensuring proper contact with the adhesive.
- Cleaning Supplies = You’ll need a cloth, mild cleaner, and possibly a scraper to remove dirt or old adhesive residue.
- Replacement Tiles (if needed) = If a tile is damaged beyond repair, having a matching spare will ensure a seamless finish.
Step-by-Step: How to Fix Lifting LVT Flooring
Now that you’re prepared, let’s go through the process of how to fix lifting LVT flooring effectively. Follow these steps carefully for the best results.
A. Lift the Affected Tile Carefully
Gently peel back the lifting section without causing further damage. If the tile resists, use a heat gun or hairdryer to soften the adhesive slightly.
B. Clean the Subfloor and Tile
Remove any old adhesive, dust, or debris from both the subfloor and the underside of the tile. A clean surface is essential for a strong bond.
C. Apply Fresh Adhesive
Spread a thin, even layer of adhesive onto the subfloor using a suitable applicator. Avoid over-applying, as this can create uneven surfaces.
D. Reposition and Press Firmly
Place the tile back into position and press it down firmly. Use a roller or a heavy object to ensure even pressure across the surface.
E. Allow Proper Drying Time
Give the adhesive time to cure according to the manufacturer’s instructions. Avoid walking on the area until it is fully set.
When to Replace Instead of Repair
Sometimes repairing isn’t enough, especially if the tile is damaged or repeatedly lifting. Knowing when to replace can save you from ongoing frustration.
A. Visible Damage
If the tile is cracked, warped, or permanently bent, replacement is the better option.
B. Repeated Lifting
Tiles that continue to lift after repair may indicate deeper issues, such as subfloor moisture or structural problems.
C. Worn Adhesive Backing
In click or peel-and-stick systems, worn backing can reduce grip, making replacement more reliable.
Read also: Essential LVT Floor Care Tips, Maintain Beauty & Durability!
Preventing LVT Flooring from Lifting Again
Once you’ve learned how to fix lifting LVT flooring, it’s equally important to prevent the issue from returning. A few simple precautions can make a big difference.
A. Ensure Proper Installation
Always follow manufacturer guidelines during installation, including adhesive curing times and expansion gaps.
B. Control Moisture Levels
Use a moisture barrier if needed and ensure rooms are well-ventilated to protect the adhesive.
C. Maintain Stable Temperatures
Try to keep indoor temperatures consistent to minimise expansion and contraction of the flooring.
D. Regular Cleaning and Maintenance
Keep the floor clean and free from debris that could weaken adhesion over time.
Recommended Products for Reliable Repairs
Choosing the right products can make your repair last longer and look more professional. Here are a few reliable options to consider:
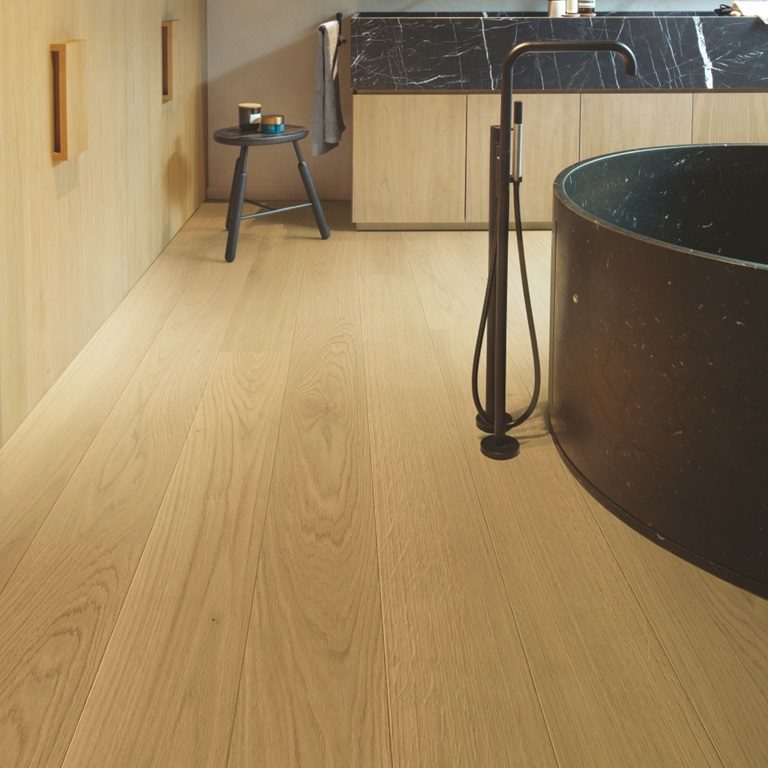
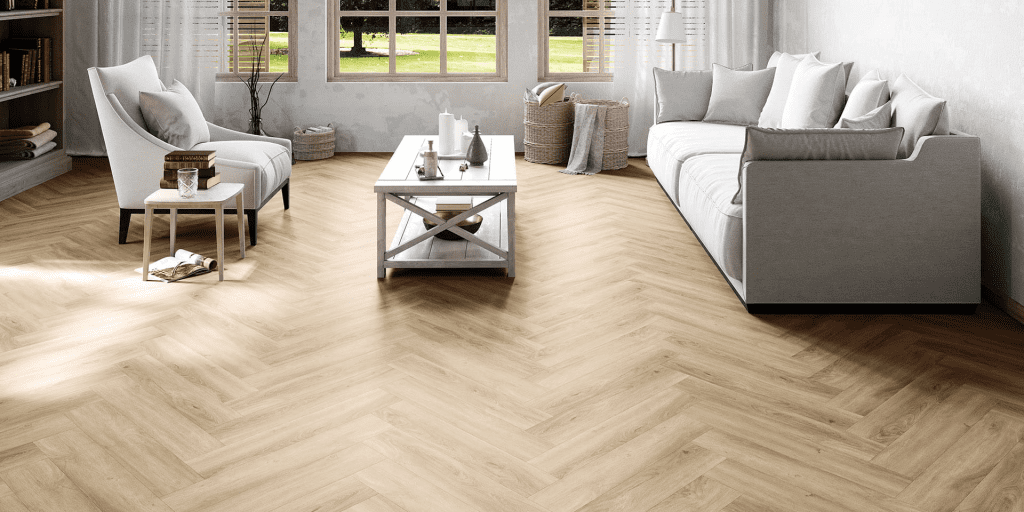
A. Floorify Long Planks Paris Tan

Floorify Long Planks Paris Tan – A strong, flexible adhesive designed specifically for LVT, ensuring long-lasting bonding even in high-traffic areas.
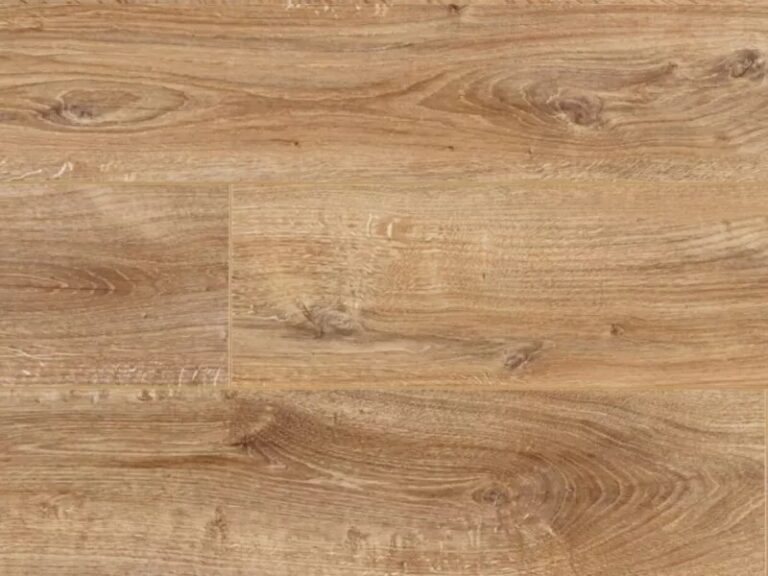
B. Karndean Art Select Parquet Morning Oak
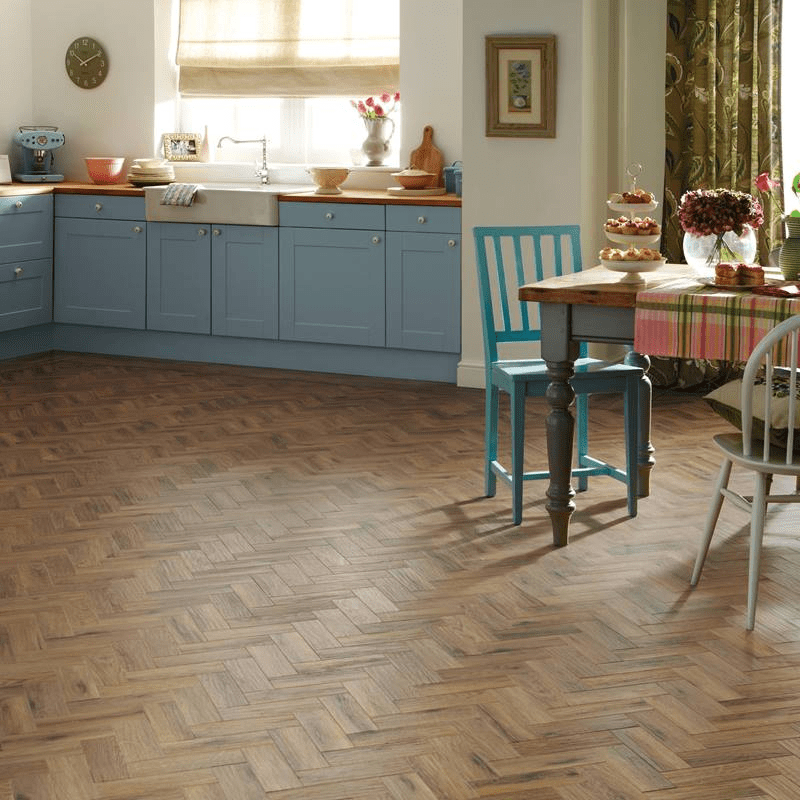
Karndean Art Select Parquet Morning Oak – Perfect for pressing tiles evenly into place, helping to eliminate air pockets and ensure proper adhesion.
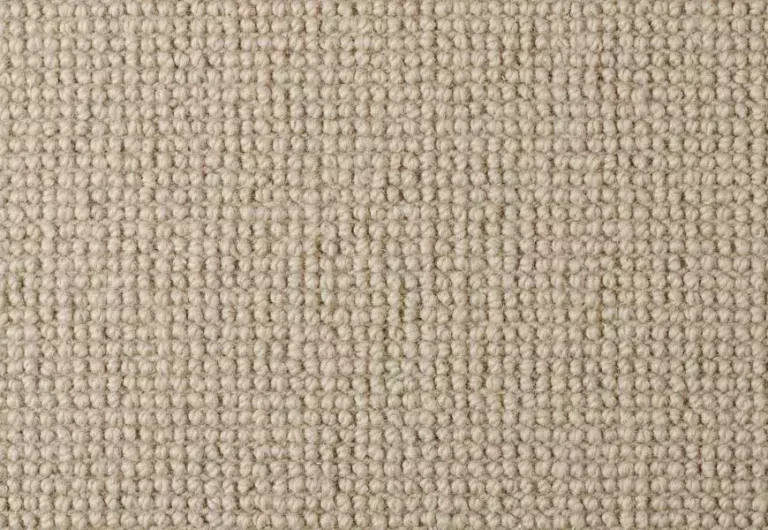
C. Invictus Maximus Click Cork Backing Divine Oak Parquet
Invictus Maximus Click Cork Backing Divine Oak Parquet – High-quality replacement tiles that match a wide range of styles, making repairs virtually invisible.
Final Thoughts and Expert Help
Learning how to fix lifting LVT flooring is a valuable skill that can extend the life of your floor and keep your home looking its best. With the right tools, proper technique, and a bit of patience, most lifting issues can be resolved quickly and effectively.
If you’d prefer a professional finish or are dealing with more complex problems, TEKA Flooring Peterborough is here to help. Visit our showroom to explore premium LVT options or speak with our experts for tailored advice. You can also reach out via WhatsApp for a quick consultation and get your flooring back to perfect condition with confidence.
Read also: LVT vs. Stone Flooring, Which Flooring Comes Out on Top?
Read also: How to Clean LVT Flooring the Right Way