Learning how to lay engineered wood flooring can transform your home with a durable, elegant surface. Engineered wood flooring offers the beauty of hardwood with enhanced stability, making it a popular choice for DIY enthusiasts. This guide provides a clear, step-by-step process to help you master engineered wood floor installation and achieve professional results.
Why Choose Engineered Wood Flooring?
Before exploring how to lay engineered wood flooring, consider its advantages. Engineered wood features a real wood veneer over plywood layers, combining hardwood’s beauty with enhanced resilience. It resists warping, making it suitable for humid areas like kitchens. Knowing these benefits ensures a confident engineered wood floor installation.
Is It Difficult to Lay Engineered Wood Flooring?
Laying engineered wood flooring is not overly difficult, especially with proper preparation and guidance. While it requires attention to detail, basic tools, and some DIY skills, the process is manageable for beginners following a clear wood flooring installation guide. Key steps like preparing the subfloor, acclimating the planks, and planning the layout simplify how to lay engineered wood flooring. With patience and the right approach, most homeowners can achieve a professional-looking engineered wood floor installation without significant challenges.
Tools and Materials Needed
To successfully learn how to lay engineered wood flooring, gather these essentials:
- Engineered wood flooring planks: Select your desired style and finish.
- Underlayment: For insulation and sound reduction.
- Tools: Tape measure, saw, spacers, tapping block, pull bar, hammer, and adhesive (for glued installations).
- Cleaning supplies: To prepare a clean, level subfloor.
- Safety gear: Gloves, knee pads, and safety glasses.
Having these tools streamlines your wood flooring installation guide process.
Method to Lay Engineered Wood Flooring
Also known for its convenience, there are three methods to lay engineered wood flooring. Here’s the detail!
1. Floating
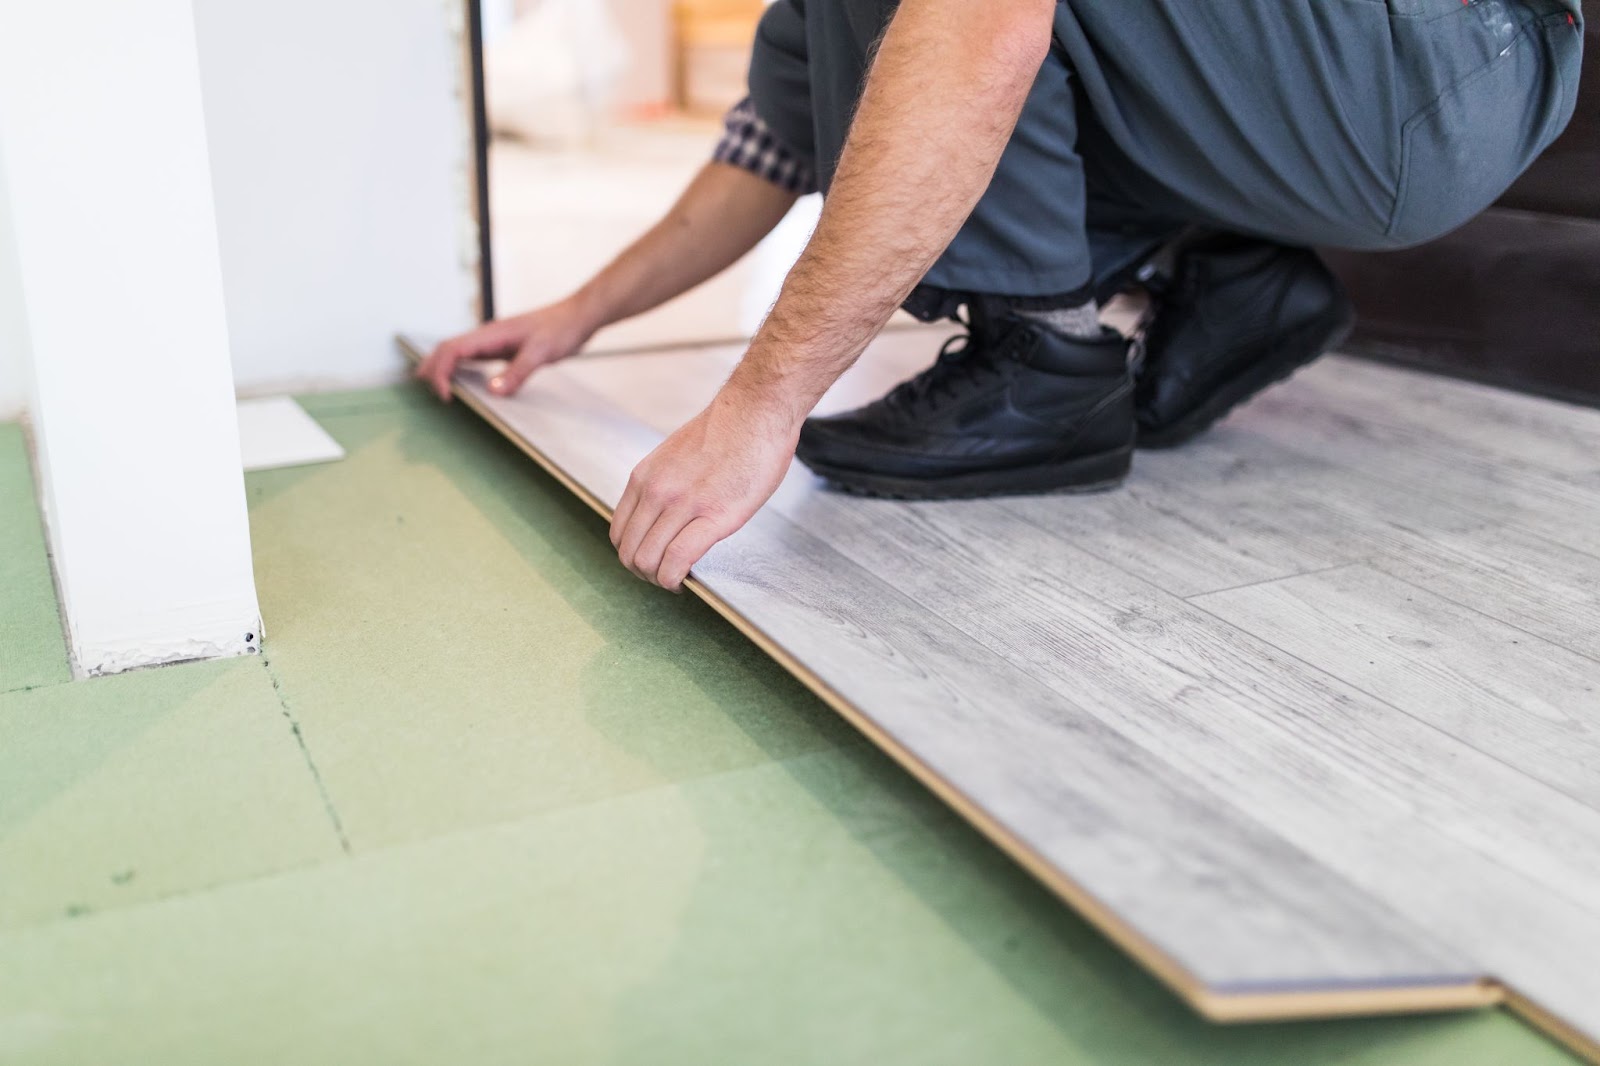
Floating is the easiest method for laying engineered wood flooring, and some options even come with locks to streamline the process. In this approach, start by preparing the underlayment and layout. Utilise the interlock system, employing either a tongue-and-groove or click-lock mechanism on the flooring.
This method is suitable for: Concrete, wood, or existing flooring.
2. Glue Down
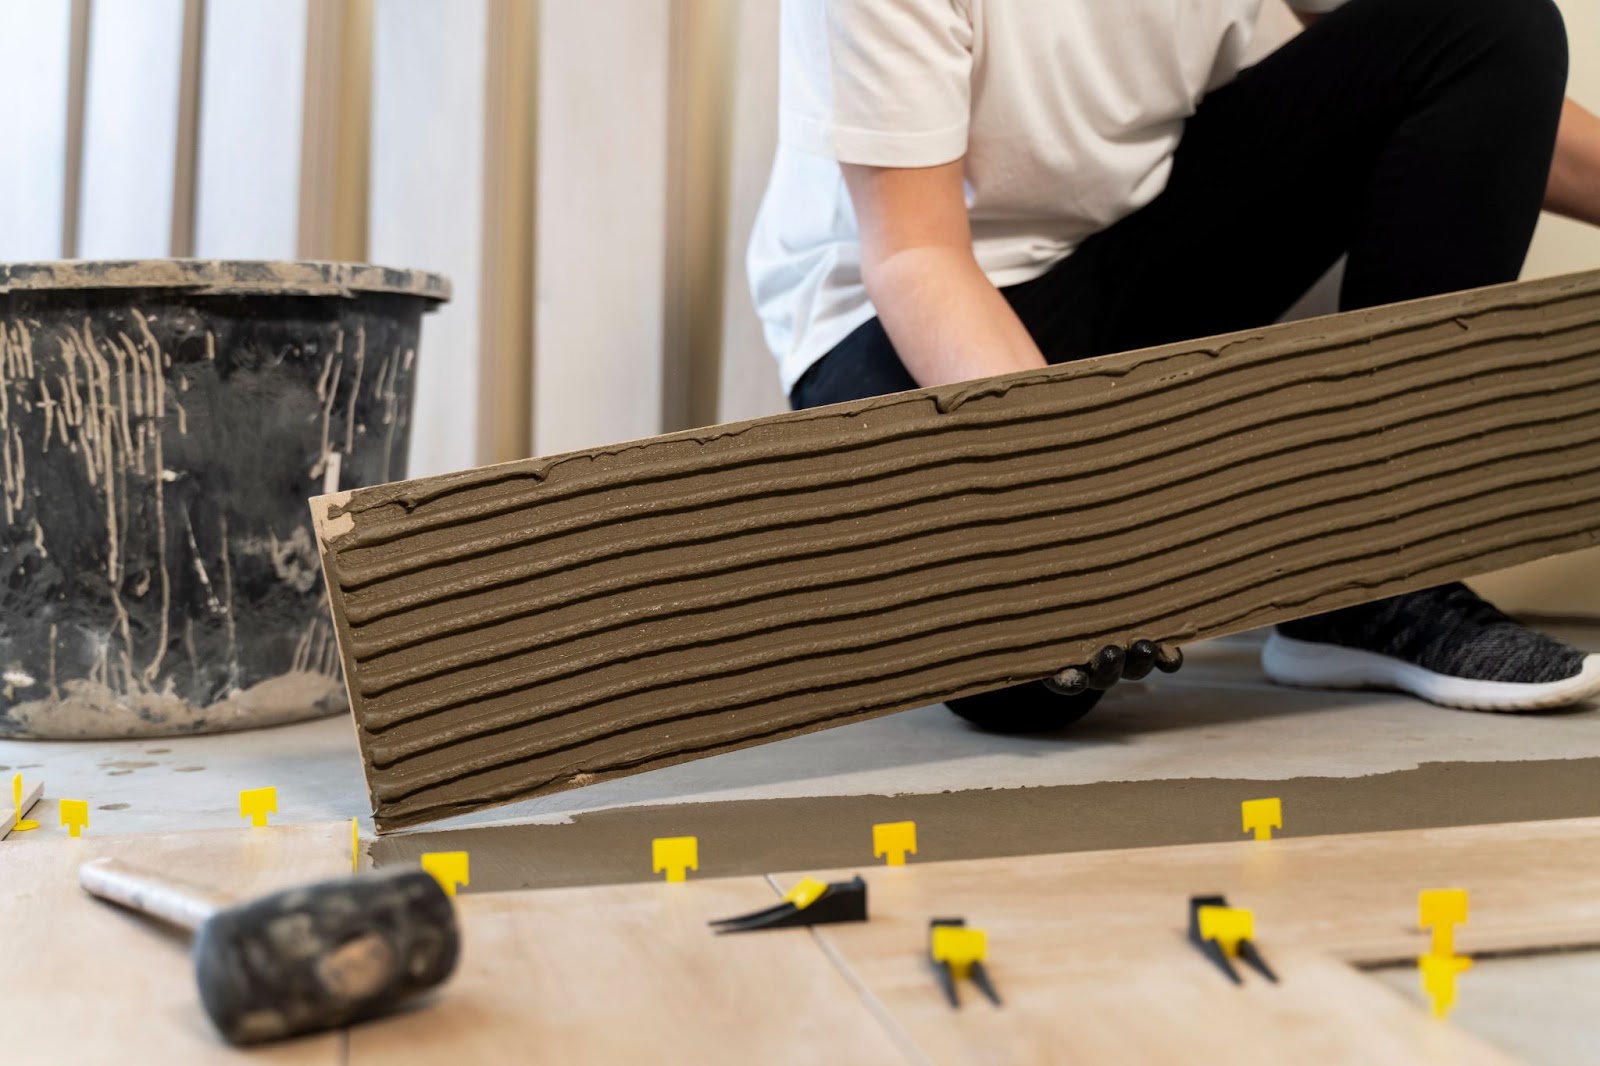
For a sturdier flooring option, consider the glue-down method when laying engineered wood flooring. This technique involves using adhesive material or glue, offering increased stability. Keep in mind that due to the adhesive glue, removing or replacing the engineered wood flooring may be more challenging.
This method is suitable for: Concrete or plywood subfloor.
3. Staple Down
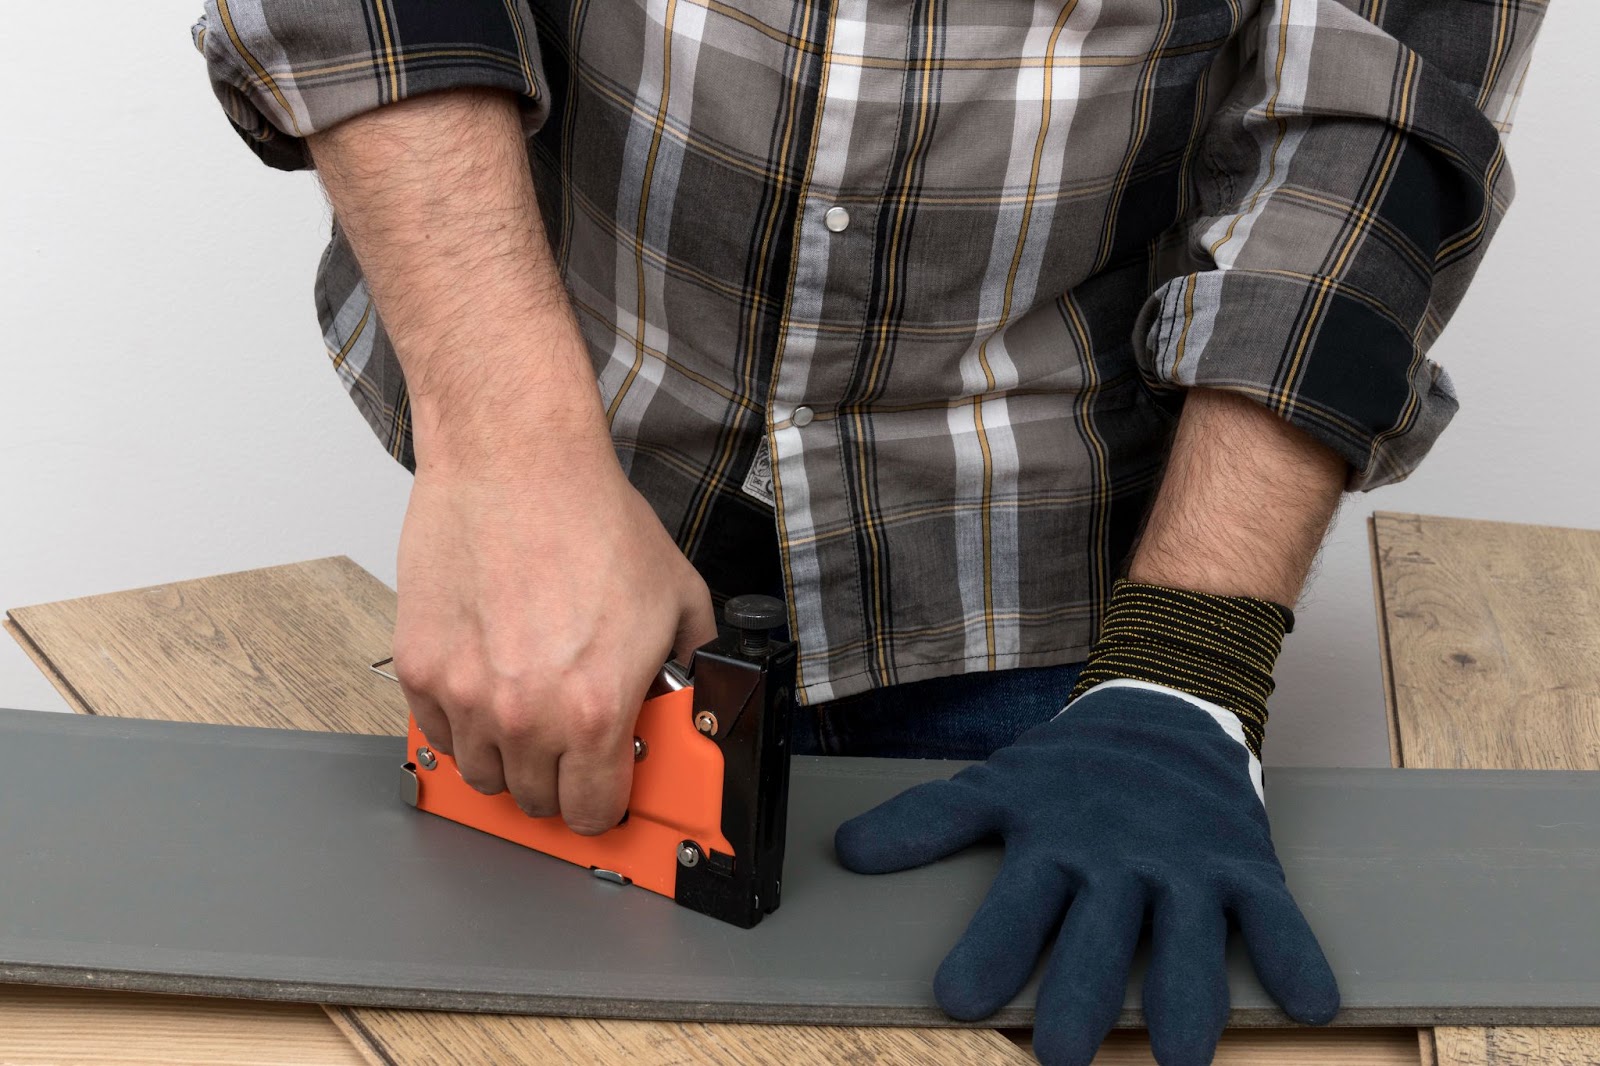
Another method to lay engineered wood flooring is by staple-down installation. In this method, you can use a wood staple, hammer or nails. This method also offers more stability but a little noise.
This method is suitable for: Plywood or wood subfloors.
What is The Best Way to Lay Engineered Wood Flooring?
The optimal method for laying engineered wood flooring depends on several factors. Assessing your subfloor type, budget considerations, and available time, especially if tackling the task alone, is crucial. Floating is the easiest option, employing interlocking systems for simplicity.
If seeking enhanced stability, the glue-down method, utilizing adhesive material, is recommended. Each approach has its merits, with floating being user-friendly and glue-down providing a firmer foundation. Ultimately, the best way to lay engineered wood flooring is a personalized decision, considering your specific circumstances and preferences for a durable and aesthetically pleasing result.
Step-by-Step Guide to Laying Engineered Wood Flooring
1. Prepare the Subfloor
A stable subfloor is vital for how to lay engineered wood flooring. Check for cracks, moisture, or unevenness. Clean thoroughly and level imperfections with a floor leveler. For concrete subfloors, ensure dryness and consider a moisture barrier. Proper preparation supports a lasting engineered wood floor installation.
2. Acclimate the Flooring
Let your engineered wood planks acclimate to the room’s conditions for 48-72 hours. This prevents post-installation expansion or contraction. Stack planks in the installation room, allowing air circulation. This step is crucial for successfully laying engineered wood floors.
3. Install the Underlayment
Lay the underlayment to cushion and insulate your flooring. Roll it out, taping seams securely. This enhances comfort and reduces noise, a key part of any wood flooring installation guide.
What Do You Lay Under Engineered Wood Flooring?
Before laying engineered wood flooring, you need to do moisture protection. Some of the options are foam, rubber, moisture barrier, felt underlayments or combinations of them.
4. Plan Your Layout
Before starting, plan the layout to avoid narrow edge pieces. Measure the room’s width, divide by plank width, and calculate rows. Draw a straight reference line for alignment. This planning is essential for how to lay engineered wood flooring accurately.
5. Install the First Row
Start in a corner, placing spacers along the wall for a 10mm expansion gap. Lay the first row, tongue side facing the room, using adhesive or click-lock systems. A precise first row sets the foundation for a professional engineered wood floor installation.
6. Continue Laying Planks
Stagger seams for a natural appearance, cutting planks as needed. Use a tapping block to secure planks tightly without damage. Check alignment regularly for a polished result. This step is central to how to lay engineered wood flooring effectively.
7. Cut Around Obstacles
Measure and cut planks for door frames, pipes, or corners using a jigsaw or handsaw. Precise cuts enhance the aesthetic of laying engineered wood floors.
8. Install the Final Row
Measure and cut the final row to fit, maintaining the expansion gap. Use a pull bar to secure the last planks. This completes the core process of how to lay engineered wood flooring, nearing a stunning outcome.
9. Finishing Touches
Add baseboards or trim to cover expansion gaps and install transition pieces at doorways. Clean the floor to remove debris. These details elevate your engineered wood floor installation to a professional level.
How Much to Lay Engineered Wood Flooring?
When budgeting for engineered wood flooring, it’s not just about the monetary cost; consider your time and energy investment as well. Installation expenses can vary based on the desired model, delivery costs, and additional charges. At TEKA Flooring, we offer top-notch quality at a reasonable price. Consult with our team for the best deals.
Careful preparation is key when laying engineered flooring. From understanding your subfloor type to selecting the right floorboard and mastering the installation process, meticulous planning ensures a successful outcome. If you’re considering engineered flooring for your home, consult with TEKA for assistance and attractive prices. Check out our products now!
If you are planning to use engineered flooring for your home and need to consult with TEKA for assistance and attractive prices, check our product now!