Installing vinyl click flooring is one of the easiest ways to give your bathroom a stylish, water-resistant upgrade without the high cost of tile. Whether you’re an experienced DIY enthusiast or just starting out, this guide will walk you through how to lay vinyl click flooring in bathroom correctly. You’ll also find answers to common concerns like what to put under vinyl flooring in bathroom or how to install vinyl flooring in bathroom without removing toilet.
Steps to Install Vinyl Click Flooring in Your Bathroom
Before you begin, it’s essential to understand the process and the tools required. Vinyl click flooring is ideal for bathroom renovations due to its durability and water-resistant qualities.
1. Prepare Your Bathroom Floor
Proper surface preparation ensures your vinyl planks lay flat, lock correctly, and last for years.
- Clear the space: Remove rugs, freestanding furniture, and anything obstructing the floor.
- Clean the subfloor: Ensure it’s dry, clean, and level. If there are imperfections, use a levelling compound.
- Decide what to put under vinyl flooring in bathroom: In most cases, you won’t need an underlay as many vinyl click planks have a built-in backing. However, if not, opt for a moisture-resistant underlay suitable for bathrooms.
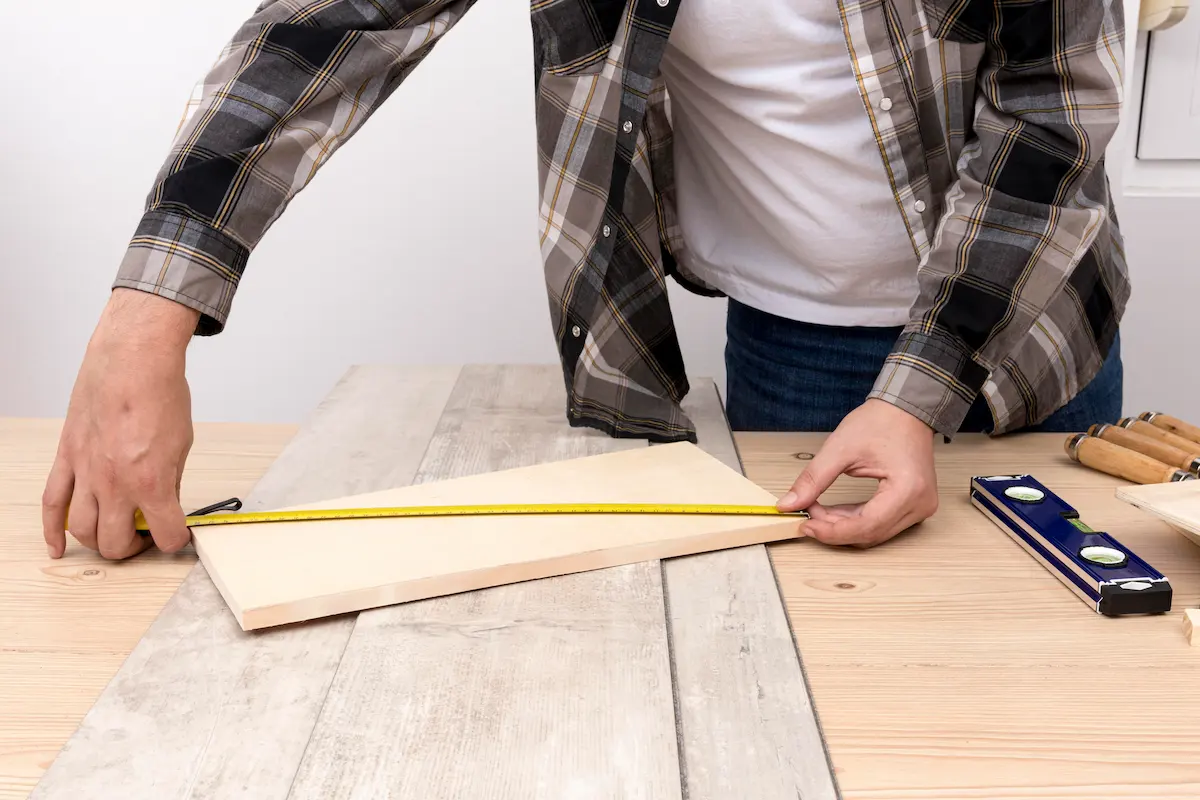
2. Measure and Plan the Layout
Getting your layout right is crucial to avoid awkward cuts and make your bathroom look seamless.
- Use a tape measure to calculate floor dimensions and order 10% more vinyl than needed to allow for mistakes or future repairs.
- When deciding which direction to lay vinyl plank flooring in small bathroom, run the planks parallel to the longest wall. This makes the room appear larger and more cohesive.
3. Start Laying the First Row
Begin along the straightest wall and work your way across the room using spacers.
- Use spacers to leave a 5–10mm expansion gap around the edges.
- Click the tongue and groove planks together, gently tapping with a rubber mallet if needed.
- If the first row doesn’t fit evenly, cut the first plank to ensure the last one isn’t too short.
4. Stagger the Seams for a Natural Look
Staggering joints creates a more attractive and structurally sound floor.
- Cut the first plank of every other row to at least one-third the length to stagger the seams.
- Ensure the joints are tight and planks are locked properly.
5. Cutting Around Obstacles and Fixtures
Bathrooms often have irregular shapes, so precise cutting around fixtures is key.
- For curves or pipes, trace the shape onto the plank and use a jigsaw or utility knife to cut.
- How to install vinyl flooring in bathroom without removing toilet? Cut the planks to fit around the toilet base snugly. You can use caulk or a matching trim for a neat finish.
6. Final Touches and Sealing Edges
Once all planks are installed, sealing and finishing the edges will prevent water seepage.
- Remove spacers and install waterproof skirting or quadrant beading.
- Use a silicone sealant around the perimeter and any exposed edges, particularly near the bath, toilet, and sink.
Conclusion: Upgrade Your Bathroom with Ease
Knowing how to lay vinyl click flooring in bathroom gives you the confidence to transform your space with a stylish, cost-effective, and waterproof solution. From layout planning to sealing edges, each step ensures a durable and attractive finish.
If you’re looking for premium vinyl flooring options in Peterborough, TEKA Flooring offers a wide selection suitable for any bathroom style. Visit us today to explore our range and get expert advice on fitting and aftercare.
Read also: