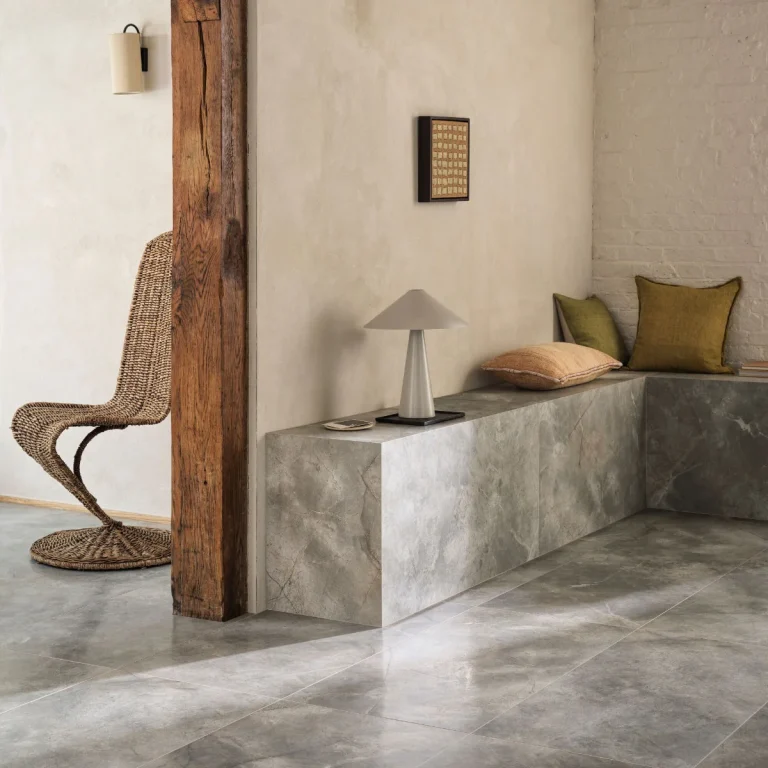
Installing new flooring can completely transform your home, but how to prepare your room for new flooring is key to ensuring a flawless, long-lasting result. Whether you’re laying hardwood, laminate, or vinyl, planning ahead will help you avoid costly mistakes and disruptions.
How to Prepare Your Room for New Flooring
Preparing your room properly helps avoid common installation issues, ensures the materials settle correctly, and makes the installation more efficient. This guide covers each step, from removing existing flooring to measuring and planning for your new materials.
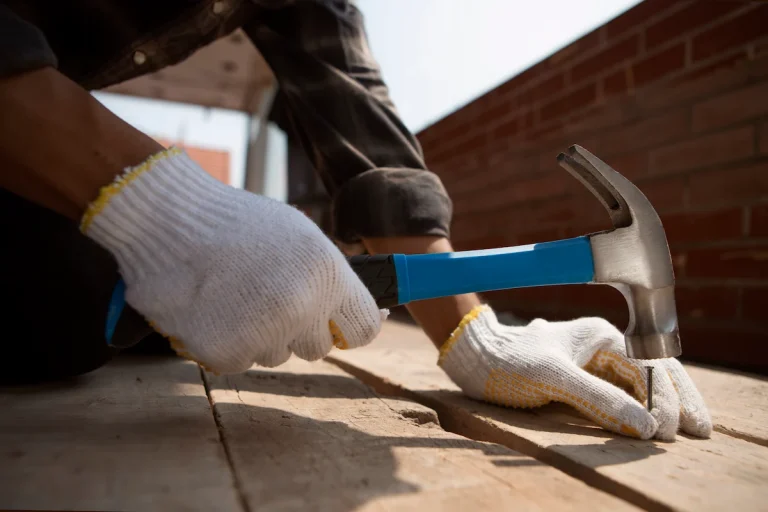
1. Remove Old Flooring and Prepare for Underlay Installation
The first essential step in how to prepare your room for new flooring is to remove the existing material—be it carpet, laminate, or tile. This clears the space and reveals the subfloor, which must be inspected for damage or unevenness.
- For carpet: Pull up from the corners and cut into manageable strips.
- For laminate: Lift planks gently using a pry bar.
- For tile: Use a hammer and chisel to loosen the tiles and scrape off adhesive.
Check the subfloor for dampness, rot, or uneven patches. Fix these issues now to avoid problems after installation.
2. Clean and Repair Subfloor with Appropriate Cleaning Solution
Once the old flooring is out, clean the subfloor thoroughly to remove all dust, debris, and adhesive. This ensures a strong bond with the new flooring material.
- Sweep and vacuum the entire area.
- Use a damp mop or cleaning solution for stubborn dirt.
- Repair cracks or holes using patching compound.
- Replace damaged sections of the subfloor if necessary.
This stage is vital in how to prepare your room for new flooring, ensuring a level surface and preventing future damage.
3. Measure and Plan Layout for Flooring Materials
Accurate measurements are crucial for calculating how much flooring you need and planning the layout.
- Measure the room’s length and width in metres.
- Multiply to get the total square metre coverage.
- Add 10% to account for waste and awkward cuts.
For oddly shaped rooms, break the space into sections and measure each separately. This careful planning reduces waste and supports a successful fit.
4. Acclimate New Flooring and Ensure Humidity Temperature Control
Acclimatising materials is a crucial but often overlooked part of how to prepare your room for new flooring. Flooring materials, especially wood, need time to adjust to the room’s temperature and humidity.
- Hardwood: 3–7 days
- Laminate: At least 48 hours
- Vinyl: 24–48 hours
Store the flooring in the room where it will be installed. Aim for a stable room temperature and maintain a humidity level between 30% and 50%. This prevents warping, gaps, or buckling.
5. Gather Necessary Supplies
Before laying down your new floor, gather all necessary tools and materials to streamline the installation:
- Tape measure
- Utility knife
- Rubber mallet
- Chalk line
- Underlay and adhesive
- Premium door bars and trims
- Safety gear (gloves, goggles, knee pads)
Being fully equipped minimises interruptions and ensures you follow through with your project efficiently. This also reinforces the importance of how to prepare your room for new flooring before work begins.
6. Cut and Install Flooring
Whether you’re doing it yourself or hiring professionals, cutting and placing flooring correctly is critical.
- Use a mitre saw or jigsaw for precision cuts.
- Always wear safety equipment and secure pets and furniture.
- Follow the manufacturer’s layout instructions.
Ensure the subfloor is clean and level before laying each piece. This part of how to prepare your room for new flooring focuses on execution with accuracy and patience.
7. Finish with Trim and Baseboards
Completing the job with skirting and architraves offers a professional finish and covers expansion gaps.
- Measure each wall section carefully.
- Cut corners using a mitre saw for a clean fit.
- Fix with adhesive or nails for a seamless look.
Reinstall any removed doors or adjust them to clear the new flooring. This final touch ties the room together beautifully.
Ready to Install? TEKA Flooring Can Help
Understanding how to prepare your room for new flooring is a vital first step to achieving beautiful and long-lasting results. From removing old materials to planning the layout and acclimating the flooring, each stage plays a role in a successful transformation.
If you want expert guidance or professional assistance, TEKA Flooring offers a wide range of premium flooring products and a full fitting service to help bring your vision to life. Visit our store today or explore our blog for more flooring insights. Let TEKA Flooring take your project from planning to perfection.
Read also: