Are you considering removing the carpet in your home but not sure where to start? This article will guide you through the process step by step, from the reasons why you may need to remove the carpet to the how to remove carpet.
Whether it’s stains, wear and tear, or a change in aesthetic, we’ve got you covered. Stay tuned for tips, tricks, and a hassle-free guide on how to remove carpet and dispose of it properly.
Reasons Why You Need to Remove Carpet
Removing carpet can significantly improve the appearance and feel of your home, eliminate dust particles trapped in the fabric, and allow you to inspect the underlay for any potential problems.
a. Stains and Odours
Stains and odours embedded in the carpet can be difficult to remove and may penetrate into the underlay, leading to persistent issues.
When these stains and odours seep through the carpet fibres and reach the underlay, they can create a breeding ground for bacteria and mould, causing health hazards and unpleasant smells. The presence of dust particles in the carpet fibres not only worsens the stains but also contributes to the overall deterioration of the carpet and underlay. Over time, these tiny particles settle deep into the carpet, making it challenging to eliminate them completely.
b. Wear and Tear
Over time, carpets can show signs of wear and tear, which may also affect the underlay and reduce the overall lifespan of your flooring.
These signs of wear and tear can manifest in various ways, such as matting, crushing of fibres, fading due to exposure to sunlight, and even staining from spills or pet accidents. Each of these issues not only impacts the appearance of the carpet but can also compromise its structural integrity over time.
As the carpet wears down, the underlay below it may start to break down as well, leading to uneven flooring, decreased insulation, and potential hazards like tripping or bunching up of the carpet. It’s essential to address these wear and tear issues promptly to maintain the longevity of both the carpet and the underlay.
c. Change in Aesthetic
A change in aesthetic preferences is one of the most common reasons for removing a carpet, allowing homeowners to modernise their space and remove any accumulated dust particles.
Personal tastes and interior design trends evolve over time, influencing the decision to switch from carpet to hardwood flooring or tiles. The removal process not only breathes new life into a room but also helps in getting rid of any hidden dust mites, pet dander, or pollen that might have settled within the carpet fibres. This shift towards cleaner and more hygienic living environments aligns with the growing awareness of indoor air quality and its impact on overall well-being.
Keeping spaces allergen-free has become a priority for many individuals, motivating them to opt for easier-to-clean and allergy-friendly flooring alternatives.
Tools and Materials Needed for Removing Carpet
On how to remove carpet guides, you’ll need a variety of tools and materials including a utility knife, pliers, pry bar, dust mask, and gripper rods, ensuring you can tackle each stage of the process safely and efficiently.
a. Utility Knife
A utility knife is essential for cutting the carpet into manageable strips, making it easier to remove and dispose of.
By using a sharp and sturdy utility knife, individuals can effortlessly slice through the carpet fibres and backing, allowing for precise cuts that facilitate the removal process. When cutting the carpet, it’s crucial to maintain a firm grip on the knife, keeping the blade away from the body to prevent accidental injuries.
A utility knife is versatile and adaptable, enabling users to adjust the blade length as needed for different carpet thicknesses. Its retractable blade design enhances safety by minimising the risk of cuts when the knife is not in use.
b. Pliers
Spanners are useful for removing staples and nails that secure the carpet and underlay to the floor.
Regarding carpet removal, having the right types of spanners can make the process much smoother.
Long-nose spanners are perfect for reaching into tight corners and grasping small staples with precision. Adjustable spanners, with their adjustable jaws, provide a versatile option for gripping and pulling out larger nails. Electrician’s spanners, also known as combination spanners, are great for cutting through thicker wires or nails. These heavy-duty spanners offer a strong grip and cutting capabilities, ideal for tougher removal tasks.
By having a set of various spanners on hand, you can effectively tackle any staple or nail securing the carpet and underlay, ensuring a successful removal process.
c. Pry Bar
A crowbar helps in lifting the gripper rods and any remaining staples or nails from the floor.
When using a crowbar for removing carpet, it is important to start by wedging the tool under the edge of the carpet near the gripper rod and applying controlled pressure to lift it. Be cautious not to damage the subfloor while leveraging the crowbar.
Proper positioning of the crowbar is crucial for effective removal. Work slowly and methodically to avoid splintering or breaking the wood underneath. As you progress, gently pull the carpet back and continue using the crowbar to detach it from the floor.
d. Dust Mask
Wearing a dust mask is crucial during carpet removal to protect yourself from inhaling dust particles and other allergens.
Exposure to dust particles during carpet removal poses a significant health risk, especially for individuals with respiratory conditions such as asthma or allergies. Inhaling dust can irritate the lungs, leading to coughing, wheezing, and difficulty breathing. Dust may contain harmful substances like mould spores or chemicals that can have long-term consequences on respiratory health.
Wearing a dust mask creates a barrier between you and these hazardous particles, reducing your risk of inhaling them. This simple protective gear can make a big difference in safeguarding your respiratory system while undertaking dusty tasks.
e. Gloves
Gloves protect your hands from sharp objects and rough materials that you may encounter during carpet removal.
Choosing the right type of gloves is essential to ensure maximum protection and comfort while working in potentially hazardous conditions. For tasks like carpet removal, it is recommended to opt for durable gloves made from materials such as nitrile or leather. Nitrile gloves are puncture-resistant and offer great grip, ideal for handling sharp objects commonly found in construction debris. Leather gloves, on the other hand, provide protection against abrasions and splinters.
f. Rubbish Bags
Rubbish bags are essential for collecting and disposing of carpet strips, underlay, and other debris.
When working with carpet installations or removals, it’s crucial to use heavy-duty rubbish bags that can withstand sharp edges and bulky items without tearing. Opt for industrial-strength contractor bags or construction waste bags that are thick and durable. These bags come in various sizes, typically ranging from 20 to 55 gallons to accommodate different amounts of waste. By using the appropriate size and type of rubbish bags, you can effectively contain and transport debris, ensuring a clean and organised work area.
How to Remove Carpet Step-by-Step
Taking up carpet yourself can be a manageable task with the appropriate tools and procedures, such as preparation, cutting, and safe disposal, to make sure that the underlay, gripper rods, and dust particles are dealt with effectively.
Here is the step-by-step on how to remove carpet that you should be aware of.
1. Prepare the Room
Begin by preparing the room, which includes wearing a dust mask to protect yourself from dust particles and clearing out all furniture and obstacles.
Regarding moving furniture, it is essential to lift items properly to prevent any strain on your back. Additionally, good ventilation is crucial during this process to ensure that any airborne particles are circulated out of the room. You may want to open windows or use fans to achieve this. Another important tip is to cover any remaining furniture or items that cannot be moved to prevent them from collecting dust. By taking these steps, you can create a safe and efficient environment for your task at hand.
2. Cut the Carpet into Strips
Use a utility knife to cut the carpet into manageable strips, making the removal process easier.
To safely use a utility knife for cutting the carpet, always make sure the blade is sharp to avoid jagged edges and potential accidents. When cutting, apply gentle pressure and use a straight edge or ruler as a guide for straight cuts. Avoid cutting towards yourself and keep your fingers away from the blade. It’s best to work in a well-lit area to ensure accuracy and precision. After cutting the strips, roll them up neatly and securely with tape or ties to make handling and disposal more convenient.
3. Remove the Carpet Strips
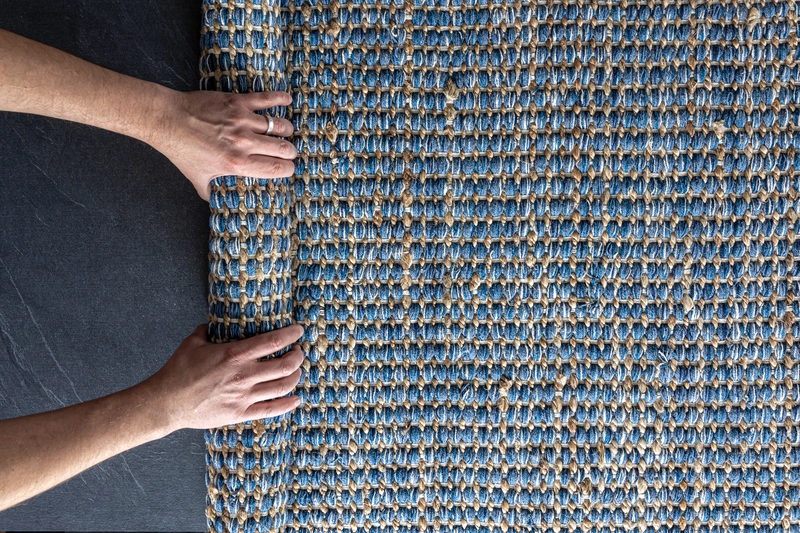
After cutting, remove the carpet strips by rolling them up and placing them in bin bags, ensuring you wear gloves to protect your hands.
Proper removal and disposal of carpet strips are crucial in maintaining a clean and safe environment. When rolling up the strips, be mindful of any debris or dirt that may have accumulated underneath.
Wearing gloves not only safeguards your hands from potential sharp edges but also prevents direct contact with dust and allergens that could be trapped in the carpet fibres.
Once the strips are securely wrapped in bin bags, seal them tightly to avoid any loose fibres or particles from escaping.
4. Remove the Carpet Padding
Once the carpet is removed, the next step is to remove the carpet padding or underlay, which may be stapled or glued to the floor.
Removing stapled underlay typically involves using a pair of pliers to grip and pull the staples out carefully one by one to avoid damaging the floor surface. It can be a bit tedious but is an effective way to detach the underlay.
On the other hand, if the underlay is glued down, a floor scraper or putty knife can come in handy to scrape and loosen the underlay from the floor.
Once the underlay is successfully detached, it is essential to dispose of it properly. Many recycling centres accept used underlay for repurposing. Be sure to check with your local waste management facilities for the appropriate disposal methods.
5. Remove the Carpet Tack Strips
Carefully use a crowbar to remove the carpet tack strips or gripper rods, which are nailed along the edges of the room.
Before you start, ensure you are wearing appropriate protective equipment such as gloves and safety glasses to prevent injuries.
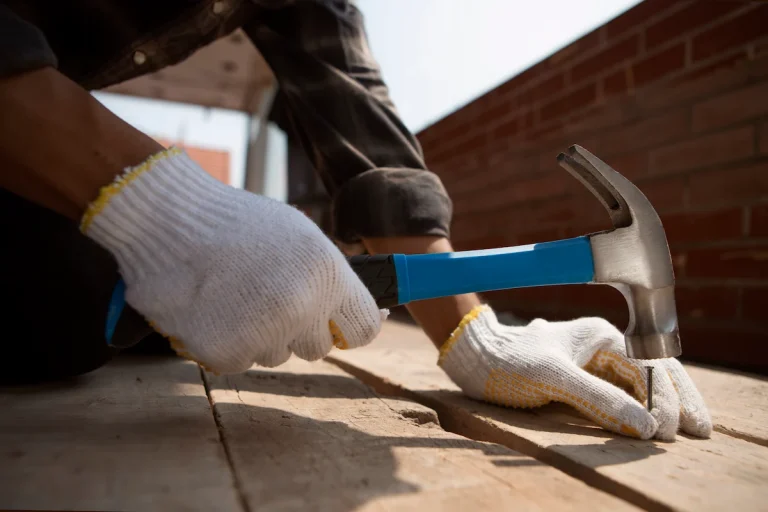
Begin by positioning the crowbar against the gripper rod at a 45-degree angle. Apply gentle pressure to raise the gripper rod away from the floor. Progress along the edge of the room, taking care not to exert too much force to avoid damaging the floor underneath. If the gripper rod is stubborn, lightly tap the crowbar with a hammer to assist in loosening it. Exercise patience and work methodically to safely remove all the gripper rods.
6. Remove Any Remaining Staples or Nails
Use pliers to remove any remaining staples or nails left in the floor after removing the carpet and underlay.
Once all the staples or nails are removed, it’s crucial to thoroughly clean the floor surface. Start by vacuuming up any dust or debris. Next, use a damp cloth or mop to wipe down the area, ensuring that no residual dirt or grime is left behind. Pay special attention to corners and edges where dirt can accumulate.
Ensuring the floor is clean and free of any remaining debris is essential before moving on to the next steps in the renovation process.
How to Dispose of Old Carpet
Properly disposing of old carpet involves placing it in heavy-duty refuse bags and checking with local waste management services for disposal guidelines.
There are various disposal options to consider beyond simply throwing it away. Recycling old carpets can be an eco-friendly choice, as many facilities now accept and process carpets for recycling. Suppose your local waste management does not have a specific recycling programme. In that case, you can reach out to carpet manufacturers or retailers who may offer take-back programmes or have suggestions on where to recycle it.
It’s also important to be aware of local regulations for disposing of old carpets, as some areas may have restrictions on how it can be disposed of.
Tips and Tricks for Easier Carpet Removal
For an easier carpet removal process, always wear a dust mask and gloves, and use the right tools to save time and effort.
Plus protective gear, it’s essential to start by clearing the room of any furniture or obstacles to create a clear working space.
Work in sections to avoid overwhelming yourself and to ensure a systematic approach to the removal process. Utilise a utility knife or a carpet cutter to cut the carpet into manageable strips, making it easier to roll and dispose of. When pulling up the carpet, be mindful of tack strips along the edges, using a pry bar to carefully lift and detach them without causing damage to the subfloor.

See product: Victoria Carpets First Impressions Day Dreamer
If you have finished the process of removing the carpet and want to replace it with a new one, it will be more efficient to use the fitting service from TEKA Flooring.
At TEKA Flooring, you can not only purchase high-quality carpets from various popular brands, such as Abingdon, Cormar Carpet, and Victoria Carpets, but also take advantage of our professional fitting service, which comes with a 24-month guarantee.
Read also:


