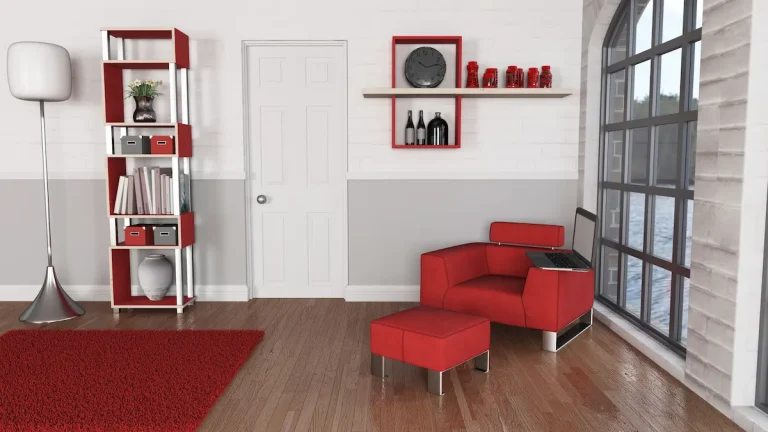
Laminate flooring has evolved beyond its traditional application on floors and is now gaining popularity as a versatile wall covering. Installing laminate flooring on walls presents a stylish and functional solution for enhancing the aesthetic appeal of home decor.
This discussion will explore the characteristics of laminate flooring, its applications on walls, and the numerous benefits it provides, including straightforward installation and an extensive range of versatile design options.
Furthermore, practical guidance and innovative ideas will assist in transforming your space into a contemporary masterpiece with creative makeover ideas.
Can Laminate Flooring Be Used on Walls?
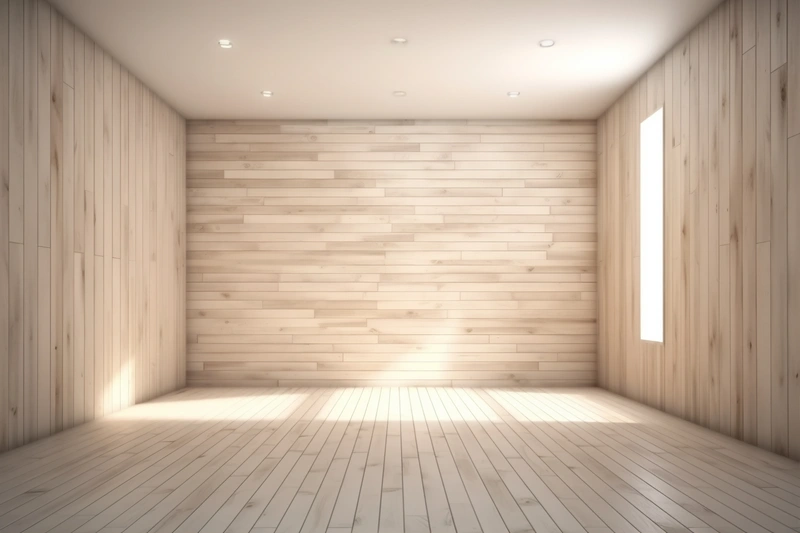
Yes, laminate flooring can be creatively used as a wall covering, transforming ordinary walls into stunning accent walls that add a unique touch to any indoor space. This approach provides unique wainscoting ideas and stylish backdrops for various settings. This innovative approach not only enhances aesthetic appeal but also showcases the versatility of laminate products in home improvement projects.
See product: Elka 8mm V-Groove Driftwood Oak
The Benefits of Using Laminate Flooring on Walls
Using laminate flooring on walls offers numerous benefits, making it an appealing option for homeowners seeking a stylish and practical wall solution. It serves as a durable alternative to traditional wall materials.
This technique not only provides a durable alternative to traditional wall coverings but also enhances the visual interest and overall aesthetic appeal of interior spaces. It allows for unique design preferences to be showcased.
1. Easy Installation
One of the standout advantages of using laminate flooring on walls is its easy installation process, which can be accomplished even by those with minimal DIY skills. Unlike traditional wall coverings, laminate products typically feature a user-friendly installation method that requires little more than proper surface preparation and adhesive application. Following an installation guide can simplify the process even further.
To embark on this transformative journey, begin with surface preparation, ensuring that the wall is clean, dry, and devoid of any imperfections. Next, accurate measuring is crucial; take the time to calculate the wall dimensions to minimise waste. This step is essential in any step-by-step guide for successful installation.
- In terms of cutting, utilise a fine-toothed saw for clean edges that fit seamlessly together.
- Applying adhesive can be performed by using a notched trowel, allowing for even distribution, which is key to a stable bond.
- Consider weight distribution; using a spirit level helps in maintaining a straight line, which ultimately ensures the installation is both visually appealing and structurally sound. Pay attention to weight considerations for added stability.
Maintaining consistent temperature and humidity during installation can further enhance adherence, securing a long-lasting wall transformation. Such installation tips are key to a successful renovation project.
2. Cost-effective
Another significant benefit of using laminate flooring on walls is its cost-effectiveness, making it an attractive option for budget-conscious homeowners looking to elevate their home improvement projects. This choice can significantly cut down on renovation costs. With a wide range of laminate products available at various price points, achieving a high-end look doesn’t have to break the bank.
Plus its affordability, laminate seamlessly mimics the appearance of more expensive wall coverings, such as hardwood or ceramic tiles, allowing a striking aesthetic transformation without overspending. This makes it an ideal choice for an elegant design within budget.
Opting for laminate can significantly reduce both initial purchase and installation costs, making it a smart choice for those who wish to enhance their home’s appearance without sacrificing quality.
When comparing laminate flooring to other materials, consider the following:
- Hardwood: Typically requires a substantial upfront investment and ongoing maintenance costs.
- Ceramic Tile: Installation can be labour-intensive and expensive, increasing overall expenses.
- Vinyl: While cheaper, it often lacks the elegance associated with laminate finishes.
Choosing laminate flooring for walls provides homeowners with an elegant solution that meets both design and financial objectives. This flooring option is practical and visually appealing.
3. Durable and Low Maintenance
Laminate flooring is known for being a durable alternative to traditional wall materials, providing homeowners with a low-maintenance solution that withstands daily wear and tear. Its construction makes it ideal for high-traffic indoor areas. This resilience makes it ideal for high-traffic indoor areas, as well as spaces prone to moisture, such as kitchens and bathrooms.
Consider using plywood support for added stability in these areas. Its construction typically includes a tough wear layer that protects against scratches and stains, ensuring that it maintains its pristine appearance even in busy households. Its moisture resistance alleviates concerns about water damage, making it a practical choice for various environments.
Maintaining the appearance of laminate is straightforward; here are some cleaning laminate tips:
- Regularly sweep or vacuum to remove dust and debris.
- Occasionally damp mop with a mild cleaner specifically designed for laminate.
- Avoid using abrasive cleaners which can scratch the surface.
By following these simple guidelines, homeowners can enjoy the longevity and aesthetic appeal of laminate flooring with minimal effort.
4. Variety of Designs and Styles
The variety of designs and styles available in laminate flooring offers endless opportunities to create a unique touch in any room, allowing homeowners to express their individual design preferences. From rustic textures to modern finishes, laminate products can seamlessly fit into any interior design theme, making it a versatile option for various design preferences.
When exploring laminate flooring design options, there are numerous choices to consider. Textured plank designs, for instance, can add a sense of warmth and depth, perfectly complementing a cosy living room or an inviting dining area. Homeowners might choose finishes with distressed surfaces to evoke a rustic charm or opt for sleek, glossy options for a contemporary feel. These choices help in creating a unique style and aesthetic appeal.
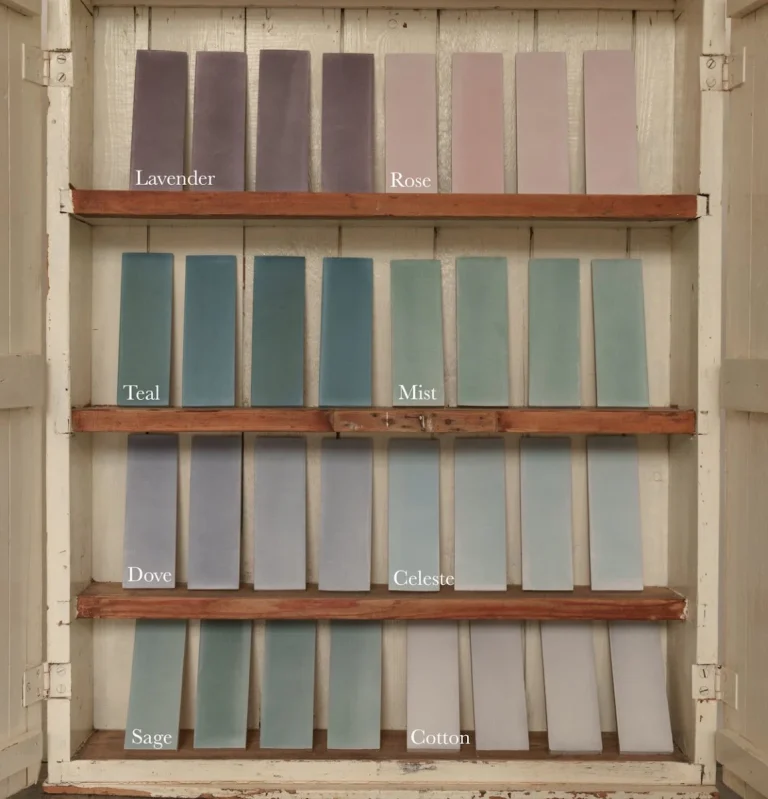
Colour variations also play a crucial role in achieving your desired aesthetic. Light shades can brighten up smaller spaces, while darker tones can create a dramatic atmosphere. Using contrasting colours can help define different areas within an open-plan layout.
- Textured Plank Designs: Enhance warmth and depth.
- Rustic vs. Modern Finishes: Adapt to your style.
- Colour Variations: Bright or dramatic effects.
These elements can serve as stunning focal points or be utilised to create accent walls that draw the eye and anchor the room’s overall design.
The Steps to Install Laminate Flooring on Walls
Fitting laminate flooring on walls involves a systematic process that ensures a successful and aesthetically pleasing result. Following a comprehensive installation guide can help in achieving a professional appearance.
By following a step-by-step guide, homeowners can achieve a professional appearance while enhancing their indoor spaces with laminate products. This guide can include detailed instructions on using brad nails and construction adhesive for secure mounting.
1. Prepare the Wall Surface
The first crucial step in the installation process of laminate flooring on walls is thorough surface preparation, which ensures proper adhesion and a smooth finish, crucial for a successful wall transformation. This involves cleaning the wall, repairing any damage, and ensuring the surface is dry and free of moisture. Moisture resistance is key to preventing long-term issues.
Assessing the wall conditions is vital to determine the extent of repairs needed, as any imperfections, such as dents or holes, can compromise the entire installation. Proper adhesion depends on a well-prepared surface.
Surface preparation may require using fillers or patching compounds to create an optimal base for the laminate. Consider using a moisture barrier to enhance moisture resistance. Moisture resistance is equally significant; walls that retain moisture can lead to mould growth and material degradation. These precautions ensure the longevity of your installation.
Before proceeding, ensure that the walls are adequately sealed and dried. Implementing a moisture barrier can be beneficial, especially in areas prone to dampness, such as kitchens and bathrooms.
Ultimately, achieving a stable base not only enhances the visual appeal but also extends the lifespan of the installation.
2. Measure and Cut the Laminate Flooring for Your DIY Project
Once the wall surface is prepared, the next step is to accurately measure and cut the laminate flooring to ensure a precise fit, accommodating any unique architectural features or design preferences. This task requires careful planning and basic DIY skills to achieve a professional-looking finish.
To begin, precise measurements are crucial, as they dictate how the laminate will fit seamlessly within the designated area. Utilising tools such as a tape measure, square, and straight edge will enable an accurate layout.
When measuring, it is essential to account for patterns in the laminate, especially if the chosen design incorporates intricate images or textures. This means understanding how the planks will align to maintain aesthetic coherence throughout the installation, especially when considering kitchen accents or bathroom decor enhancements.
In your quest for clean cuts, ensure you have a reliable circular saw or jigsaw on hand, along with a suitable blade designed for laminate materials. Here are some tips to enhance the cutting process:
- Always measure twice and cut once to prevent mistakes and reduce waste.
- Use masking tape on the cut line to minimise chipping.
- Work slowly and steadily to maintain control over the cutting tool.
By following these strategies, the chances of achieving a flawless installation increase while keeping material waste to a minimum.
3. Apply Adhesive or Double-Sided Tape for Mounting Wall Panels
After measuring and cutting, applying adhesive or double-sided tape is essential for ensuring proper adhesion of the laminate flooring to the wall, which will keep the panels securely in place for years to come. Choosing the right adhesive is critical to the longevity of the installation.
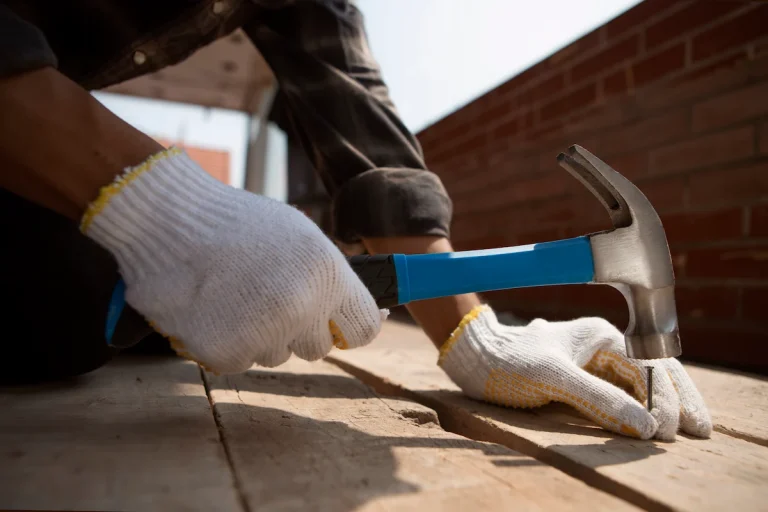
When considering the types of adhesives suitable for laminate flooring, both construction adhesive and brad nails serve pivotal roles in enhancing stability. For a reliable bond, construction adhesive is often recommended, as it provides a strong hold that accommodates floor movement and temperature fluctuations. Such adhesives are crucial when creating a mounting wall for features like a TV. To apply the adhesive evenly, it is essential to follow the manufacturer’s instructions meticulously, ensuring that a consistent layer coats the surface. Using brad nails, hammers or nail guns can bolster your installation’s security, minimising the risk of shifting.
For those looking for an alternative method, double-sided tape can be a viable option. To use this effectively, the surface must be clean and dry to ensure a solid stick. By applying the tape in strips along the wall and pressing the laminate panels firmly against it, a stronghold can be achieved.
These techniques collectively contribute to a durable and aesthetically pleasing floor that stands the test of time, complementing a bolder design approach.
4. Install the Laminate Flooring on the Wall
With the adhesive applied, it’s time to install the laminate flooring on the wall, carefully positioning the panels to ensure alignment and a seamless appearance. This stage requires attention to detail to create a polished look that enhances the overall aesthetic of the space.
Starting from the bottom, install the first panel firmly against the wall, ensuring it is level. Use spacers to maintain an even gap between the panel and the floor, which will accommodate any expansion of materials over time.
As each subsequent panel is placed, press them firmly into position, making certain that the joints are tightly fitted to avoid gaps that might detract from the overall appearance.
Once all panels are installed, consider adding finishing touches such as trim or moulding. These details can significantly elevate the look of the installation and provide an opportunity to experiment with flooring installation techniques.
- Choosing the right colour and texture for trim can complement the laminate.
- Painting the trims to match or contrast with the wall adds character.
- Cleaning the area thoroughly will ensure that your work shines.
Tips for Installing Laminate Flooring on Walls
To achieve the best results when installing laminate flooring on walls, there are several essential tips and techniques that can enhance the process and outcome. Implementing these installation tips can help ensure a durable and visually appealing wall transformation that meets your design preferences.
1. Use a Foam Underlayment
Using a foam underlay during the installation of laminate flooring on walls can significantly improve the overall finished look and feel of the surface. This layer provides added cushioning that enhances comfort and helps to reduce sound transmission between rooms.
Plus these aesthetic and acoustic benefits, utilising foam underlay offers notable advantages for moisture resistance and thermal insulation. By creating a moisture barrier, it protects the laminate from potential damage caused by dampness, which is particularly beneficial in areas prone to humidity.
- The improved insulation properties not only contribute to a more comfortable environment but also promote energy efficiency.
- This effectively reduces heating and cooling costs over time.
- Ultimately, these factors enhance the installation experience by allowing skilled professionals and DIY enthusiasts alike to achieve a flooring solution that lasts longer and performs better.
Incorporating foam underlay is an essential step in ensuring that laminate flooring not only looks superb but also stands the test of time.
2. Start from the Bottom and Work Up
Starting the installation of laminate flooring on walls from the bottom and working upwards ensures better alignment and stability throughout the entire process. This technique helps to prevent any unnecessary shifting or misalignment of the panels as you progress.
This method is particularly effective for several reasons. Beginning the installation at the base allows gravity to aid in maintaining the position of each panel, reducing the risk of gaps or unevenness that might occur if starting from the top. For instance, when installing laminate flooring on walls in a living area, aligning the lower edge perfectly can set a solid foundation for subsequent rows.
- Improved aesthetic appeal: A smooth transition from floor to wall enhances visual continuity.
- Structural integrity: Ensuring that the weight and pressure are evenly distributed prevents warping or buckling.
This approach simplifies the process of achieving a uniform pattern, as any adjustments required can be made more easily at the beginning of the installation. Keeping these factors in mind, it is clear this method not only saves time but also ensures a long-lasting and visually pleasing result.
3. Use Spacers for an Even Gap
Utilising spacers during the installation of laminate flooring on walls is crucial for maintaining even gaps, which allows for expansion and contraction due to changes in temperature and humidity. This practice ensures the longevity and durability of the installation.
When placing spacers, it is essential to ensure they are evenly distributed along the perimeter of the flooring to avoid any misalignment. Proper spacer placement not only contributes to a seamless finish but also prevents moisture-related issues that could arise from inadequate spacing. For optimal results, a recommended gap size of at least 1/4 inch is crucial, depending on the specific laminate type and the room conditions.
- Always verify the manufacturer’s guidelines for specific spacing recommendations.
- Use a consistent spacer size for uniformity throughout the installation.
- Regularly check gaps for consistency during the installation process.
By following these tips, one can ensure that spacers are used correctly and effectively, leading to a successful laminate flooring installation.
4. Use a J-Roller to Smooth Out Air Bubbles
To achieve a flawless finish when installing laminate flooring on walls, using a J-Roller can effectively smooth out any air bubbles that may form during the application process. This tool is essential for ensuring proper adhesion and a professional-looking result.
Properly utilising a J-Roller involves a few straightforward steps that can significantly enhance the installation experience.
Always ensure that the surface to which the laminate is being applied is clean and free of debris. Once the laminate is positioned, start rolling from the centre and work your way toward the edges. This technique helps to push out any trapped air bubbles, promoting an even bond between the laminate and the wall.
- Use consistent pressure while rolling to avoid damaging the laminate.
- Make several passes over the same area to ensure complete adhesion.
- Consider using a heat gun to slightly warm up the laminate, as this may facilitate better adhesion and bubble removal.
After completing these steps, inspect the installation closely for any remaining bubbles, and use the J-Roller again if needed for a refined finish. Following these best practices will lead to a striking and durable wall treatment.
Some Creative Ways to Use Laminate Flooring on Walls
There are numerous creative ways to utilise laminate flooring on walls, allowing homeowners to explore their design preferences while adding a distinct flair to their spaces.
1. Create a Statement Wall with DIY Skills
Creating a feature wall with laminate flooring can dramatically enhance the visual interest of any room, turning a simple wall into a captivating focal point. By carefully selecting colours and textures, homeowners can showcase their unique style and elevate their interior design aesthetic. Whether you’re a seasoned DIY enthusiast or a beginner, installing a laminate feature wall can be an exciting project.
When designing a feature wall, consider the following tips:
- Colour Coordination: Choose colours that complement or contrast with existing furnishings. For instance, a deep navy blue laminate can create a sophisticated backdrop for light-coloured sofas in a living room.
- Texture Selection: Different textures can make a significant impact, such as opting for a wood-grain finish for a rustic look or a sleek, matte laminate for a modern feel.
In the living room, a feature wall could be behind a fireplace or sofa, while in a bedroom, it might serve as a dramatic headboard area. Accessorising with artwork or lighting can further enhance the eye-catching effect.
2. Use as a Backsplash in the Kitchen or Bathroom
Using laminate flooring as a splashback in kitchens or bathrooms offers a stylish and practical solution that provides a unique look while being easy to maintain. This application not only enhances the overall design but also protects the walls from moisture and stains. For example, you can choose laminate splashback that complements both modern and traditional styles.
Laminate splashbacks are available in a range of designs, patterns, and colours, allowing individual creativity to shine through. Homeowners can choose from wood grain textures for a rustic appeal or bold, modern patterns for a contemporary twist. These customisable options enable seamless integration with existing decor.
When considering a laminate splashback, it’s essential to evaluate:
- Design versatility
- Colour coordination with cabinetry and worktops
- Durability in high-moisture areas
The benefits of using laminate extend beyond aesthetics; it is resistant to stains and easy to clean—traits that make it particularly suitable for busy kitchens and bathrooms. Therefore, utilising laminate not only beautifies a space but also serves as a practical solution for maintaining cleanliness and style.
3. Add Texture to a Room
Adding texture to a room using laminate flooring can significantly contribute to the visual interest and overall ambience of the space. This approach provides depth and dimension, creating a more inviting environment that captivates the eye.
Experimenting with different patterns can bring life to walls, transforming ordinary spaces into stunning visual narratives. Homeowners can select from a variety of finishes, such as matte, glossy, or textured options, to achieve the desired effect.
To further enhance the aesthetic appeal, consider these techniques:
- Layering Finishes: Combining multiple laminate layers can elevate the appearance.
- Contrasting Textures: Mixing smooth and rough surfaces adds complexity.
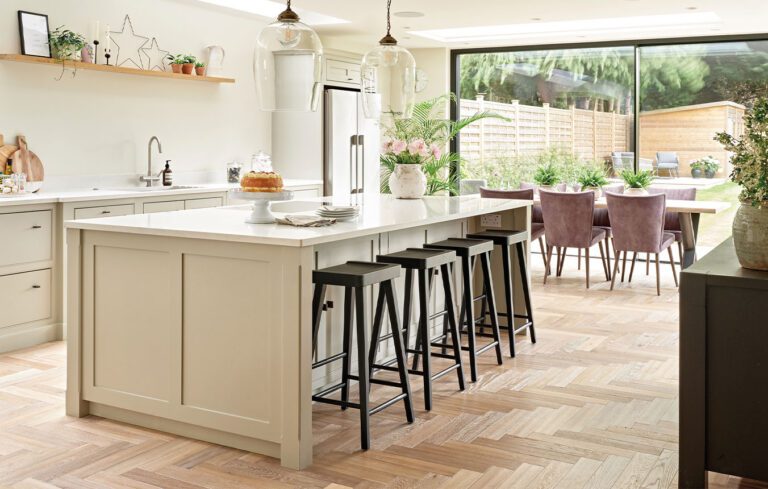
- Creative Installation: Arranging planks in herringbone or chevron patterns offers unique visual interest.
With these innovative approaches, one can create a dynamic atmosphere that resonates with personal style and enhances the overall design of interiors. Imagine adding a textured wall behind the TV, making it an instant focal point in your living room.
With benefits like easy installation, low maintenance, and affordability, laminate walls are perfect for upgrading your home without breaking the bank. Plus, the durability of laminate makes it ideal for high-traffic areas or spaces prone to wear and tear.
Why wait to enhance your walls with a modern touch? Contact TEKA Flooring soon to explore our premium laminate options and let us help you create a space that truly stands out. With TEKA Flooring, your dream interior is just a call away!
Read also:


