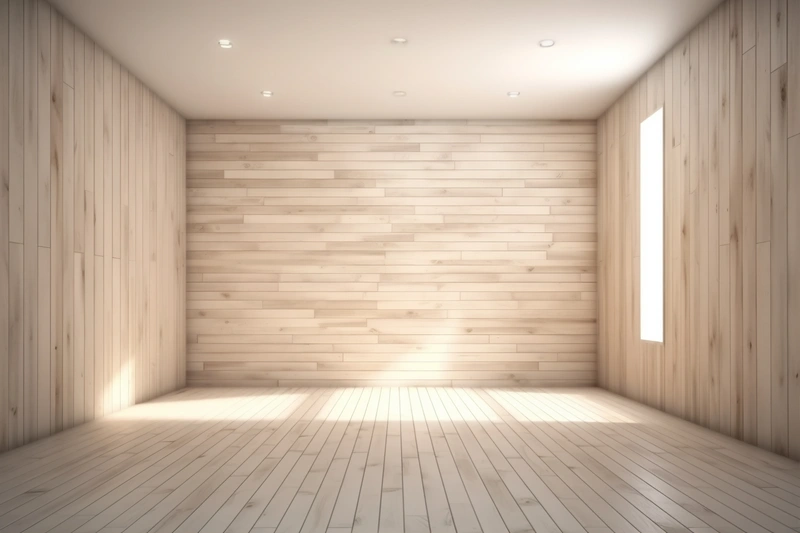
Laminate flooring is not just for floors. Installing laminate planks on walls has become one of the most popular interior design trends in recent years, offering a cost-effective way to create stunning feature walls, headboards, and accent panels using a material that is durable, versatile, and easy to work with.
This guide covers everything you need to know about using laminate flooring on walls, including why it works, how to install it step by step, creative design ideas, and essential tips to get a professional finish.
Can You Put Laminate Flooring on Walls?
Yes. Laminate planks can be installed on walls just as effectively as on floors. The same click-lock or tongue-and-groove system that makes laminate easy to lay on floors also works vertically, with the addition of adhesive or mechanical fixings to counteract gravity.
Wall-mounted laminate provides the same aesthetic as real wood panelling at a fraction of the cost, and it is significantly lighter than timber cladding, making it suitable for most internal walls without structural modifications.
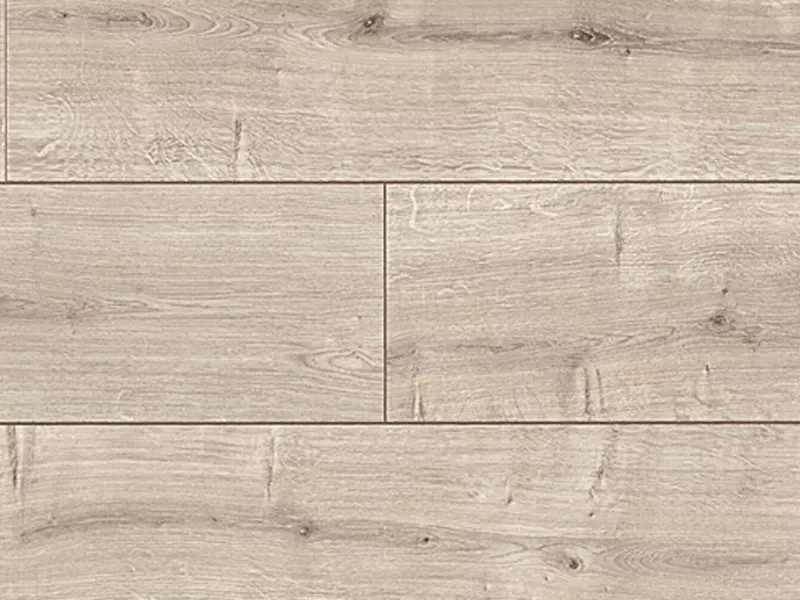
See product: Elka 8mm V-Groove Driftwood Oak
Why Use Laminate Flooring on Walls?
There are several compelling reasons to choose laminate over traditional wall cladding, panelling, or wallpaper:
Cost-Effective
Laminate costs significantly less than real wood panelling, reclaimed timber, or decorative wall tiles. You get the look of natural wood, stone, or concrete at a fraction of the price. Material costs typically range from £8-25 per square metre depending on quality and design.
Huge Design Variety
Modern laminate comes in hundreds of designs, from light Scandinavian oak to dark walnut, weathered grey driftwood to industrial concrete effects. This variety means you can match virtually any interior style. Browse our laminate collection to see the full range of options.
Durable and Easy to Maintain
Laminate’s wear layer resists scratches, stains, and fading. Unlike painted walls that scuff and mark, or wallpaper that tears and peels, laminate maintains its appearance with minimal maintenance. A quick wipe with a damp cloth is all it needs.
Simple DIY Installation
You do not need advanced carpentry skills. With basic tools, adhesive, and patience, most homeowners can install a laminate feature wall in a single weekend. The click-lock system means planks align perfectly without complex joinery.
Sound and Thermal Insulation
Adding laminate to a wall creates an additional insulating layer that reduces sound transmission between rooms and provides modest thermal insulation. This makes it particularly useful on party walls or in home offices where noise reduction matters.
How to Install Laminate Flooring on Walls (Step by Step)
Tools and Materials You Will Need
- Laminate planks (measure wall area + 10% for waste)
- Construction adhesive (grab adhesive or panel adhesive)
- Brad nails and nail gun (optional, for extra security)
- Spirit level
- Tape measure and pencil
- Fine-toothed saw, jigsaw, or mitre saw
- Spacers (5-8mm)
- J-roller (for pressing panels flat)
- Masking tape
- Safety glasses and dust mask
Step 1: Prepare the Wall
A smooth, clean, dry wall is essential for proper adhesion. Remove any wallpaper, loose paint, or debris. Fill holes and dents with filler and sand smooth once dry.
Check for moisture: If the wall shows any signs of damp, address this before installing laminate. Moisture trapped behind the planks will cause mould and warping. In kitchens or bathrooms, consider applying a moisture barrier first.
Wall condition: Laminate can be installed on plasterboard, plastered brick, or even over existing tiles (if flat). The key requirement is that the surface is flat and structurally sound.
Step 2: Plan Your Layout
Before cutting anything, plan how the planks will sit on the wall:
- Horizontal is the most common orientation, creating a natural wood-plank look that visually widens a room
- Vertical draws the eye upward, making ceilings feel taller
- Diagonal or herringbone creates a bold statement but requires more cutting and waste
Mark a level guideline on the wall for your first row. This is critical because if the first row is not level, every subsequent row will be off.
Step 3: Acclimatise the Laminate
Leave the laminate planks in the room where they will be installed for at least 48 hours before starting. This allows the material to adjust to the room’s temperature and humidity, reducing the risk of expansion or contraction after installation.
Step 4: Cut and Dry-Fit the First Row
Measure the wall width and cut your first row of planks to fit. Stagger the end joints (just as you would on a floor) for a natural appearance and structural stability. Dry-fit the first two rows against the wall without adhesive to check alignment and fit.
Cutting tips:
- Cut with the decorative face up when using a hand saw or table saw
- Cut with the decorative face down when using a jigsaw (to prevent chipping)
- Apply masking tape along the cut line to minimise chipping on textured surfaces
Step 5: Apply Adhesive and Install
Apply construction adhesive to the back of each plank in a zigzag pattern. Press the plank firmly against the wall, starting from your level guideline. Use a J-roller to ensure full contact and push out any air pockets.
For extra security: Use brad nails through the tongue of each plank (where the next row will cover them). This holds the planks in place while the adhesive sets and provides long-term mechanical support.
Working order:
- Start from the bottom row and work upward
- This allows gravity to work with you rather than against you during adhesive curing
- Each row supports the weight of the row being installed above it
- Use spacers at the bottom edge to leave an expansion gap (which will be hidden by skirting or trim)
Step 6: Continue Row by Row
Click or slot each subsequent row into the previous one while pressing against the adhesive-coated wall. Stagger end joints by at least 300mm between rows for visual appeal and structural strength. Check with a spirit level every few rows to ensure you remain straight.
Step 7: Finishing Touches
Once all planks are installed:
- Remove all spacers after the adhesive has fully cured (typically 24 hours)
- Install trim or moulding around the edges to conceal expansion gaps
- Apply colour-matched sealant around any outlets, switches, or fixtures
- Clean the surface with a dry microfibre cloth to remove any adhesive residue or dust
Creative Ideas for Laminate Walls
Laminate on walls is not limited to one style. Here are popular applications to inspire your project:
Bedroom Headboard Wall
Install laminate behind the bed from floor to ceiling (or halfway up) to create a dramatic headboard feature. Dark walnut or warm oak tones work beautifully against neutral bedding and add a boutique-hotel feel to any bedroom.
Living Room Feature Wall
A laminate accent wall behind the TV or fireplace creates a striking focal point. Choose a wood tone that contrasts with your other walls for maximum impact. Pair with recessed LED strip lighting at the top or bottom for added drama.
Kitchen Splashback
Laminate can be used as a practical and attractive splashback between worktops and wall units. Choose a moisture-resistant laminate and seal all edges carefully. It is easier to clean than tiles (no grout lines) and cheaper to replace if your style changes.
Bathroom Accent Panel
Use laminate on a single wall or alcove in a bathroom (away from direct water contact) for a spa-like wood aesthetic. Always use moisture-resistant laminate and ensure adequate ventilation in the room.
Hallway and Staircase Wall
Laminate on a hallway wall (lower half, wainscot style) adds texture and protects against scuffs from bags, shoes, and passing traffic. Top with a chair rail for a classic look.
Home Office Background
A wood-effect laminate wall behind your desk creates a professional backdrop for video calls while adding warmth to a working space. It also provides modest sound dampening.
Installation Patterns and Layouts
The direction and pattern you install the planks makes a significant difference to the final appearance:
- Horizontal (standard plank): The most popular choice. Creates a relaxed, natural wood look. Visually widens narrow rooms.
- Vertical: Draws the eye upward. Makes rooms with low ceilings feel taller. Works well in narrow hallways.
- Herringbone: A premium, eye-catching pattern that adds elegance. Requires more cutting but creates a stunning result.
- Chevron: Similar to herringbone but with angled cuts at the ends. Creates a more streamlined V-shape pattern.
- Diagonal: Dynamic and modern. Best used on smaller feature sections as it can be visually overwhelming on large walls.
- Mixed width: Combining narrow and wide planks adds visual interest and a more organic, rustic feel.
Common Mistakes to Avoid
These are the issues we see most often with wall-mounted laminate installations:
- Skipping acclimatisation: Laminate that has not adjusted to room conditions will expand or contract after installation, causing buckling or gaps
- Not checking the wall is level: An uneven wall causes planks to sit at angles, creating visible gaps and a poor finish
- Using insufficient adhesive: Gravity is working against you. Use plenty of construction adhesive and supplement with brad nails for heavy or thick planks
- Forgetting expansion gaps: Leave 5-8mm around all edges. Without gaps, temperature changes will cause the planks to buckle away from the wall
- Installing in wet areas without protection: Standard laminate is not waterproof. In bathrooms or kitchens, use moisture-resistant products and seal all exposed edges
- Choosing overly thick laminate: Thick planks (12mm+) are heavy and harder to keep adhered vertically. For walls, 7-8mm laminate is ideal as it is lighter while still looking substantial
Which Laminate Is Best for Walls?
When choosing laminate specifically for wall installation, consider these factors:
- Thickness: 7-8mm is ideal for walls. Light enough to stay adhered, thick enough to look and feel solid
- Weight: Lighter planks are easier to install and put less stress on adhesive
- Locking system: Click-lock systems make alignment easier, but they are not essential for walls (adhesive does the main work)
- Finish: Textured or embossed finishes add more visual depth on walls than flat, smooth surfaces
- Moisture resistance: Essential if installing in kitchens, bathrooms, or utility rooms
For wall projects, you do not necessarily need high AC-rating (wear class) laminate, since the wall will not experience foot traffic. This means you can save money by choosing a lower AC-rated product and spending more on aesthetics instead.
Frequently Asked Questions
How much does it cost to put laminate flooring on a wall?
For a typical accent wall (approximately 8-12 square metres), expect to spend £80-300 on materials including laminate, adhesive, and trim. If you hire a professional installer, labour adds £100-200 depending on wall size and complexity. DIY installation saves this labour cost entirely, making it one of the most affordable feature wall options available.
Will laminate flooring stay on the wall?
Yes, when installed correctly with construction adhesive and brad nails, laminate will remain securely on the wall for many years. The key is proper surface preparation (clean, dry, sound wall), adequate adhesive coverage, and allowing sufficient curing time before removing any temporary supports. Avoid using double-sided tape alone for full wall installations as it may fail over time.
Can you put laminate on a bathroom wall?
You can, but with caution. Use moisture-resistant laminate only, install it on walls that are not in direct contact with water (avoid inside showers), seal all cut edges with clear silicone, and ensure the bathroom has adequate ventilation. A laminate accent wall on the wall opposite the shower or behind a vanity works well.
Do I need underlay when installing laminate on a wall?
No. Underlay is not necessary for wall installations. Its purpose on floors is to provide cushioning, sound insulation, and moisture protection, none of which are required on a vertical surface. Installing directly onto the prepared wall with adhesive is the standard method.
Can I remove laminate from a wall later without damage?
This depends on the adhesive used. Construction adhesive creates a very strong bond, and removal will likely damage the plasterboard beneath, requiring replastering or skimming. If you want a reversible option, use a batten framework (thin timber strips screwed to the wall) and nail the laminate to the battens. This allows removal without wall damage.
What is the best direction to install laminate on a wall?
Horizontal is the most popular and forgiving direction, creating a natural plank effect. Vertical works well in rooms with low ceilings to add height. There is no structural reason to choose one over the other, so select based on the visual effect you want to achieve in your specific room.
Final Thoughts
Laminate flooring on walls is a practical, affordable, and visually striking way to transform any room. Whether you are creating a feature wall behind the TV, a headboard panel in the bedroom, or a textured accent in a hallway, laminate delivers a high-end wood look without the high-end price tag.
The installation is straightforward enough for a confident DIYer, and the results rival professional timber cladding at a fraction of the cost.
Ready to start your project? Visit TEKA Flooring in Peterborough to see and feel our laminate range in person, or browse our full laminate collection online. Our team can help you choose the right product and arrange professional installation if you prefer expert fitting.
Read also: