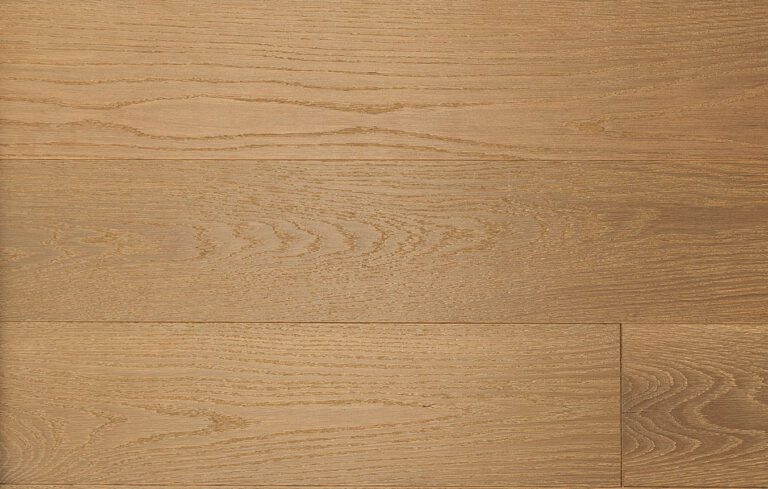
Installing laminate flooring on stairs is a practical and stylish way to elevate the look of your home while maintaining durability and ease of maintenance. Unlike carpet or hardwood, laminate offers a cost-effective solution that mimics the appearance of real wood without the higher price tag. Whether you’re renovating a dated staircase or completing a full flooring project, laminate is a versatile option that suits both modern and traditional interiors.
However, fitting laminate on stairs requires a slightly different approach compared to laying it on flat surfaces. It involves careful planning, precise cutting, and a bit of patience to ensure each tread and riser aligns perfectly. In this guide, we’ll walk you through everything you need to know, from the tools and materials required to a step-by-step installation process, so you can achieve a professional finish that’s both safe and visually appealing.
Can laminate flooring be used on stairs?
Yes, laminate flooring can be used on stairs, and it’s actually a popular choice for homeowners looking to achieve a cohesive look throughout their home. With the right preparation and installation, laminate can provide a clean, modern aesthetic while being more cost-effective than solid hardwood. However, stairs require more precise fitting and extra attention to safety features such as stair nosing and secure adhesion to prevent slipping.
Preparation before installing laminate flooring on stair
Proper preparation is essential to ensure a safe, long-lasting, and visually appealing result when installing laminate on stairs. Below are the key steps you should take before beginning the installation process.
1. Remove Old Flooring and Clean the Surface
Start by removing any existing carpet, vinyl, or other materials on the stairs. Once cleared, thoroughly clean the surface to eliminate dust, dirt, and adhesive residue. A smooth, dry, and stable surface is crucial for the laminate to bond properly and remain secure over time.
2. Repair and Level the Stairs
Inspect each stair for damage such as cracks, loose boards, or uneven areas. Fix any structural issues and sand down high spots to create a level foundation. Any imperfections can compromise the fit and finish of the laminate, leading to safety concerns.
3. Measure Each Step Precisely
Accurate measurements are critical when installing laminate on stairs. Measure the depth and width of each tread and riser individually, as stairs often vary slightly in size. This ensures that each laminate piece fits perfectly, reducing waste and ensuring a neat appearance.
4. Choose Suitable Underlay and Adhesives
Although underlay is not always necessary for stairs, in some cases, a thin, non-slip underlay may be recommended to reduce noise and provide extra cushioning. Make sure to use a high-quality construction adhesive or specific stair glue to secure the laminate effectively.
5. Acclimate the Laminate Planks
Before installation, leave the laminate planks in the room where they’ll be installed for 48–72 hours. This allows the material to adjust to the temperature and humidity, reducing the risk of warping or expansion after installation.
Tools
- Tape measure
- Pencil and notepad
- Circular saw or jigsaw
- Mitre saw
- Utility knife
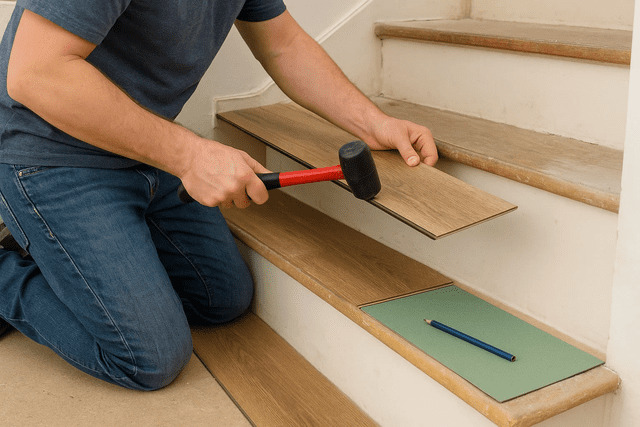
- Hammer or rubber mallet
- Construction adhesive
- Nail gun atau finishing nails
- Tapping block and pull bar
Materials
- Laminate planks
- Stair nosing
- Underlay (depending on the type of laminate flooring used)
- Construction adhesive
- Finishing nails or screws
- Wood filler or sealant
How to install laminate flooring on stairs
1. Prepare and Clean the Stairs
Before starting, remove any existing carpet, nails, or debris from the stairs. Make sure each stair is clean, dry, and structurally sound. Sand down any uneven surfaces to ensure a smooth base for the laminate. This preparation step is crucial for proper adhesion and long-lasting results. A clean surface also helps avoid bumps and gaps once the laminate is installed.
2. Measure and Cut Laminate Planks
Accurately measure the tread (horizontal part) and riser (vertical part) of each stair. Transfer these measurements onto the laminate planks, using a pencil and ruler to mark cutting lines. Use a saw (preferably a jigsaw or circular saw) to cut the planks according to the measurements. Always double-check your measurements before cutting to avoid material waste. Label the cut pieces if needed to remember their specific stair positions.
3. Install the Tread (Horizontal Part)
Apply a strong construction adhesive evenly across the stair tread. Carefully press the cut laminate plank into place, ensuring it aligns flush with the edges. Hold the plank firmly for a few minutes, or use clamps if necessary, to secure it while the adhesive bonds. You may also use finishing nails or screws for extra reinforcement. Wipe away any excess glue immediately before it dries.
4. Attach the Riser (Vertical Part)
Just like the tread, apply adhesive to the riser area and fix the laminate piece you’ve cut for it. Make sure it’s aligned straight and sits tightly against the tread above and below. Apply pressure for a few minutes to help it adhere securely. You can also use finishing nails to keep it in place during the curing process. Ensure all edges are sealed to maintain a neat, professional look.
5. Install Stair Nosing
Stair nosing is essential for safety and aesthetic finish. Apply adhesive along the edge of the tread where the nosing will sit. Press the nosing firmly into place and secure it with screws or nails if needed. Ensure it is level and properly aligned to prevent tripping hazards. Allow the adhesive to fully cure before using the stairs.
When choosing laminate for stairs, it’s important to select a high-quality product designed to withstand the additional wear and tear that staircases endure. Professional installation is often recommended to ensure proper alignment and durability.
For high-quality laminate flooring solutions tailored to your home, TEKA Flooring offers a wide selection of durable and stylish options suitable for stair installations. Our expert team is on hand to provide personalised advice and help you choose the perfect product to suit your needs and aesthetic preferences. To ensure the best results, we also recommend using a professional floor fitter from TEKA, guaranteeing a flawless finish and long-lasting performance. Contact us today to begin transforming your staircase with confidence.