Installing herringbone laminate flooring is a rewarding project that brings timeless elegance to any space. This guide explains how to lay herringbone laminate flooring with detailed steps, highlights which direction to lay herringbone floor for best effect, discusses installation on concrete, and provides insights into herringbone laminate flooring installation cost.
Herringbone laminate flooring offers a classic design that enhances any interior with its intricate, eye-catching pattern. This guide outlines the necessary preparation, key installation methods, direction tips, and cost considerations to help you master your project successfully.
What You Will Need for Installation
Before starting your project, it is crucial to gather all the tools and materials needed for a smooth process. From underlay to electric saws, the right supplies ensure the finished floor is durable and visually stunning.
Tools:
- Electric saw
- Jigsaw
- Tape measure
- Rubber mallet
- Spacers
- Square
- Knee pads
Materials:
- Transition strips
- Skirting boards
- High-quality underlay
- Laminate boards
Choosing durable, high-quality boards and tools will significantly enhance your installation experience and final results.
Preparation for Installation
Successful installation begins with meticulous preparation. Measuring your space accurately and ensuring a level subfloor will simplify the laying process and extend the life of your flooring.
Steps for Preparation:
- Measure and calculate material needs
- Check moisture levels using a moisture meter
- Level and clean the subfloor thoroughly
Extra time spent on preparation helps avoid issues like gaps, buckling, or premature wear.
Direction to Lay Herringbone Floor
Choosing which direction to lay herringbone floor is vital for maximising space and enhancing aesthetics. The room’s shape, size, and lighting all influence the best orientation for your design.
Factors to Consider:
- In narrow rooms, lay planks lengthwise to elongate the space.
- In square rooms, a diagonal layout adds dynamism.
- Align flooring towards windows to amplify natural light.
- Consider furniture layout to maintain a balanced appearance.
Selecting the right direction ensures your herringbone floor looks professionally installed and complements the overall design scheme.
How to Lay Herringbone Laminate Flooring
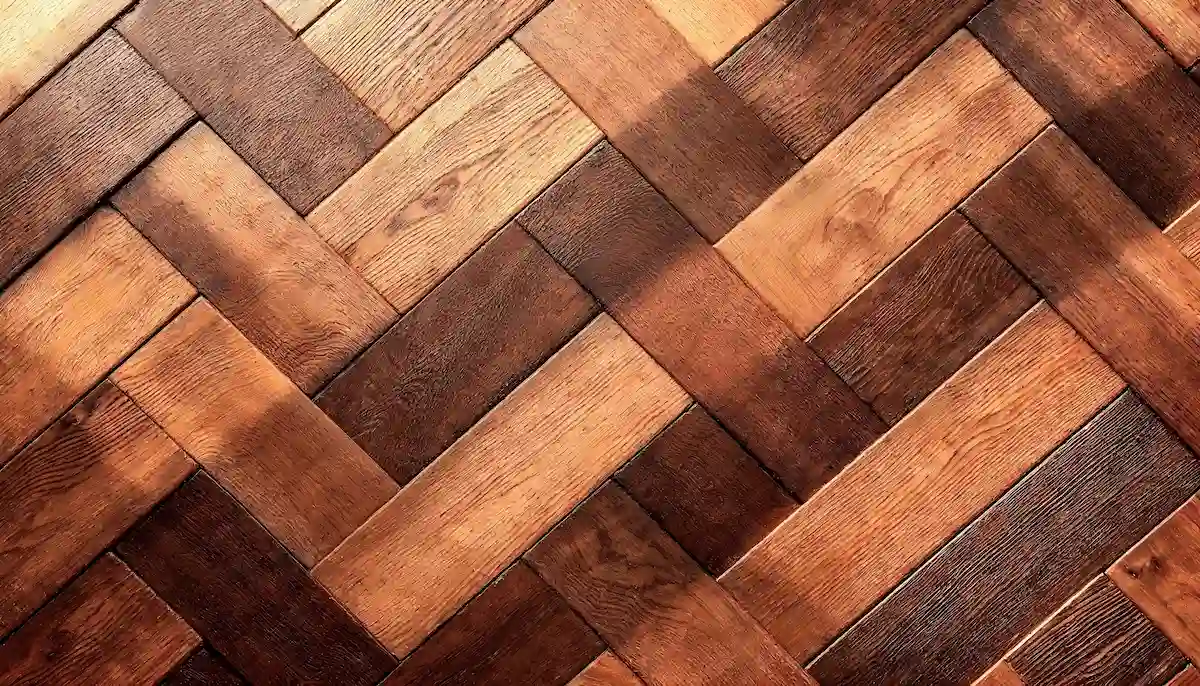
Once prepared, learning how to lay herringbone laminate flooring step-by-step ensures the distinctive zigzag pattern is flawless and durable.
Step-by-Step Process:
- Laying the First Row: Use a chalk line to create a baseline. Install planks with spacers, double-checking alignment carefully.
- Adding the Second Row: Maintain the correct angle by positioning the second row carefully. Lock planks securely for continuity.
- Creating the Herringbone Pattern: Lay boards at a consistent 45-degree angle. Use underlay, check alignment regularly, and maintain even gaps.
- Finishing the Last Row: Cut planks neatly to fit. Adjust skirting boards and use transition strips where necessary for a seamless finish.
Following these steps helps achieve a professional-quality result even if you are tackling this as a DIY project.
How to Lay Herringbone Flooring on Concrete
Installing herringbone laminate flooring on a concrete subfloor requires special preparation to ensure a stable and lasting installation.
Tips for Laying on Concrete:
- Ensure the concrete is completely dry (test with a moisture meter).
- Apply a damp-proof membrane to protect against moisture.
- Use an underlay designed for concrete to cushion and insulate the floor.
- Follow the standard herringbone installation steps, adjusting for slight unevenness if necessary.
Taking these precautions protects your flooring investment and prevents issues like lifting or warping over time.
Herringbone Laminate Flooring Installation Cost
Understanding herringbone laminate flooring installation cost allows you to plan your budget effectively and avoid unexpected expenses.
Typical Costs:
- Materials: £20–£45 per square metre, depending on the quality.
- Underlay: £3–£7 per square metre.
- Labour (if not DIY): £25–£50 per square metre for professional installation.
- Additional Costs: Skirting boards, transition strips, tools hire (if needed).
Choosing DIY installation can save significantly on labour costs, but investing in quality materials ensures long-term value.
Mastering how to lay herringbone laminate flooring can completely transform your home, adding a luxurious yet classic look. Whether you are wondering which direction to lay herringbone floor or calculating your herringbone laminate flooring installation cost, having the right preparation and guidance ensures success.
If you need expert advice, premium materials, or professional fitting services, TEKA Flooring is here to help. Visit our blog for more tips or contact us today to bring your dream flooring project to life!
Read also: