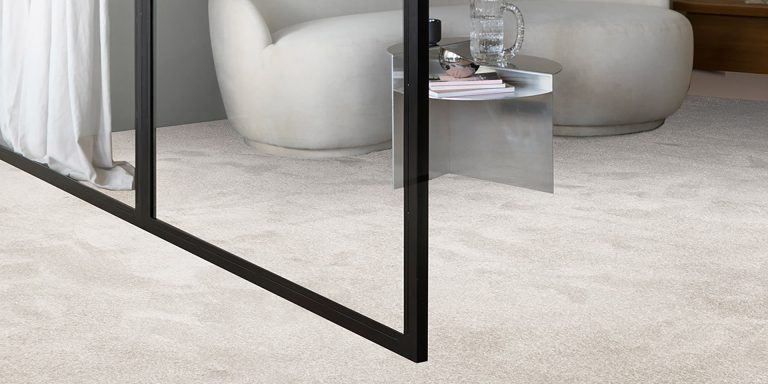
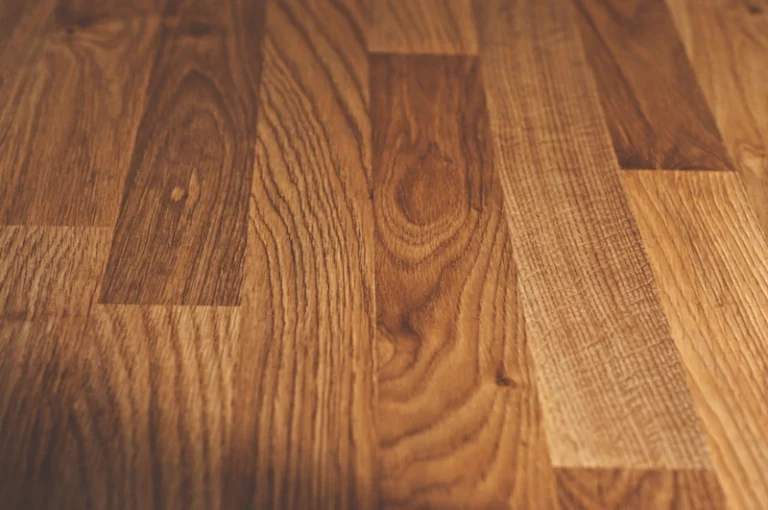
Laminate flooring is a popular and affordable option for many homes, but there comes a time when it needs to be replaced. Whether you’re updating your interior design, dealing with water damage, or preparing for a new floor installation, knowing how to remove old laminate flooring correctly is crucial. This guide will take you through the entire process step by step, ensuring a smooth and safe removal.
Understanding the Process of Laminate Removal
Removing laminate flooring requires some planning, the right tools, and care to avoid damaging your subfloor or walls. Below are the key steps to follow.
1. Prepare the Area Before You Start
Start by creating a clean and safe workspace.
- Step 1: Remove Furniture and Obstacles
Clear the room completely. Take out furniture, rugs, and any decorative items. This allows for unrestricted access to all flooring areas. - Step 2: Disconnect Skirting Boards and Trims
Using a pry bar or flat-head screwdriver, carefully remove skirting boards and trims. Store them safely if you plan to reuse them later. - Step 3: Turn Off Heating Systems (if applicable)
If your laminate is installed over underfloor heating, ensure it’s turned off and cooled before you begin.
2. Gather the Right Tools for the Job
Ensure you have the correct tools for an efficient removal process.
Essential Tools Include:
- Utility knife
- Pry bar
- Hammer
- Screwdriver
- Dust mask and gloves
- Floor scraper (optional for glued floors)
Having everything ready before starting will make the process faster and safer.
3. Start Removing the Laminate Flooring
Now comes the core of the task: lifting the laminate planks.
- Step 1: Begin from a Corner
Start at the edge of the room, ideally from a corner. Lift one board to check how it’s installed—floating, clicked, or glued. - Step 2: Lift and Remove Planks Carefully
If the laminate flooring is a click-lock system, gently lift the edges and pull apart. Work row by row, being mindful not to damage the subfloor underneath. - Step 3: For Glued Flooring, Use a Scraper
If the flooring is glued down, you’ll need a floor scraper or chisel to loosen the adhesive. This process may take longer, so work slowly to avoid gouging the subfloor.
4. Handle Underlay and Subfloor Cleaning
Don’t forget what lies beneath the laminate.
- Step 1: Remove the Underlay
Peel back any foam or felt underlay. If it’s stapled or glued, use pliers or a scraper to remove it gently. - Step 2: Check the Subfloor for Damage
Inspect for mould, moisture damage, or uneven surfaces. Clean thoroughly and repair any issues before installing new flooring.
5. Clean Up and Dispose of Old Materials
Leaving the space tidy is just as important as the removal itself.
- Step 1: Bag and Dispose of Planks
Place planks and underlay in durable bags or a skip. Some local recycling centres accept laminate flooring, so consider eco-friendly disposal. - Step 2: Sweep and Vacuum the Subfloor
Remove all dust and debris. A clean surface is essential for any new installation. - Step 3: Store or Reuse Skirting Boards
If skirting boards were removed carefully, store them properly if you wish to reinstall them.
Tips and Warnings When Removing Laminate Flooring
Removing laminate flooring may seem straightforward, but a few precautions go a long way in ensuring a smooth experience.
1. Take Safety Precautions
Wear gloves and a dust mask, especially if the flooring is old and dusty. Work slowly around corners and edges to avoid injury.
2. Be Aware of Hidden Fasteners
Some laminate floors are fixed with hidden nails or screws—especially older installations. Watch out for these as they can damage tools or cause injury.
3. Watch for Mould or Damp Areas
If you notice a musty smell or black spots on the subfloor, you may have a moisture issue. Stop the process and address the root cause before laying new flooring.
Final Thoughts on How to Remove Old Laminate Flooring
Learning how to remove old laminate flooring is an essential skill for any homeowner looking to refresh their space. Whether you’re preparing for a new installation or dealing with damage, following these steps will help ensure a smooth and efficient removal. From prepping the room and lifting planks to cleaning the subfloor and disposing of waste, taking the time to do it right can save money and prevent future issues.
Ready to Install New Laminate Flooring?
Explore our wide range of high-quality laminate flooring at TEKA Flooring. Whether you’re after classic wood finishes or modern designs, we’ve got the perfect solution for your next project. Visit our showroom in Peterborough or browse our collection online today to find your ideal match!
Read also: