Are you looking to upgrade your flooring but dreading the hassle of a complicated installation process? If so, you’re in the right place. In this comprehensive guide, we’ll explore the easiest flooring options to install, along with their numerous benefits. From saving time and money to being DIY-friendly, easy-to-install flooring offers a range of advantages that make it an attractive choice for homeowners.
We’ll delve into the different types of easy-to-install flooring, including:
- laminate
- vinyl plank
- carpet tiles
- engineered hardwood
- cork options
to help you find the perfect fit for your space. We’ll provide essential tips on preparing for the installation process and a step-by-step guide to help you seamlessly install your new flooring. So, if you’re ready to transform your space with minimal hassle, let’s dive into the world of easy-to-install flooring.
What Is the Easiest Flooring to Install?
When it comes to home improvement, one of the easiest flooring types to install is the hassle-free and resilient laminate flooring, making it a perfect choice for DIY enthusiasts and beginners looking for a quick and simple renovation project.
The benefits of laminate flooring extend beyond its ease of installation. It is highly durable, resistant to scratches, stains, and fading, making it an ideal option for high-traffic areas. Laminate floors are budget-friendly and come in a variety of designs, including wood, tile, and stone visuals. With its click-lock or glueless installation system, DIYers can easily install laminate flooring without the need for adhesives.
Proper floor preparation, following manufacturer guidelines, and using essential tools like spacers and tapping block will result in a successful and professional-looking installation.
Benefits of Easy-to-Install Flooring
Easy-to-install flooring offers a multitude of benefits, including quick and hassle-free installation, resilient and durable properties, low maintenance requirements, and cost-effective solutions for home improvement and renovation projects.
These flooring options, such as laminate and vinyl, are particularly favored for their resilient nature, making them suitable for high-traffic areas. They require minimal upkeep, with simple cleaning routines sufficient to keep them looking pristine.
DIY enthusiasts can take advantage of detailed instructions, video tutorials, and how-to guides available online, making the installation process straightforward and manageable. This not only saves time and money but also empowers homeowners to personalize their living spaces without the need for professional assistance.
1. Saves Time and Money
Easy-to-install flooring options save both time and money, making them ideal for cost-effective home improvement and renovation projects that can be done by DIY enthusiasts.
These types of flooring often come in convenient interlocking or click-together systems, eliminating the need for messy adhesives and complicated installation processes. DIYers can easily handle the installation, reducing labor costs and enabling quick completion of the project. The affordability of these flooring options makes them accessible for homeowners on a budget, providing a durable and stylish upgrade for various spaces in the home. With the right guidance and tools, DIY enthusiasts can transform their living spaces with ease and confidence.
2. DIY-Friendly
Easy-to-install flooring is inherently DIY-friendly, making it accessible and manageable for beginners and DIY enthusiasts embarking on home improvement or renovation projects.
With detailed instructions and user-friendly designs, these flooring options cater to individuals seeking to take on projects independently. Video tutorials and how-to guides further simplify the installation process, ensuring that even those new to DIY projects can confidently tackle the task.
The convenience of easy-to-install flooring lies in its ability to provide a professional-looking outcome without the need for extensive experience or specialized tools. This empowers homeowners to transform their spaces with beautiful flooring solutions while embracing the sense of accomplishment that accompanies a successful DIY project.
3. Easy to Replace and Repair
Easy-to-install flooring options such as laminate and vinyl are not only quick and simple to install, but they are also easy to replace and repair, providing added convenience for homeowners undertaking DIY home improvement projects.
Laminate and vinyl flooring are designed with interlocking mechanisms that allow for straightforward replacement and repair. For instance, damaged laminate planks can be easily removed and replaced without disrupting the entire floor. Similarly, vinyl tiles or planks can be swapped out individually, making repairs a breeze.
Detailed instructions and video tutorials are readily available to guide homeowners through the process, along with tips for efficient replacement and repair, ensuring that the flooring maintains its pristine appearance for years to come.
Types of Easy-to-Install Flooring
There are several types of easy-to-install flooring available, including:
- Laminate flooring, known for its affordability, ease of installation, and durability. It mimics the look of hardwood or stone, providing a wide range of design options.
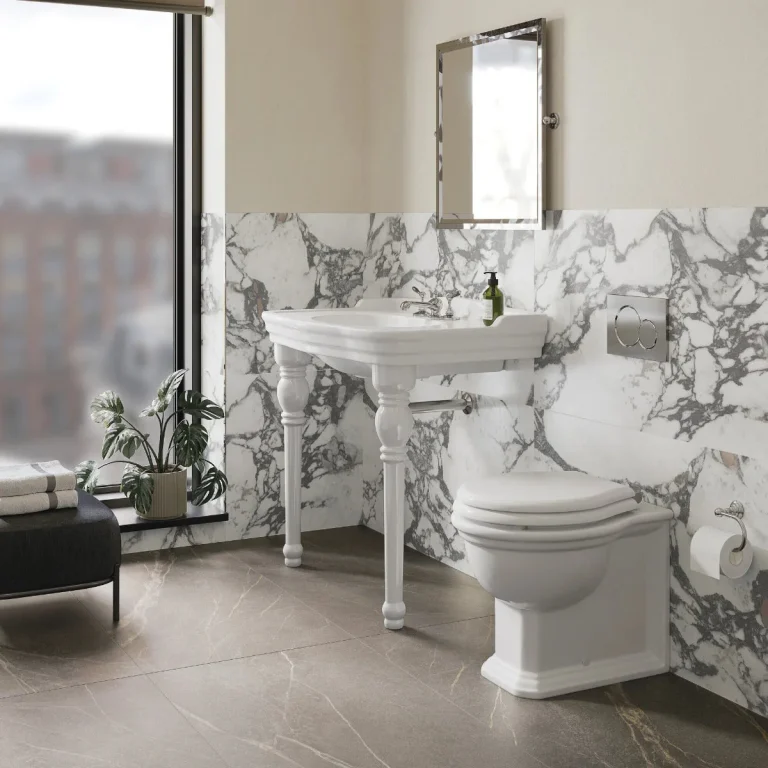
- Vinyl plank, which is water-resistant and a popular choice for kitchens and bathrooms.
- Carpet tiles, offering flexibility in design and easy replacement if damaged.
- Engineered hardwood, providing a durable solution for home improvement and renovation projects.
- Cork flooring, known for its quick and hassle-free installation.
With video tutorials and expert tips, choosing and installing the right type of easy-to-install flooring can elevate the aesthetic appeal and functionality of any home.
1. Laminate Flooring
Laminate flooring is known for its quick and simple installation process, featuring click-lock, floating, and interlocking mechanisms that make it easy-to-install and suitable for DIY home improvement and renovation projects.
Once the subfloor is prepped, the installation of laminate flooring begins by laying down an underlayment, which provides cushioning and moisture protection. Then, the planks are laid in a staggered pattern, locking them into place by clicking or snapping them together. This versatility allows for installation over many types of subfloors, including concrete, wood, or existing flooring.
The durable surface resists scratches, stains, and fading, making it an ideal choice for high-traffic areas. Plus, its low maintenance requirements and affordability make it a popular choice for many homeowners.

See the product : Quick-Step Classic Biscuit Brown Oak Laminate Flooring
2. Vinyl Plank Flooring
Vinyl plank flooring offers a hassle-free installation process with click-lock, floating, and interlocking features, making it an easy-to-install and resilient choice for DIY home improvement and renovation projects.
This type of flooring is known for its durability, making it suitable for high-traffic areas such as kitchens, bathrooms, and living spaces. One of the best aspects of vinyl plank flooring is its cost-effectiveness, providing a budget-friendly option for homeowners.
To successfully install vinyl plank flooring, it is essential to prepare the subfloor adequately, ensuring it is clean, dry, and level. Many manufacturers provide detailed installation instructions, and there are numerous video tutorials available online that can guide you through the process step by step. It’s important to acclimate the flooring planks to the room’s temperature and humidity before installation, as this can prevent any issues in the future. Taking the time to measure and plan the layout of the planks can also contribute to a seamless and professional-looking installation.
3. Carpet Tiles
Carpet tiles are a quick, simple, and adhesive-free flooring option that offers resilience, durability, and low maintenance, making them a cost-effective and DIY-friendly choice for home improvement and renovation projects.
Installing carpet tiles is a straightforward process that doesn’t require specialized skills or tools. To begin, ensure the subfloor is clean, dry, and level. Start at the center of the room and work outward, laying the tiles in the desired pattern. The tiles can be trimmed to fit using a utility knife for a perfect fit. Video tutorials and detailed instructions can guide you through the installation, offering valuable tips to ensure a successful outcome.
Related products :


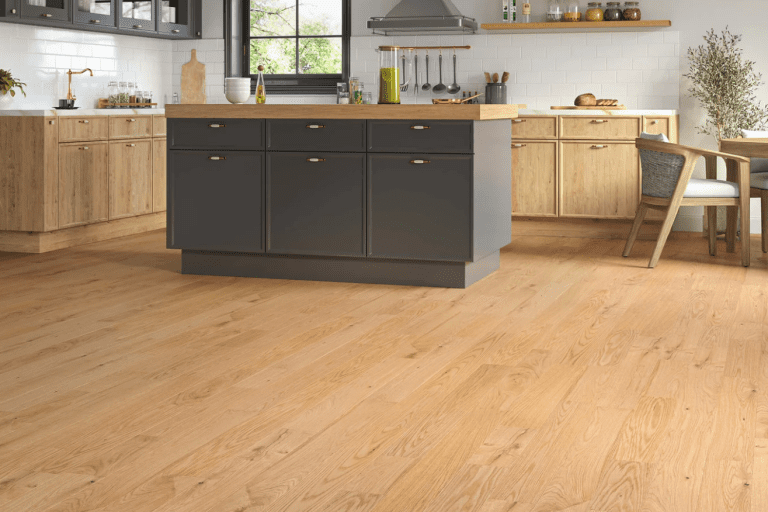
4. Engineered Hardwood Flooring
Engineered woord flooring features a floating and interlocking design, offering a quick and hassle-free installation process with snap-together planks and tongue and groove mechanisms, making it a resilient and durable choice for home improvement and renovation projects.
This type of flooring is known for its versatility and can be installed over a variety of subfloors, including concrete, plywood, and existing wood floors. It also provides a stable and sturdy surface that can withstand fluctuations in temperature and humidity, making it suitable for different areas of the home such as kitchens, basements, and bathrooms.
Engineered hardwood flooring is available in a wide range of styles, colors, and finishes, allowing homeowners to achieve the look they desire while enjoying the ease of maintenance and long-lasting beauty.

See the product : Lionvest Structural Engineered – 620 – ABCD Oiled
5. Cork Flooring
Cork flooring is designed for a quick and hassle-free installation process with interlocking and snap-together features, providing an easy-to-install, adhesive-free, and resilient solution for home improvement and renovation projects.
This type of flooring is highly preferred by DIY enthusiasts due to its simplicity and cost-effectiveness. With its natural shock-absorbent properties, it creates a comfortable and warm underfoot while promoting air quality. Homeowners can easily customize the installation as per their preferences. There are various online resources and video tutorials available to guide users through the installation process, ensuring a successful outcome.
Its affordability and low maintenance make it an attractive option for those seeking a durable and sustainable flooring solution. Cork flooring also offers sound insulation properties, adding another layer of functionality to its benefits.
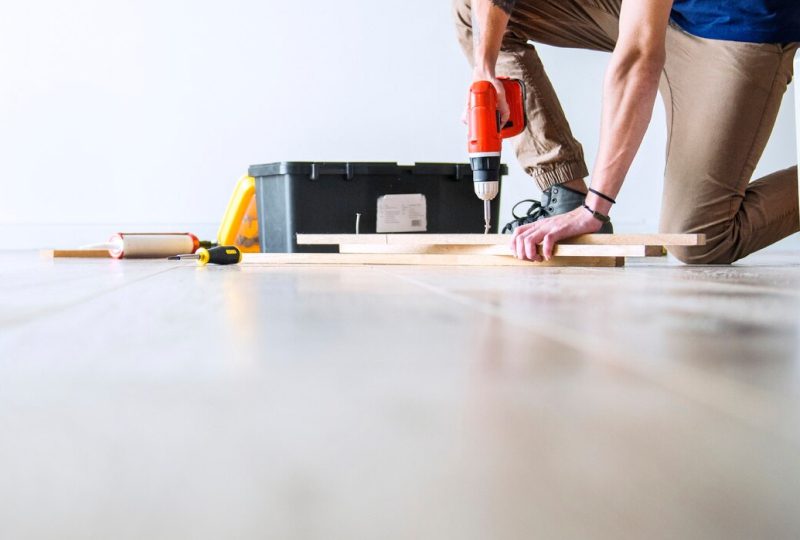
How to Prepare for Installing Easy Flooring
Before installing easy flooring, it’s essential to prepare by measuring the room, buying extra materials, preparing the subfloor, and gathering the necessary tools and supplies for a successful and efficient installation process.
Start by accurately measuring the dimensions of the room where the flooring will be installed, ensuring to account for any irregularities in the space. When purchasing materials, it’s wise to buy slightly more than the calculated amount to accommodate for any mistakes or unexpected requirements.
Subfloor preparation is crucial; ensure it’s clean, level, and free of any debris or imperfections. Gather the necessary tools such as a tape measure, square, saw, hammer, and safety equipment, ensuring everything is readily available for a smooth installation.
Measure the Room and Buy Extra Materials
Measuring the room accurately and purchasing extra materials and supplies is crucial for a successful installation of easy flooring, ensuring that DIY enthusiasts and beginners have everything they need for the project.
Begin by carefully measuring the length and width of the room, taking into account any alcoves, angles, or irregularities. It’s essential to ensure accurate measurements to avoid running out of materials or having excess waste. When purchasing materials, it’s advisable to buy approximately 10% more than the calculated square footage to accommodate any errors or unexpected cuts.
Consider investing in quality tools such as a good tape measure, a level, a carpenter’s square, and knee pads for comfort during installation. These steps will contribute to a smooth and successful flooring project.
Prepare the Subfloor
Preparing the subfloor is a crucial step before installing easy flooring, involving the use of specific tools and supplies to ensure a flat, clean, and stable surface for the new flooring application.
Initially, it’s essential to thoroughly inspect the subfloor for any imperfections or damage that needs to be addressed. Common tools required for subfloor preparation include:
- a pry bar for removing existing flooring,
- a vacuum or broom for cleaning debris,
- a level for checking for an even surface,
- and a moisture meter to assess the moisture content.
Supplies such as plywood, leveling compound, and subfloor adhesive may be needed for repairing and reinforcing the subfloor, ensuring a durable base for the new flooring to be laid.
Gather Necessary Tools and Supplies
Gathering the necessary tools and supplies, such as underlayment, adhesive, and cutting tools, is essential to ensure a smooth and efficient installation process for easy flooring, providing DIY enthusiasts and beginners with the right resources for the project.
Underlayment is crucial for creating a smooth and stable base for the flooring, while adhesive ensures a strong bond between the flooring and the subfloor. Cutting tools, like a utility knife or saw, are indispensable for achieving precise cuts to fit the flooring around corners and edges. Additional supplies may include:
- Tape measure
- Carpenter’s square
- Rubber mallet for tapping the flooring into place
These tools combined with proper techniques will help achieve a professional-looking result and make the installation process a rewarding experience.
Step-by-Step Guide on Installing Easy Flooring
A step-by-step guide is essential for the successful installation of easy flooring, covering key processes such as acclimating the flooring, laying it out, cutting and installing, and finishing the edges for a seamless and durable result.
Before starting the installation, ensure that the subfloor is clean, dry, and level to provide a solid foundation. Begin by acclimating the flooring material in the installation area for at least 48 hours to allow it to adjust to the room’s humidity and temperature. Next, carefully lay out the flooring, staggering the joints and leaving expansion gaps along the walls. Use a sharp utility knife or flooring cutter to make precise cuts. As you proceed with the installation, fasten the flooring using the recommended method, and finally, finish the edges with appropriate transition pieces for a polished look.
Acclimate the Flooring
Acclimating the flooring is a critical initial step in the installation process, allowing the material to adjust to the room’s temperature and humidity for optimal performance and durability, ensuring a successful DIY home improvement or renovation project.
This process is crucial as it minimizes the risk of flooring expansion, contraction, or warping after installation. To acclimate the flooring, start by unboxing and laying out the material in the room where it will be installed. Leave it to sit for at least 48 hours, allowing it to acclimate to the environment. During this time, ensure the room maintains its typical temperature and humidity levels.
Failure to acclimate the flooring properly could result in costly and time-consuming issues down the line, impacting the overall quality and longevity of the installation.
Lay Out the Flooring
Laying out the flooring is a crucial step in the installation process, requiring careful planning and positioning to achieve a seamless and visually appealing result for DIY home improvement or renovation projects.
Begin by measuring the dimensions of the room or area where the flooring will be installed. This will help determine the quantity of materials needed. Consider the layout pattern you want, such as horizontal, vertical, or diagonal. Take into account the natural light and traffic flow in the space to decide the best direction for the planks.
It’s also essential to acclimate the flooring to the room’s temperature and humidity for at least 48 hours before installation to prevent warping or buckling. Ensuring proper planning and positioning will contribute to a successful flooring project.
Cut and Install the Flooring
Cutting and installing the flooring requires precision and attention to detail, ensuring a seamless and professional finish for DIY home improvement or renovation projects, requiring clear instructions and tips for successful execution.
To start, measure the dimensions of the room where the flooring will be installed and plan the layout for the best aesthetic appeal and efficient use of materials. Use a pencil and straight edge to mark the cutting lines on the flooring material. When cutting, ensure the use of proper safety equipment such as gloves and protective eyewear.
For installation, begin with a clean and flat subfloor, using the appropriate adhesive or underlayment. It’s crucial to pay attention to any patterns and to stagger the joints for a polished look. And don’t forget to leave expansion gaps around the edges to accommodate fluctuations in temperature and humidity.
Finish the Edges and Add Trim
Finishing the edges and adding trim is the final step in the installation process, enhancing the visual appeal and durability of the flooring for a polished and professional result in DIY home improvement or renovation projects.
Properly finishing the edges and adding trim not only gives the flooring a clean, polished look, but it also helps protect the edges from wear and tear. When adding trim, ensure that it complements the flooring style and color, creating a seamless transition between different flooring materials or rooms.
Pay attention to detail by using precise measurements and cutting the trim accurately to achieve a seamless and professional finish. Adding trim also provides a barrier to prevent moisture from seeping underneath the flooring, enhancing its longevity and resilience.
Tired of complex installations and cryptic instructions? TEKA Flooring’s support goes beyond materials. Our expert team guides you every step of the way, helping you choose the perfect flooring for your needs and space. We offer personalized advice, insightful tips, and even premium installation services for a flawless finish.
Transform your vision into reality with confidence and Call TEKA Flooring Store in Peterborough today to get a free estimate!