Engineered wood floors combine the beauty of natural hardwood with enhanced stability and durability — but they require specific cleaning methods to maintain their appearance and protect the finish. Using the wrong products or techniques can void warranties, dull the surface, or cause irreversible damage to the wear layer.
In this comprehensive guide, we’ll cover exactly how to clean engineered wood floors properly, from daily maintenance to deep cleaning, plus the common mistakes that can ruin your floor.
What Makes Engineered Wood Different to Clean?
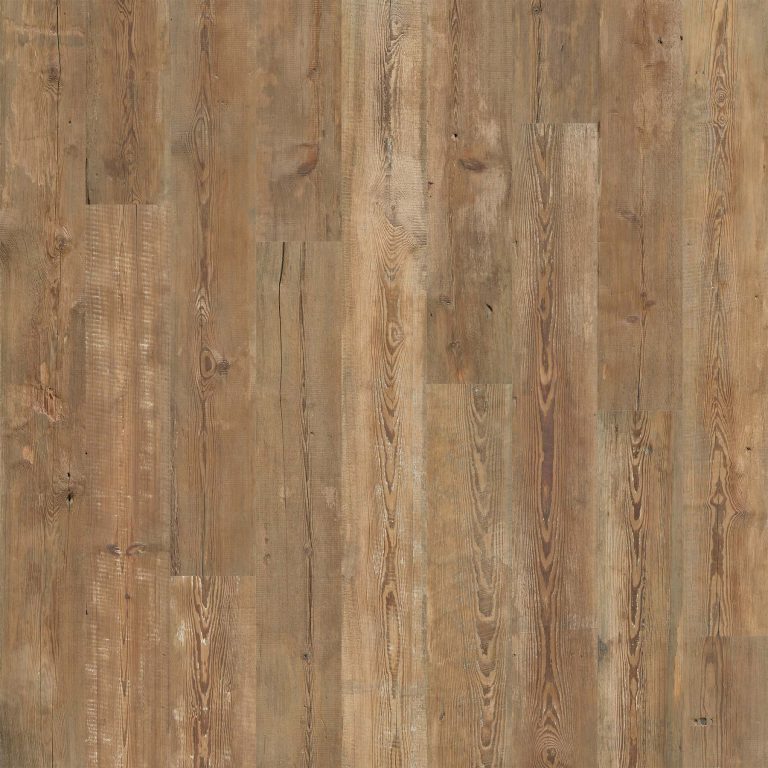
Engineered wood flooring consists of a real hardwood veneer (typically 3–6mm thick) bonded to multiple layers of plywood or HDF. This construction makes it more dimensionally stable than solid wood, but the cleaning approach matters because:
- The wear layer is finite — aggressive cleaning or abrasive products will wear through the top veneer faster
- Moisture sensitivity — while more stable than solid wood, excessive water can still penetrate seams and cause swelling or delamination
- Finish type matters — lacquered, oiled, and brushed finishes each require different care routines
- Warranty requirements — most manufacturers specify approved cleaning products; using the wrong ones can void your guarantee
Tools and Materials You’ll Need
Before you begin, gather these essentials:
- Soft-bristle broom or vacuum cleaner (with hard floor setting — no beater bar)
- Microfibre mop — flat-head spray mops work best
- pH-neutral wood floor cleaner — specifically formulated for engineered wood (e.g., Bona, Osmo, Dr. Schutz)
- Soft microfibre cloths — for spot cleaning and drying
- Bucket — if using a traditional mop (wring thoroughly)
Avoid: Steam mops, bleach, vinegar, washing-up liquid, furniture polish, and any all-purpose household cleaners. These are the most common causes of damage to engineered wood floors.
How to Clean Engineered Wood Floors: Step-by-Step
Step 1: Remove Loose Dirt and Debris
Start by sweeping with a soft-bristle broom or vacuuming on the hard floor setting. This prevents grit and sand from acting as sandpaper when you mop, which gradually wears down the finish.
Tip: Do this daily in high-traffic areas (hallways, kitchens) and every 2–3 days in bedrooms and living rooms. Small particles cause more damage than you’d expect over time.
Step 2: Prepare Your Cleaning Solution
Dilute your pH-neutral wood floor cleaner according to the manufacturer’s instructions. For most products:
- Spray mop: Add undiluted cleaner to the reservoir
- Traditional mop: Mix cleaner with lukewarm water in the recommended ratio (typically 50–100ml per 5 litres)
Never use hot water — it can soften the finish and cause clouding. Lukewarm (not cold, not hot) is ideal.
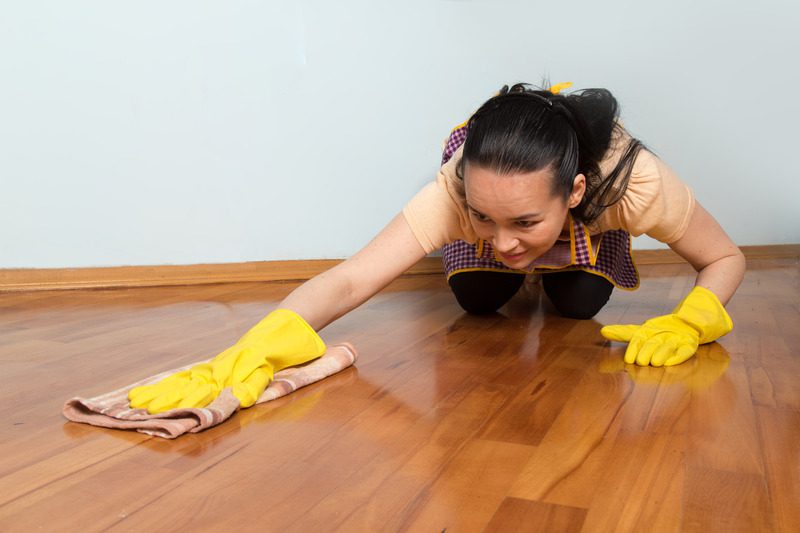
Step 3: Mop Using the Damp Method
The golden rule: your mop should be damp, never wet. If you can see water pooling on the floor behind your mop, it’s too wet.
- Wring your microfibre mop until it’s barely damp
- Work in sections, following the direction of the wood grain
- Spray mops are ideal because they dispense a fine mist — just enough moisture to clean without saturating
- Don’t go over the same area repeatedly; one pass should be sufficient
Step 4: Dry Promptly
For lacquered floors, the minimal moisture from a properly wrung mop will evaporate quickly. For oiled floors, use a dry microfibre cloth to buff any remaining moisture immediately after mopping each section.
Never leave standing water on engineered wood — even briefly. Water can seep into joints and cause edge-swelling that’s impossible to reverse without replacing boards.
Step 5: Spot Clean Stains and Marks
For stubborn marks that regular mopping doesn’t remove:
- Scuff marks: Rub gently with a tennis ball or a slightly damp microfibre cloth
- Sticky residues (tape, food): Apply a small amount of wood floor cleaner directly, leave for 30 seconds, then wipe
- Water marks/rings: Buff with a dry cloth; if persistent, try a very light application of floor sealant on lacquered surfaces
- Pet accidents: Clean immediately with an enzyme-based cleaner safe for wood floors
- Ink or dye: Dab (don’t rub) with a cloth dampened with isopropyl alcohol, then clean with normal floor cleaner
Cleaning by Finish Type
The finish on your engineered wood floor determines the best cleaning approach:
Lacquered/UV-Cured Finish
The most common finish on modern engineered wood. The lacquer creates a sealed, protective barrier.
- Easiest to maintain — simply sweep and damp mop
- Use Bona Floor Cleaner, Kahrs Floor Cleaner, or similar pH-neutral product
- Refresh the lacquer every 3–5 years with a maintenance lacquer (no sanding required)
- Avoid wax or polish — these create a film that makes re-lacquering impossible later
Oiled Finish
Oiled floors have a more natural, matt appearance. The oil penetrates the wood rather than sitting on top.
- Requires more regular maintenance than lacquered
- Use soap-based cleaners designed for oiled wood (e.g., Osmo Wash & Care, Rubio Monocoat Soap)
- Re-oil high-traffic areas every 6–12 months, full floor annually
- Never use lacquer-specific cleaners on oiled floors (and vice versa)
- Dry immediately after damp mopping — oiled wood is more moisture-sensitive
Brushed/Textured Finish
Brushed engineered wood has a textured surface that traps dirt in the grain.
- Requires more thorough vacuuming — standard sweeping misses dirt in the grooves
- Use a vacuum with a crevice tool or soft brush attachment
- May need slightly more cleaning solution to lift embedded dirt
- Follow the grain direction when mopping to clean grooves effectively
Daily, Weekly, and Monthly Cleaning Schedule
A structured routine prevents build-up and keeps your floor looking its best:
- Daily: Sweep or vacuum high-traffic areas; wipe up any spills immediately
- Weekly: Damp mop the entire floor with pH-neutral cleaner
- Monthly: Deep clean — move furniture, clean edges and corners, inspect for damage
- Quarterly: Check for areas needing touch-up (oiled floors) or where the finish is wearing thin
- Annually: Professional maintenance coat (lacquered) or full re-oil (oiled floors)
Common Mistakes That Damage Engineered Wood Floors
These are the cleaning errors we see most often:
1. Using a Steam Mop
Steam mops force moisture and heat into the wood, causing warping, delamination, and finish damage. Never use a steam mop on engineered wood — regardless of what the steam mop manufacturer claims. Most flooring warranties explicitly exclude steam mop damage.
2. Too Much Water
The #1 cause of engineered wood floor damage. Wet mopping — where water is visible on the surface — causes boards to swell at the edges, creating a “cupping” effect. Once cupped, boards rarely return to flat.
3. Vinegar or DIY Cleaning Solutions
Despite popular advice online, vinegar is acidic and gradually strips the protective finish from engineered wood. The saving on cleaning products is not worth the early refinishing cost (£500+ for a typical room).
4. Furniture Polish or Spray Cleaners
Products like Pledge, Mr Sheen, or generic furniture polish leave a waxy residue that builds up over time, making floors slippery and creating a hazy film that’s difficult to remove without sanding.
5. Leaving Spills to Dry
Even small spills can cause water stains or discolouration if left. Clean up any liquid within minutes — not hours.
6. Using a Vacuum with a Beater Bar
The rotating brush in a standard upright vacuum scratches and dulls the finish. Always switch to the hard floor setting or use a dedicated hard floor vacuum head.
How to Protect Engineered Wood Floors Long-Term
Prevention is always better (and cheaper) than repair:
- Door mats at every entrance — 80% of floor dirt comes from outside. Use coir or rubber-backed mats externally and soft mats internally
- Felt pads on furniture legs — replace every 6 months as they compress and collect grit
- No shoes indoors — particularly high heels, which exert up to 30x the pressure of flat shoes per square cm
- Rugs in high-traffic areas — hallways, in front of sinks, and under desk chairs (use a mat for rolling office chairs)
- Control humidity — keep indoor humidity between 40–60% year-round to prevent shrinkage gaps in winter or expansion in summer
- Trim pet nails — long claws are a major cause of scratches on wood floors
- Avoid direct sunlight — use blinds or UV-filtering window film to prevent fading and colour changes
Can You Refinish Engineered Wood Floors?
Yes — but the number of times depends on your wear layer thickness:
- 3mm veneer: Can be lightly sanded once (screen and recoat only)
- 4mm veneer: Can be sanded 1–2 times
- 6mm veneer: Can be sanded 2–3 times (similar to solid wood)
Proper cleaning extends the time between refinishes significantly. A well-maintained lacquered floor can go 10–15 years before needing attention; a poorly maintained one may need refinishing after just 3–5 years.
Learn more about how long engineered wood flooring lasts with proper care.
Keep Your Engineered Wood Floors Looking Their Best
Cleaning engineered wood floors properly isn’t complicated — but it does require using the right products and avoiding common mistakes that cause expensive damage. The key principles are simple: sweep regularly, mop damp (never wet), use pH-neutral cleaner, and protect from grit and moisture.
If you’re considering installing engineered wood flooring or need advice on the best options for your home, browse our range of engineered wood flooring or book a free consultation with our flooring specialists.
Related guides:
- Best Underlay for Engineered Wood
- How Long Does Engineered Wood Flooring Last?
- Cost of Engineered Wood Flooring
- How to Remove Water Stains from Wood
- How to Clean LVT Flooring
- Best Engineered Wood for Underfloor Heating
Frequently Asked Questions
Can I use a steam mop on engineered wood floors?
No. Steam mops force heat and moisture into the wood, causing warping, delamination, and irreversible finish damage. This applies regardless of the steam mop brand or “wood floor safe” claims. Virtually all engineered wood manufacturers explicitly exclude steam mop damage from their warranties.
How often should I mop engineered wood floors?
Damp mop once a week for most households. High-traffic areas (kitchens, hallways) may benefit from twice weekly. Over-mopping isn’t harmful if you’re using the correct damp (not wet) technique and a pH-neutral cleaner.
Is vinegar safe for engineered wood floors?
No. Despite being widely recommended online, vinegar is acidic (pH 2–3) and gradually strips the protective lacquer or oil finish from engineered wood. Over time, this causes dulling, discolouration, and premature wear. Use a purpose-made pH-neutral wood floor cleaner instead.
What’s the best mop for engineered wood floors?
A flat-head microfibre spray mop is ideal. It dispenses a fine mist of cleaner (no excess water), the microfibre pad captures dirt effectively, and the flat head follows the wood grain. Avoid string mops, sponge mops, or any mop that holds excessive water.
How do I remove scratches from engineered wood floors?
For light surface scratches on lacquered floors: use a touch-up pen or wax filler stick matching your wood colour. For deeper scratches: sand the affected area lightly and apply a new coat of lacquer or oil. For oiled floors: sand lightly with fine-grit paper (180+) and re-oil the area. Prevention (felt pads, door mats, no shoes) is far easier than repair.