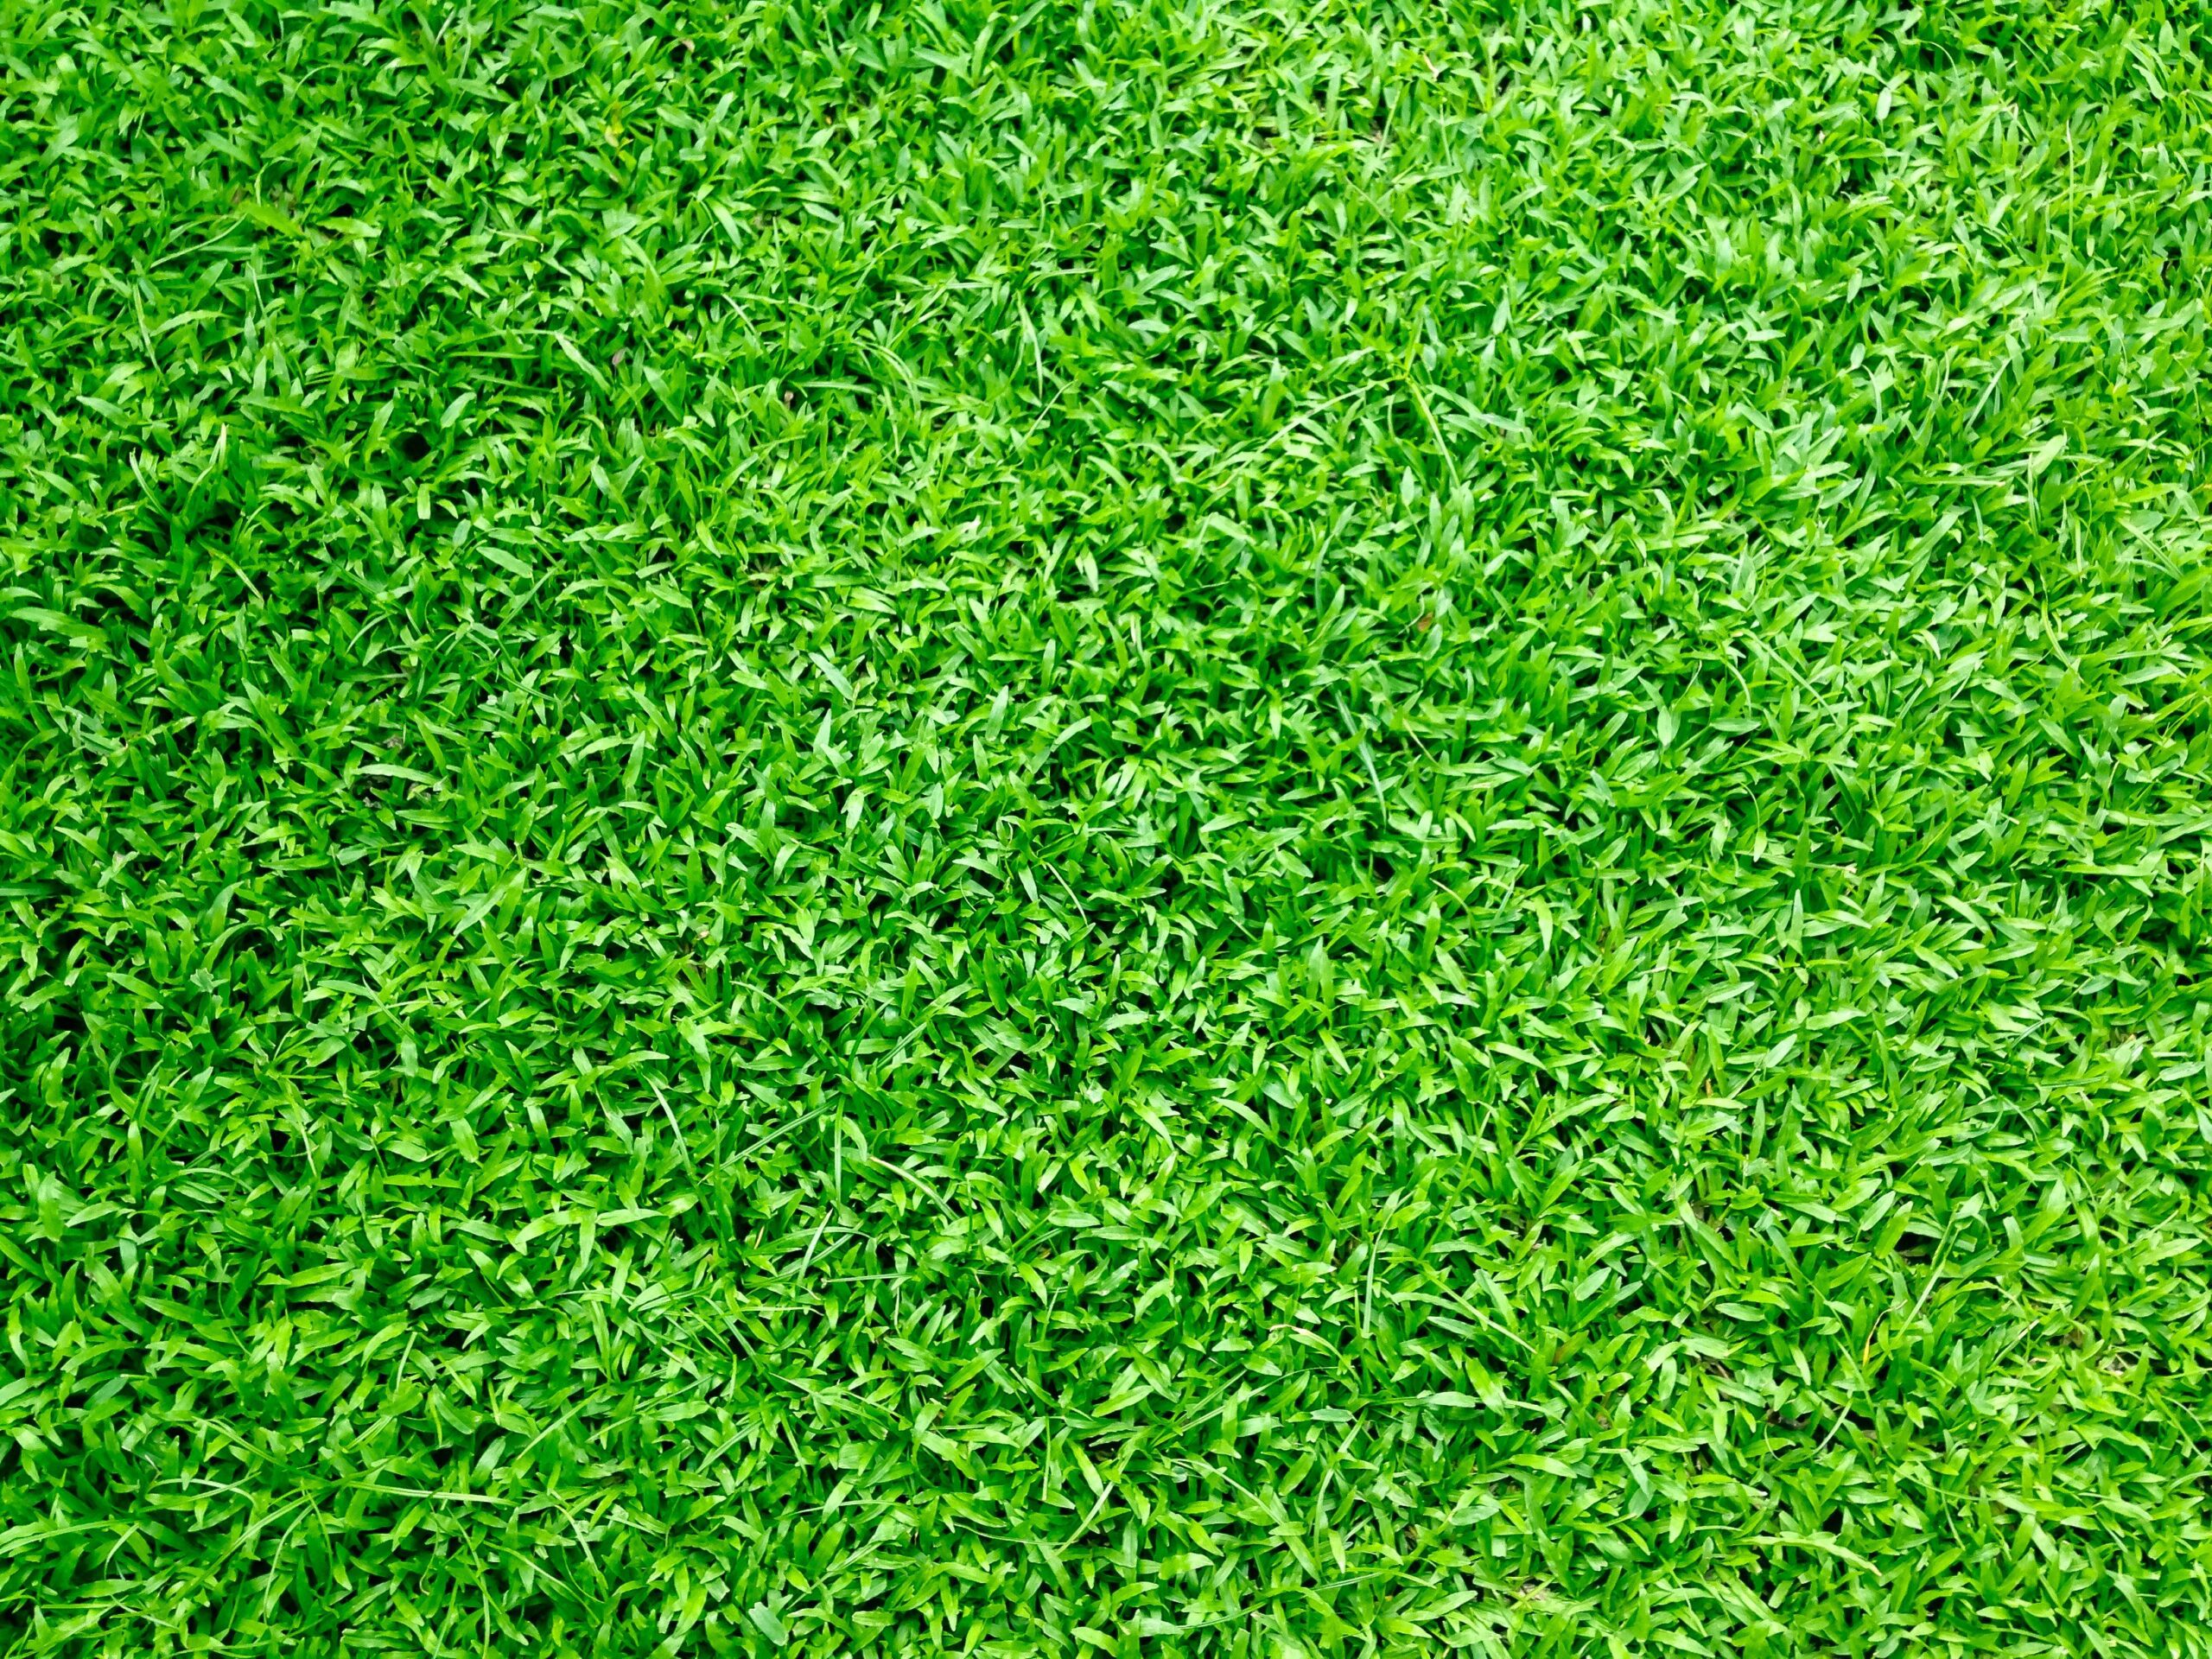

Artificial grass (also known as artificial turf or synthetic turf) has become a popular choice for homeowners and businesses looking for a low-maintenance, attractive alternative to natural grass/ natural turf. It’s not just fake grass as it Creates a lush and beautiful lawn that is not so challenging and time-consuming anymore.
Not only is it low maintenance, but it can also help to conserve water and reduce your overall landscaping cost. Artificial grass installation is an easy and cost-effective solution that can help you achieve the perfect lawn without the hassle of constant maintenance.
How to lay artificial grass
Installing artificial grass requires proper planning and preparation to ensure that it looks and performs its best. In this article, we will guide you through the steps involved in how to lay artificial grass, from preparing the surface to securing the edges.
Whether you are a seasoned DIY enthusiast or a first-time landscaper, this guide will provide you with all the information you need to create a beautiful, long-lasting lawn.
Step 1: Measure the Area for artificial grass installation
The first step in how to lay artificial grass is to measure the area where you want to install it. This will give you an idea of how much artificial grass you’ll need to purchase. Measure both the length and width of the area, and multiply the two numbers together to get the total square footage.
Always consider the widths of the artificial grass product you purchase and the width of your garden. Artificial grass can come in 1 meter, 2 meter, 3 meter, 4 meter or 5 meter widths usually.
Step 2: Prepare the Surface

Before you lay artificial grass, it’s important to prepare the surface properly. First, remove any existing turf or vegetation from the area. You can use a shovel, garden fork or turf cutter to remove the grass and root. You may want to rent a mechanical turf cutter to make the job easier and faster.
Laying artificial grass on an uneven surface will cause your artificial lawn/ artificial turf to appear bumpy and water may not be able to drain properly.
Learn how to fix uneven floors with our guideline : How To Fix Uneven Floors And Common Causes.
Step 3 : Compact the ground
It’s important to ensure that when you lay artificial grass, that it is installed on a smooth, even surface by removing any debris such as rocks, sods or other debris that may be on the ground. Once this is done, you can then level the surface.
If there are any low spots, fill them in with soil or sand, and if there are any high spots, use a shovel or a rake to level them out. You may want to rent a soil compactor to make the job a lot easier.
Step 4 : Add a border (optional)
If you are planning to add a border on your garden, you should do it at this stage. Mark the area where you plan to install the artificial grass. Use stakes and string to create a perimeter around the area.
Install a border around the perimeter of the area where you plan to install the artificial grass. You can use plastic bender board, landscape timber frame, or concrete curbing to create a border. This will help to keep the artificial grass in place and prevent it from shifting or moving over time.
Step 5: Selecting the installation method
Method 1 : Installing on Sand and Stone Base
Laying the base is important before you install artificial grass as it provides a stable foundation for the artificial grass to sit on. We recommend granite dust as a base.
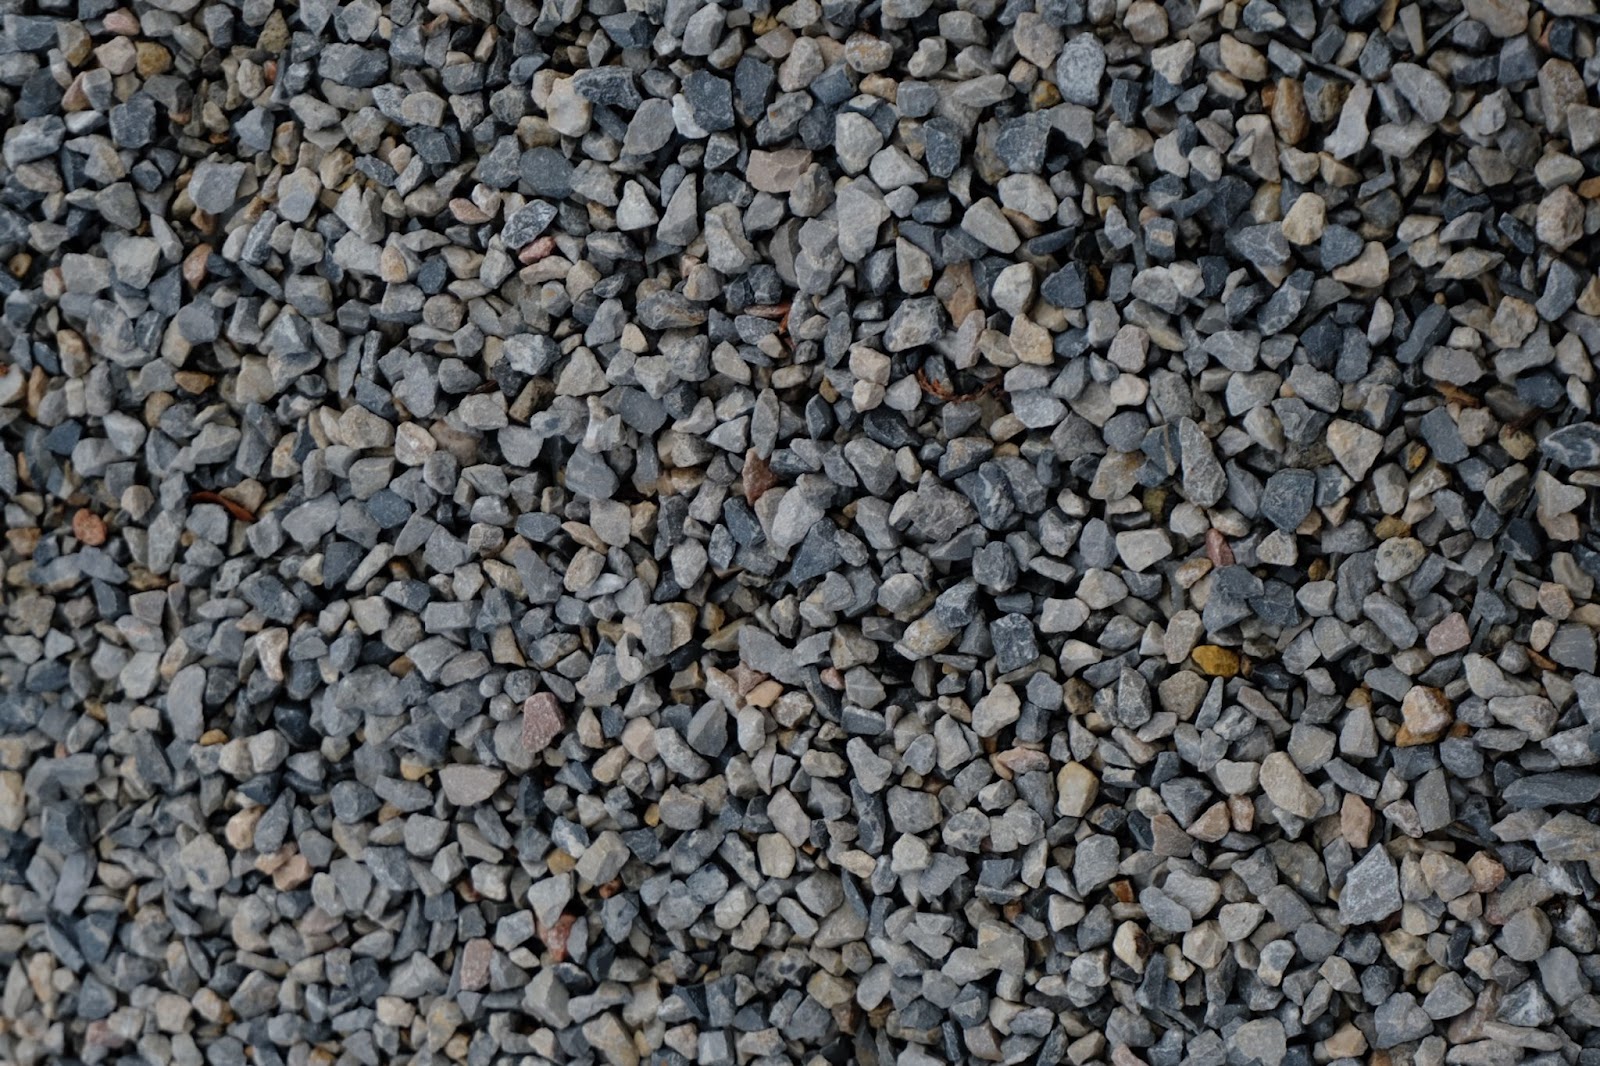
First, lay a sub base by adding a layer of crushed stone or gravel to the area. The depth of the base layer depends on the type of soil you have and the drainage requirements of the artificial grass. Generally, a layer of 2-3 inches of crushed stone or gravel is sufficient.
Next, spread the crushed stone or gravel evenly over the area using a rake or shovel.
Using a sand spreader add a layer of sand on top of the crushed stone or gravel. The sand will help to level and smooth the surface. The depth of the sand layer should be about 1 inches.
Spread sand evenly over the area using a rake or shovel. Level the sharp sand layer using a screed bar or a board. Move the screed bar back and forth over the surface to create a smooth, even layer of sand. Wet the sand layer lightly with a garden hose to help it settle.
Allow the base layer to settle for at least 24 hours.
a. Compact the ground one last time
Make sure the layer is level and compact it with a plate compactor or a hand tamper one last time to ensure an even surface.
b. Install Weed Membrane
If you want your new artificial lawn to last long, we advice you to install some sort of weed membrane. Weed growth can have several negative impacts on artificial grass.
To prevent these negative impacts, it’s important to install a weed membrane beneath your artificial grass. This will help to prevent weeds from growing through the artificial grass over time and causing damage.
Installing weed membrane is very easy. First, you unroll the weed membrane over the area, making sure that it overlaps any edges or seams by at least 6 inches. Then cut the membrane to size using a sharp knife or scissors, making sure that it fits neatly around any obstacles, such as trees, posts or edges.
You want to secure the membrane in place by using landscape fabric staples, spaced approximately every 1-2 feet around the edges of the membrane and where overlaps occur. Next, you can use a mallet to hammer the staples firmly into the ground to ensure that the membrane stays in place.
Finally, smooth out the weed membrane to ensure that it lies flat, and that there are no wrinkles or bubbles in the surface. After installing the weed barrier, you can now proceed to lay artificial grass rolls. First, roll out your new artificial grass over the weed barrier, making sure to lay it in the direction of the pile.
Method 2 : Installing on concrete surface
If there is no soil beneath and it’s a concrete surface, sweep away any debris, dirt, and dust, and then give it a good wash with a pressure washer. Allow it to dry completely before proceeding.
Step 6: Install Artificial Grass

Start rolling out the underlay then the artificial grass on top. Please note that artificial grass has directional pile so it will all need to face the same way.
Step 7: Let the grass settle
You may want to leave it for few hours, preferably overnight, to allow any wrinkles to disappear. Make sure you stretch the fake grass so it looks nice and flat
Step 8: Trim the Excess Grass
Next, cut the edges of the grass to fit the area using a sharp stanley knife to a desired shape. Once you have the grass in place, secure the edges with landscape staples or nails. Make sure to space them out evenly, about 6 inches apart.
Then, use a sharp knife to trim any excess grass around the edges and shape it to fit the area. Be careful not to cut too much because it will be hard to join the offcuts later on.
Step 9: Join any peaces together
To join artificial grass, firstly you have make sure that the grass fibres are running in the same direction. Then cut through both pieces of artificial grass where they overlap using a sharp knife.
Then, fold back the edges of both pieces of artificial grass to expose the backing. Use a piece of seam tape to cover the area where the two pieces of artificial grass meet. Make sure the seam tape is slightly wider than the gap between the two pieces of artificial grass.
Next you can apply adhesive to the seam tape and press the edges of the artificial grass down onto the tape, making sure that they are aligned.
You can use a weighted roller to press the two pieces of artificial grass together firmly. This will help the adhesive to bond and create a smooth and seamless join. Finally, trim any excess seam tape or artificial grass from the edges of the join, using a utility knife or scissors.
Step 10: Add Infill
We always add and recommend sand infill to our artificial grass. Adding silica kiln sand as infill can help to improve the performance, appearance, and durability of artificial grass. Adding infill is a relatively straightforward process, but first you have to make sure the artificial grass is clean and dry before adding sand infill.
Next, spread the sand infill over the surface of the artfiicial grass. Make sure you distribute evenly using a spreader. Start at one end of the surface and work your way to the other end, making sure to apply the infill in a consistent and even manner.
Once the sand infill has been spread over the artificial grass, firmly brush the sand info the artificial lawn, using a stiff brush (non metal bristle) to work the sand down into the fibers of the artificial grass.
When you have completed covering your artificial grass with an even layer of sand, firmly brush the sand into the carpet, brushing counterclockwise to the direction of the pile fibers to help the grass tufts stand upright.
Conclusion
After reading this blog, we hope you have a greater understanding on how to lay artificial grass. Laying artificial grass can be a great way to create a low-maintenance, attractive lawn that can be enjoyed year-round.
By following the steps outlined in this article, you can ensure that your artificial grass is installed properly, and will provide you with many years of beautiful and trouble-free use.
Whether you are looking to create a lush green space for your family and friends to enjoy, or simply want to reduce the time and effort required to maintain a traditional lawn, artificial grass can be an excellent choice. With a little effort and preparation, you can create a beautiful, natural-looking new lawn that will provide you with years of enjoyment.
Read also :