Looking to transform your space with laminate flooring but not sure where to start? This comprehensive guide will walk you through everything you need to know about tips for laying laminate flooring.
From understanding the benefits of laminate flooring to the tools you’ll need and step-by-step instructions on how to prepare and lay the flooring, we’ve got you covered.
Plus, we’ll share some expert tips for laying laminate flooring to ensure a smooth and professional-looking installation. So, let’s dive in and get your floor upgrade underway!
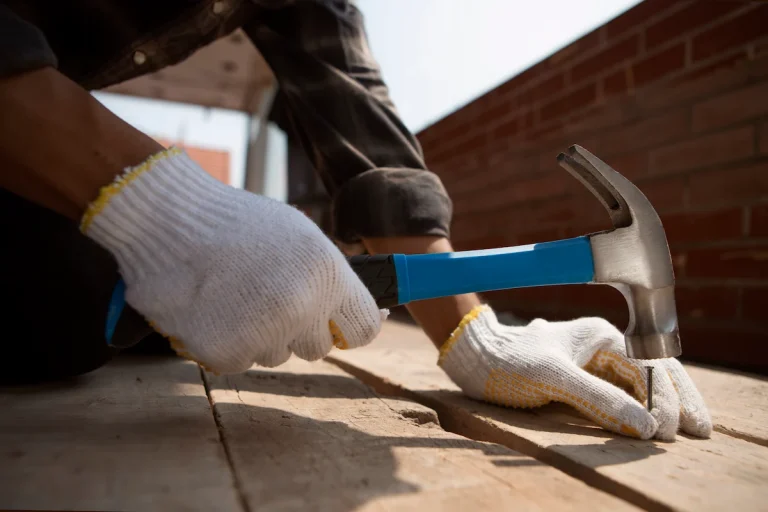
Tools for Laying Laminate Flooring
To lay laminate flooring, you will need essential tools such as a jigsaw, utility knife, circular saw, tape measure, and underlay.
A tapping block and pull bar are essential for securely locking the laminate planks in place without causing damage. A rubber mallet helps to gently tap the planks together for a seamless finish. To ensure a level surface, a spirit level is essential for checking the flatness of the subfloor and the alignment of the planks. Not forgetting, a pencil for marking cut lines accurately and a pry bar for removing skirting boards and existing flooring if needed.
How to Prepare for Laying Laminate Flooring
Proper preparation includes measuring the space, acclimatising the boards, and readying the subfloor. Choosing the right underlay ensures durability and comfort.
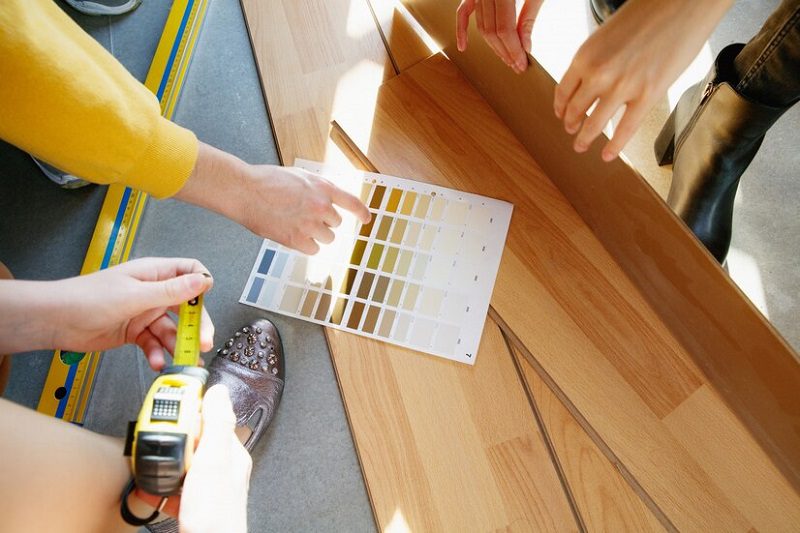
1. Measure The Room
Use a tape measure to calculate the room’s square footage, including odd corners. Add extra for expansion gaps to avoid material shortages. Learn more about how to measure for laminate flooring width and angles.
2. Acclimatise the Flooring
Let the laminate sit in the room for 48 hours before fitting. Keep boxes flat and unopened to adjust to temperature and humidity.
3. Prepare The Subfloor
Ensure the subfloor is clean, dry, and level. Fill any dips and treat seams to provide a stable, even base.
How To Lay Laminate Flooring
Begin with underlayment, then install boards row by row. Click-and-lock systems make this process easier and more precise.
1. Start With The Underlayment
Lay underlay to absorb sound and block moisture. Seal seams to protect the subfloor and improve comfort.
2. Lay The First Row
Start against the straightest wall using spacers for gaps. A straight, even first row sets the tone for the rest of the installation.
3. Install The Remaining Rows
Click boards into place, maintaining alignment and consistent spacing. Stagger seams for stability and appearance.
4. Cut The Last Row
Measure carefully and cut the final row to fit neatly along the wall, using appropriate tools for clean edges.
Tips for Laying Laminate Flooring
It’s essential to avoid common mistakes when laying laminate flooring. Follow these tips for a smoother install: proper layout direction, tight joints, expansion gaps, and tool use matter.
- Choose The Right Direction: Lay planks parallel to light sources or the longest wall to enhance the room’s look and feel.
- Use Spacers: Spacers ensure expansion gaps to prevent warping from temperature and humidity changes.
- Keep The Joints Tight: Tight joints reduce moisture entry and improve stability. Use clean cuts and apply pressure to lock planks firmly.
- Use A Tapping Block: Helps secure planks without damaging edges. Keeps alignment consistent and reduces gaps.
- Leave An Expansion Gap: Always leave a 6–12mm gap around the perimeter to allow natural movement in changing climates.
Finishing Tips
Final touches like skirting boards and transition strips elevate your flooring finish.
- Install The Baseboards: Attach skirting boards to cover expansion gaps and neaten edges. Use a level and trim corners for a clean finish.
- Install Transition Strips: Use transition strips where laminate meets other flooring types. They enhance safety and create a polished look.
Ready to transform your space with beautiful, durable laminate flooring? Visit TEKA Flooring today to explore our wide selection of high-quality laminate options. Don’t wait—give your home the stunning upgrade it deserves with TEKA Flooring!
No worries again! Let the experts at TEKA Flooring handle your laminate flooring installation. Our professional fitting service ensures a perfect finish, saving you time and hassle. Contact TEKA Flooring today to schedule your fitting service and enjoy a flawless, beautiful floor in no time.
Read also: