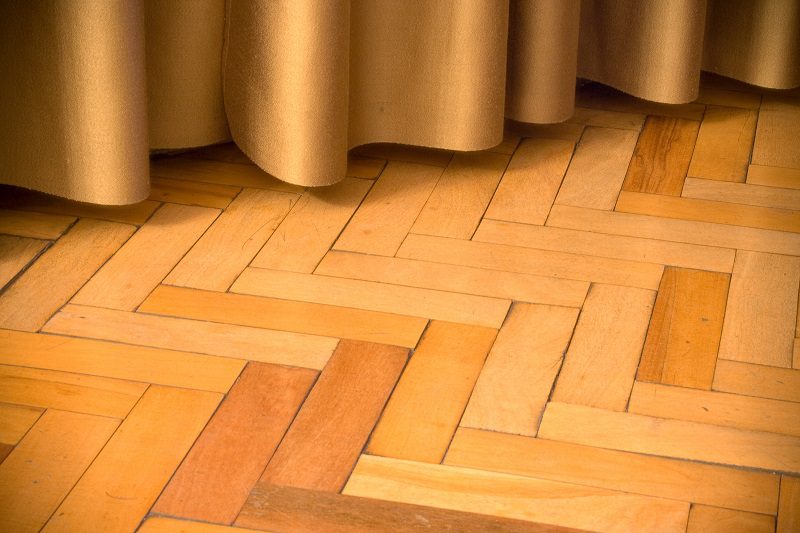
Looking to add a touch of elegance and sophistication to your space? Explore the different types of herringbone flooring, the materials and tools needed for installation, and the essential preparation steps in this article.
Follow a step-by-step guide on how to lay herringbone flooring and learn tips for maintenance and care to keep it looking beautiful for years to come. Let’s begin!
Tools and Materials You’ll Need
Before you begin, ensure you have the proper tools and materials:
- Herringbone flooring boards
- Underlay (if required)
- Flooring adhesive or click-lock system (depending on product)
- Tape measure and chalk line
- Flooring spacers
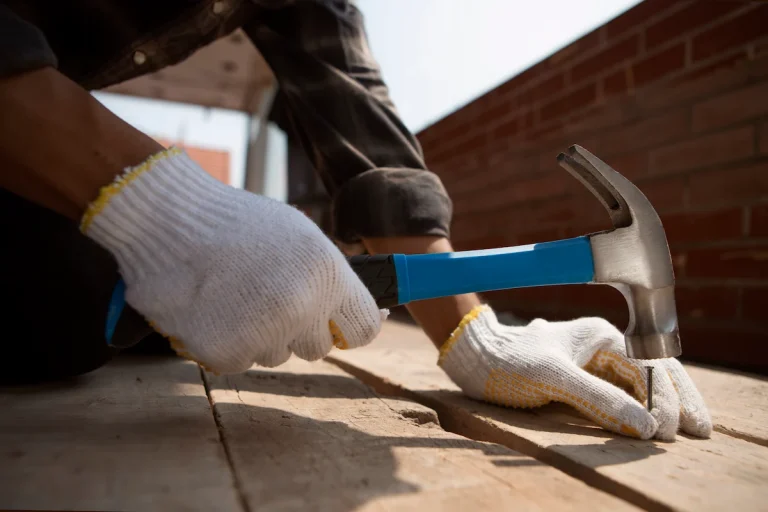
- Rubber mallet
- Mitre saw or jigsaw
- Spirit level
- Trowel (if gluing)
- Cleaning materials
How To Lay Herringbone Flooring

See product : Ted Todd Warehouse Raw Cotton Narrow Herringbone (450mm x 90mm)
Before beginning the installation process, it’s important to understand the key steps involved in laying herringbone flooring. From precise measurements to consistent alignment, each stage plays a role in achieving a clean, professional look. Let’s start with the preparation phase, which lays the foundation for a successful and long-lasting result.
1. Prepare the Subfloor
Begin by inspecting the subfloor to ensure it is structurally sound, clean, and completely dry. Remove any old flooring materials, nails, adhesives, or debris. Use a spirit level to check for uneven areas across the entire space. If dips or humps are present, apply a self-levelling compound or sand down high spots. A smooth, stable surface is essential to ensure the planks lay flat and the pattern remains consistent.
2. Acclimate the Flooring
Store the herringbone planks in the installation room for 48 to 72 hours before beginning. This allows the flooring to adapt to the room’s temperature and humidity levels. Avoid stacking the packs too tightly—leave gaps for air to circulate. Acclimatisation helps reduce the risk of expansion or contraction after installation. Skipping this step may lead to warping or misalignment over time.
3. Mark a Central Guide Line
Measure and mark the centre point of the room, both lengthwise and widthwise. Snap a chalk line or use a laser level to draw your main guideline. This line will serve as the reference for your first row of planks. It’s critical to get this alignment right to maintain the visual balance of the herringbone pattern. A slight misalignment here can throw off the entire floor layout.
4. Dry Lay the Pattern
Place several rows of planks without adhesive to test the pattern’s alignment. Begin from the centre and extend outwards to each wall. This step allows you to visualise any adjustments needed before permanent fixing. Dry laying helps identify awkward cuts or spacing issues early. Make sure both ends of the room will finish with at least half a plank for visual balance.
5. Start Laying the Herringbone
Begin with your first “V” shape, aligning it perfectly with the guideline. Apply adhesive according to the manufacturer’s instructions, working in small, manageable sections. Lay planks carefully, checking alignment every few rows. Use tile spacers if needed to maintain consistency between planks. Gently press each piece into place to ensure proper adhesion.
6. Maintain Expansion Gaps
Leave a 10–12mm gap along all edges of the room, including at walls, pillars, and door frames. These expansion gaps allow the flooring to move naturally with changes in humidity. Skirting boards or scotia mouldings will later conceal these gaps. Without adequate expansion space, flooring may buckle or lift over time. Use spacers during installation to keep the gap consistent.
7. Cut and Fit the Border Pieces
Once the central pattern is complete, measure and trim the edge pieces to fit the room’s perimeter. Use a mitre saw or jigsaw for clean, precise cuts that match the pattern. Double-check each piece before fixing, especially around corners and obstacles. Ensure transitions to adjacent rooms are level and neat. Take your time during this stage to maintain a professional finish.
8. Finish and Clean
Allow the adhesive to cure fully as per the manufacturer’s guidelines—usually 24 hours. Avoid walking on the floor during this period to prevent misalignment. Once cured, remove any spacers and fit your skirting boards or beading. Clean the surface with a soft cloth or appropriate cleaner to remove dust and residues. The result should be a smooth, elegant herringbone floor ready to use.
Tips and Tricks for Laying Herringbone Flooring
Installing herringbone flooring requires precision and patience, but with a few expert tips, the process can be more efficient and rewarding. Whether you’re working with engineered wood, laminate, or LVT, paying attention to these practical details will help you achieve a flawless finish.
- Double-check your centre line before you begin to avoid layout drift.
- Start with a dry layout to visualise how the pattern will fill the room.
- Always work in small adhesive sections to prevent drying out before placing the planks.
- Use a tapping block to snugly fit planks without damaging their edges.
- Mark and pre-cut tricky edge pieces before fixing them into place.
- Use a laser level to ensure rows stay aligned as you work outward.
- Wipe excess adhesive immediately to avoid staining the surface.
- Leave the floor to cure overnight before walking or placing furniture on it.
- Maintain a consistent expansion gap using spacers throughout.
- Use matching skirting boards or scotia to cover expansion gaps neatly.
- Keep planks from the same batch to minimise tone or texture variation.
- Work with adequate lighting to clearly see lines and plank alignment.
Want to embellish your home with herringbone flooring? We suggest opting for high-quality herringbone vinyl from TEKA Flooring, which offers increased durability, ease of installation, and long-term benefits.
There are plenty of offer options for you, such as Ted Todd Classic Tones Parkhurst, Ted Todd Classic Tones Sherwood, and more, which are available for viewing on our website and destination showroom.
Read also: